As a food photographer, you may often get asked to shoot drinks. But photographing beverages requires a bit of a different skill set from photographing food. Some shooters specialize in this, and they make a lot of money photographing for the big drink labels because of these niche skills.
If you’ve tried shooting beverage, you know that it can be really challenging. You can’t seem to get rid of the ugly reflections in the glass. The ice melts in seconds. With a bit of experimentation and patience, there are things you can do to improve your beverage photography.
Here are my top tips.
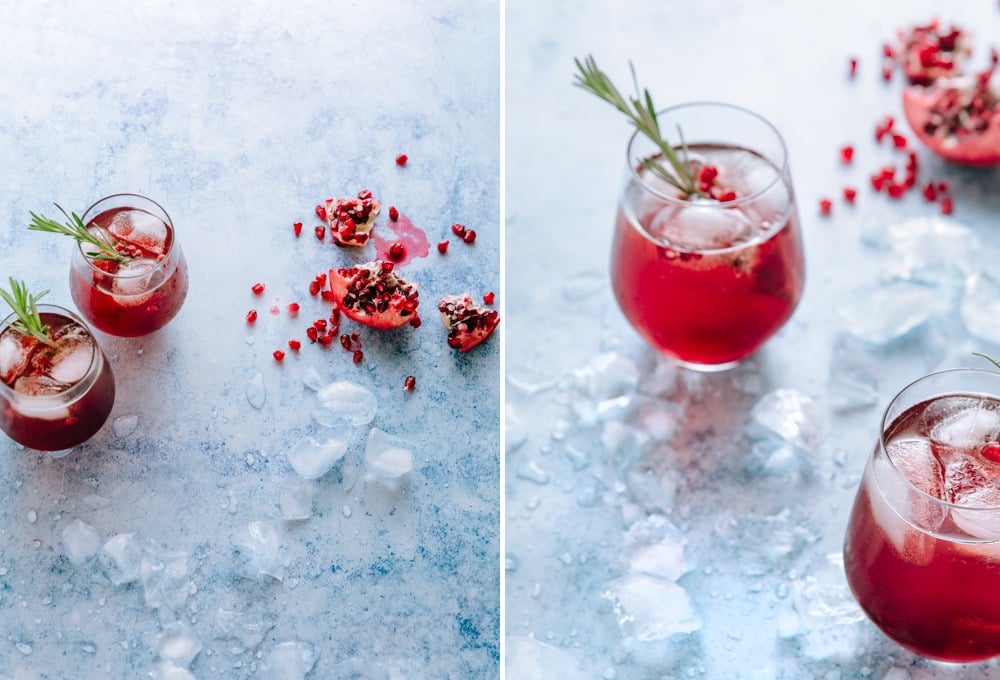
Use Backlighting
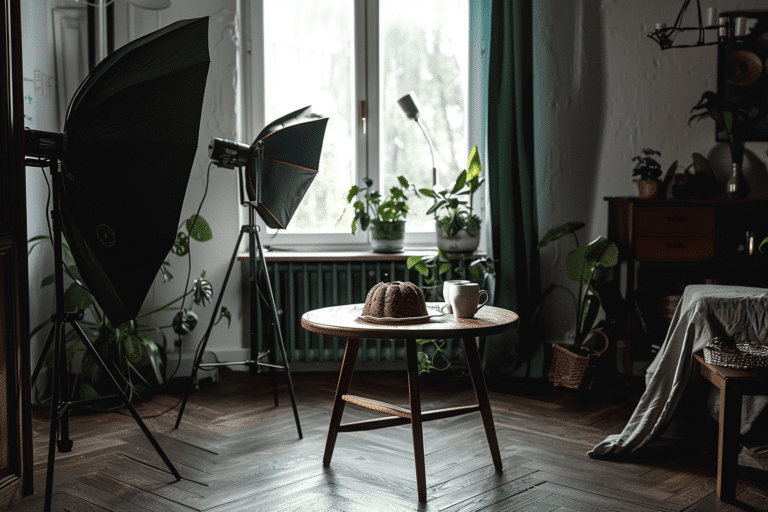
Backlighting is the preferred lighting direction for beverage photography for good reason. It’s great for bringing out the beauty of liquids. Whether you’re shooting with natural or artificial light, this is when you place your main light (called the key light) behind your set/subject.
The problem with backlighting is that it can sometimes be hard to get your exposure right. The back tends to be too bright, without enough light hitting the front. If you find this to be a problem, play with the distance of your light to the set. Make sure that you’re bouncing the light back onto the scene from the front with a reflector or piece of white foamcore. Keep it opposite of your light source.
You can also use side-backlighting when shooting beverages. This is where your lighting is in between side light and backlight. If you imagine the face of a clock, you’d position the light at 10:00 or 11:00. Or 2:00 or 3:00. Sidelight gives you the best qualities of both back and side lighting without the exposure problems.
When shooting drinks, using two lights will give you directional light. Just make sure that your second light is not as strong as your key light or you’ll get double shadows. This doesn’t make sense, because there is only one sun. A good general rule of thumb is to have your second light at about half the power of your first light.
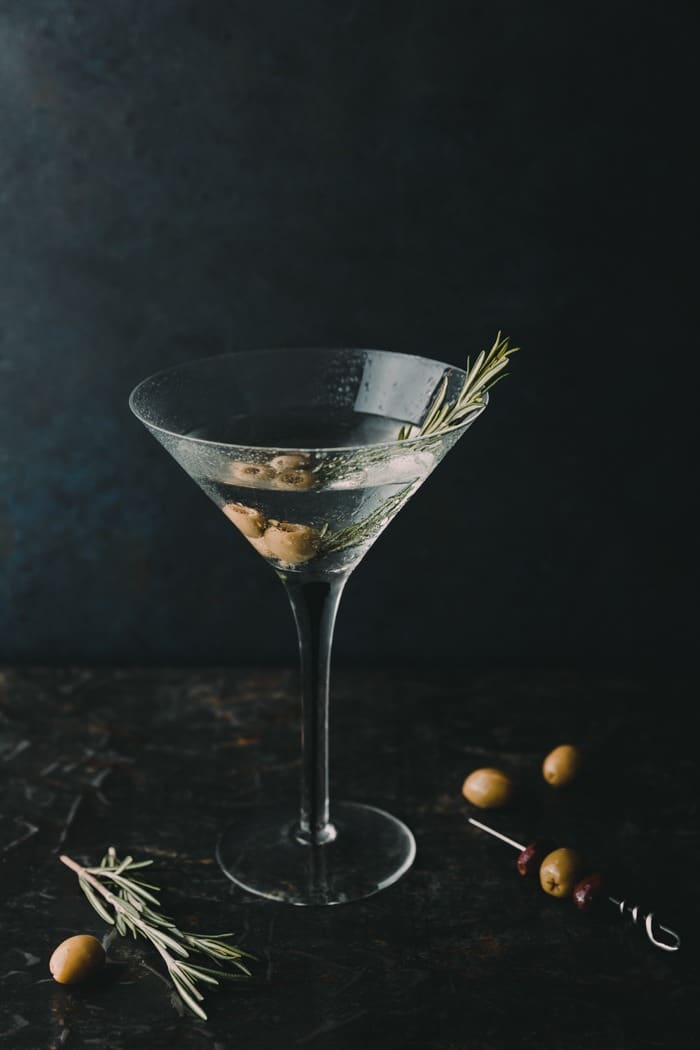
Use Double Diffusion to Manage Reflections
Drinks like cocktails can be one of the most difficult items to shoot, as they are often shot in glassware. The reflections can be tough to manage, and this kind of shoot can take much longer than a food shoot.
When you’re shooting glasses or glass bottles, everything in the room can end up reflected in the glass. This can look ugly. Tall vessels like wine glasses are the worst.
The trick here is to use double diffusion to make sure your shadows are super soft and manage reflections. This can mean a couple of diffusers or a diffuser and a large piece of tracing paper or sheer white fabric.
You’ll have to do quite a bit of retouching in Photoshop on glassware. Be aware that you do need to keep some reflection. We’re used to seeing some reflection in glass so if you get rid of it all it will look fake.
Try Experimenting with Direct Light
Direct light has very hard shadows. It’s having its moment in both drink and food photography right now.
You can achieve hard, direct light with either natural or artificial lighting. Using natural light is the easiest approach as long as you can shoot when it’s sunny out and the sun is not playing peek-a-boo behind the clouds. You need to shoot out in the sun or next to a window with direct sunlight. You can use pieces of black foamcore to block sections of light as needed.
If you’re using flash, you’ll need to light your set with an unmodified light like a bare bulb strobe. A softbox will not give you the desired results, as the shadows will be too soft.
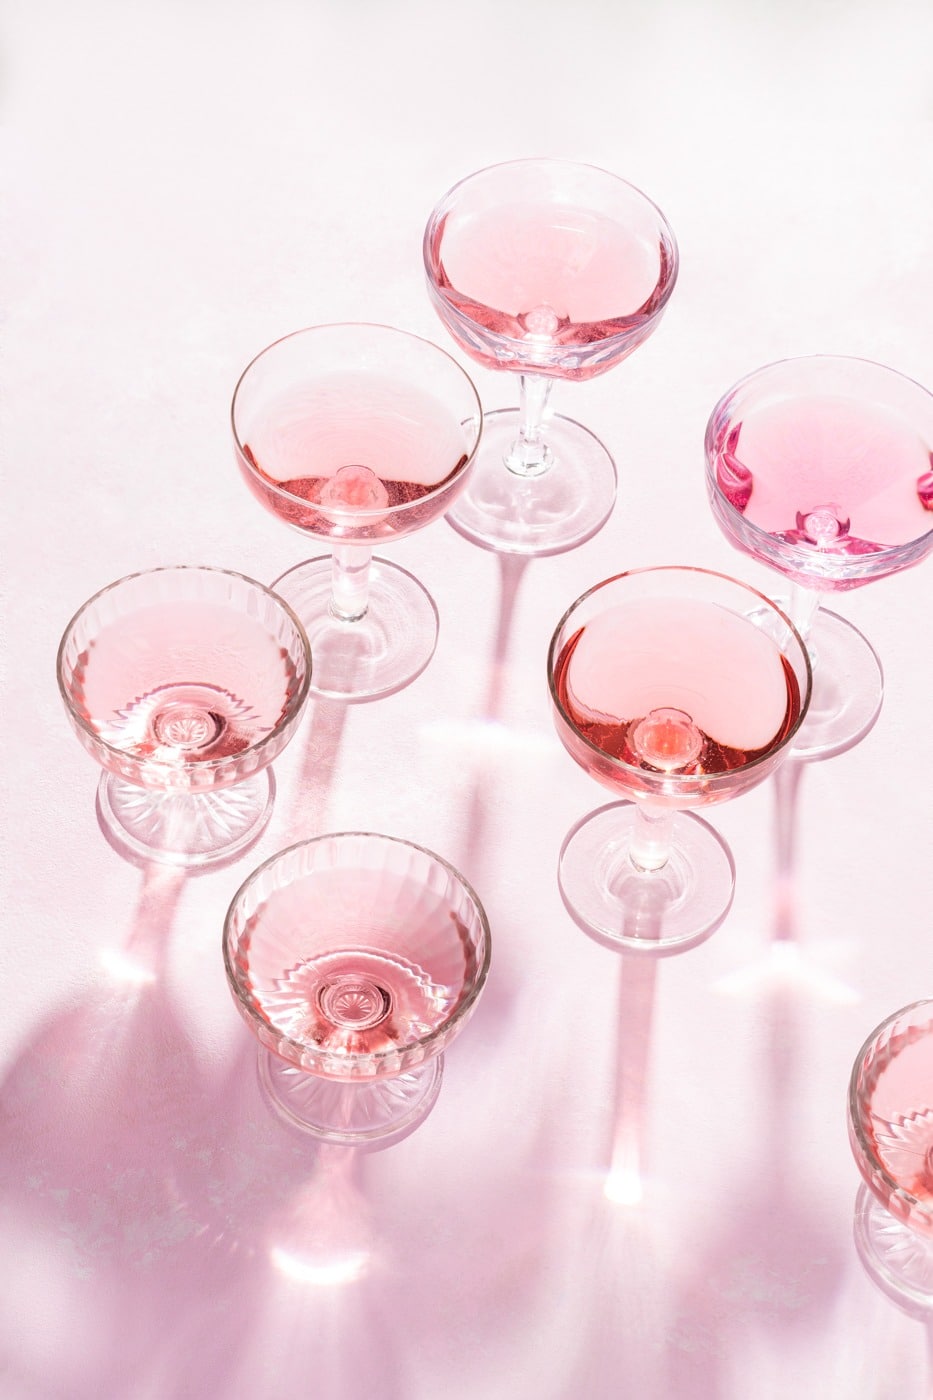
Styling Cocktails
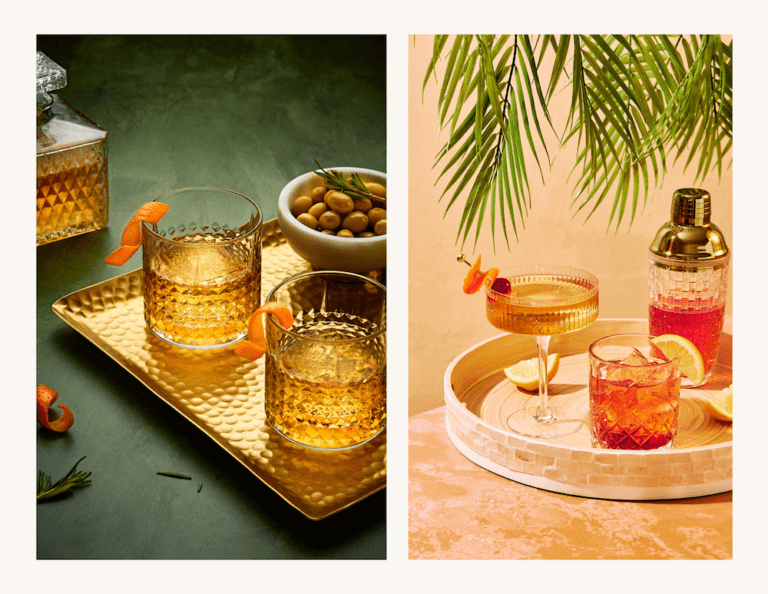
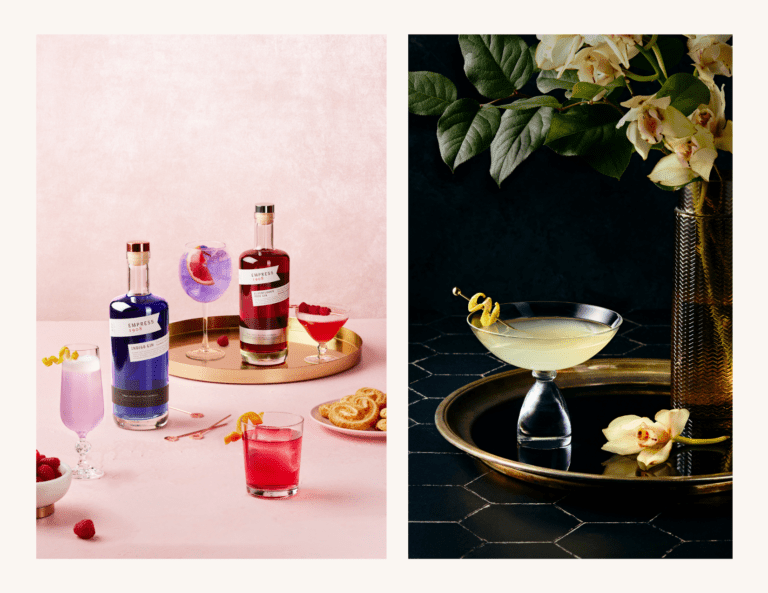
Get creative when styling styling cocktails. Make your drinks attractive with garnishes, specialty ice cubes and ice shards. Style your set-ups with supplementary fresh ingredients such as lime and pomegranate seeds.
If using ice, don’t use cheap trays from the dollar store that will give you awkward, rectangular ice cubes.
Use some fun square molds and place the cubes in the glass before filling it. Don’t overfill the glass. You need to leave a little bit of breathing room.
Pro drink photographers invest in fake ice cubes from Trengrove Studios. They are very expensive, but they look very realistic. You can get fake ice cubes on Amazon, but a lot of them will look fake.
Garnish your cocktails with whatever will suit your drink. This can be mint, maraschino cherries, berries, or orange peel.
You don’t have to splash out for real alcohol most of the time when you’re doing drink photography. Sometimes substitutes actually will photograph better.
For example, red wine usually shoots too dark in a photography. Professional food stylists often opt for red food colouring mixed into water as a stand-in.
The same goes for a few drops of soy sauce or liquid seasoning like Kitchen Bouquet mixed with water. It makes a very believable substitute for white wine.
In the shot of the olive martini above, I simply used water instead of vodka for my martini. It’s one of my best selling images and no one is the wiser.
A great tip for styling cocktails is to create the look of condensation on the glass. You can do this with a 50-50 solution of glycerin and water. Glycerin is cheap and you can buy it in the cosmetics section of the drug store. Use a spray bottle with a fine mister and apply it to the glass.It will give you that cool, beaded look on the glass. And it will last much longer than if you were to spray it with water.
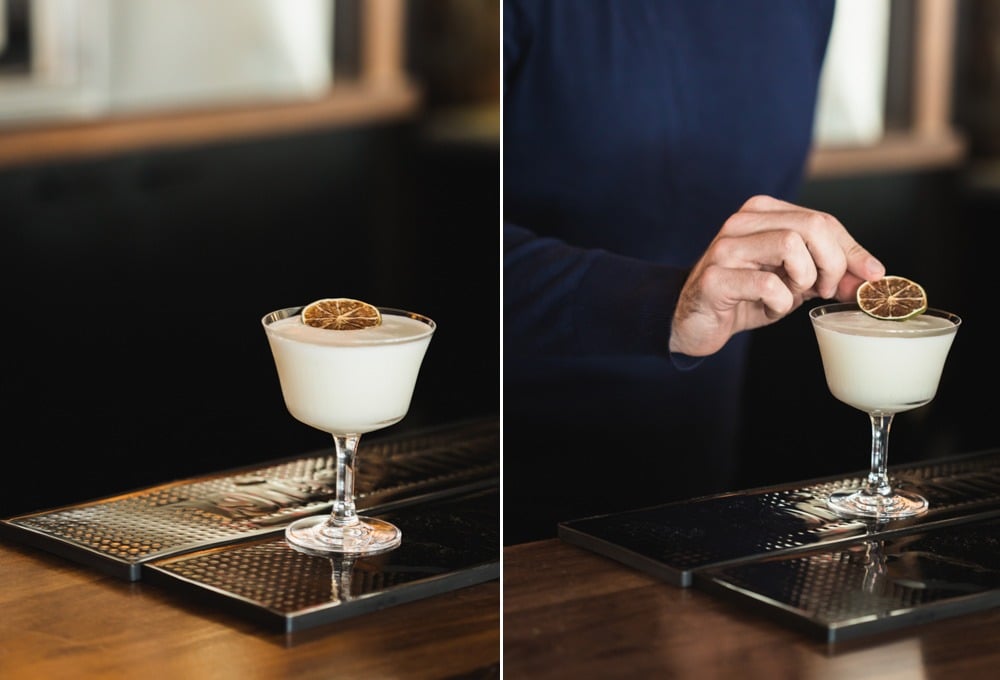
Styling Coffee & Hot Drinks
When photographing coffee and tea, use the natural product. One tip food stylists use is dishwashing liquid to get the look of bubbles, to make coffee look freshly poured. If you want to add steam to your image, you can add it later in Photoshop. However, if you want to try to your hand at creating steam while you shoot, check out this post.
Whether you add it during your shoot or in post, make sure your backdrop is dark enough that the steam will show.
If you’re using milk in your coffee shots, the froth will be best produced by skim or 1 percent milk. These are a little whiter in colour than 2% milk.
If you don’t have a good steam machine, you can use a frothing wand or a milk frothing machine. Heat milk to just above room temperature. Use one of these tools to create the froth before spooning it onto the beverage.
Old froth milk will not thicken again. Make sure you have some extra to froth if you don’t get the shot before the milk starts to look less than fresh.
Hot chocolate tends to separate, so it’s best stirred and poured right before shooting. Marshmallows look good when added to the beverage while it’s hot. The edges will melt and look attractive.
Whipped cream will immediately melt and look messy. Try scooping it on the hot chocolate when it has cooled.
Composition Tips for Beverages
When photographing drinks, you can either focus on the details of one drink, or you can shoot multiples and create a storytelling aspect.
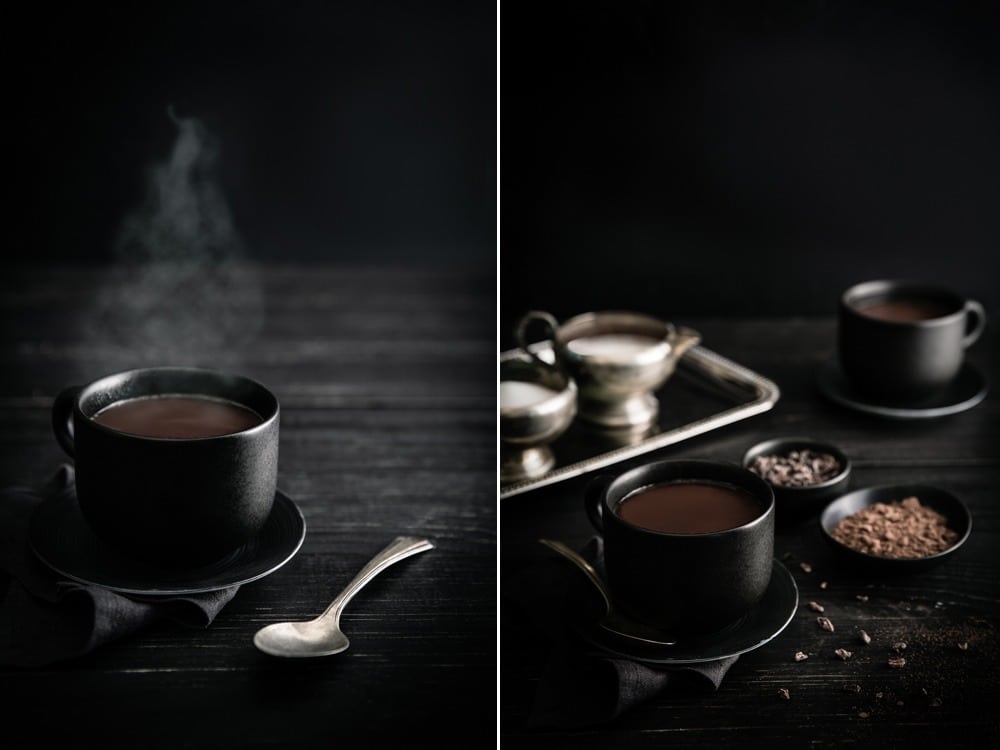
When shooting a single drink, get close to the drink. You’ll want to use a macro lens, so that you don’t have much negative space around it, as with the hot cocoa shot on the left in the images above. A tighter crop looks better when shooting a single object.
Try shooting the drink a fair distance away from the background if you can. This will blur out a distracting horizon line and will give depth to the look.
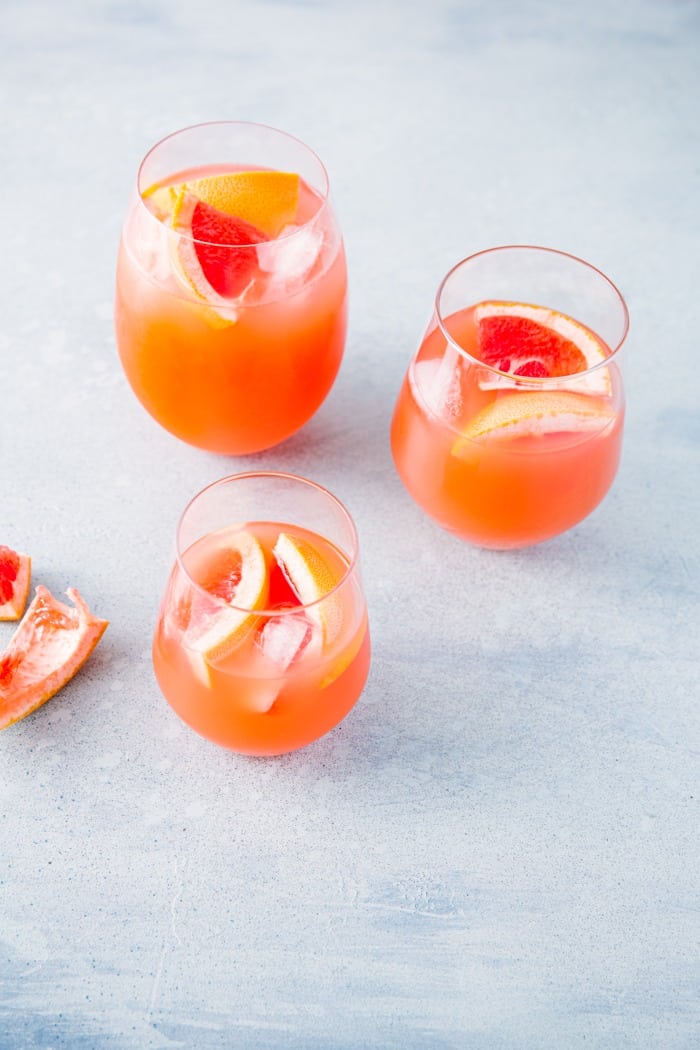
When shooting several drinks together, aim to use the “rule-of-odds“. This composition principle states that odd numbers of objects in an image are more pleasing to the eye than an even number of objects. Form a triangle with three glasses. This will provide symmetry and balance. Odd numbers create a sense of balance and harmony and provide a resting point for the eyes. Even numbers of objects can divide our attention and compete with one other.
Conclusion
Photographing drinks can be a bit frustrating sometimes. But it’s also fun and it can allow you to get creative.
The great thing is that you also don’t need a lot to get started. Some juices, water, a cup or coffee or tea can give you endless inspiration.
So grab a drink and start playing.

