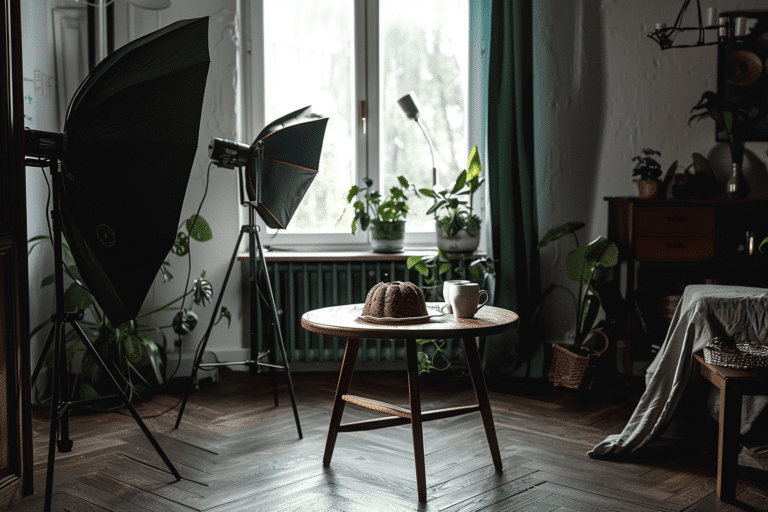
As a food photographer, you can shoot with natural or artificial light. One light source is all that you need to produce beautiful images for a variety of applications. However, if you want to shoot commercially, you need to use artificial light—often several of them.
When learning artificial light, the first step is understand how it differs from natural light, and how to control and manipulate it. You need to know the principles of light such as Inverse Square Law and the Law of Reflection so you can predict what your light is going to do.
All of this starts with one light. Once you get the hang of it, you can move on to two or more lights.

How to Use Two Lights
If you use bounce cards or reflectors, you already understand the principle behind using a second light. A second light is often a fill light. It kicks in extra light where it’s needed and fills in shadows or brightens highlights. Fill light allows the details in the shadow areas to be seen.
Sometimes bouncing your key light (main light) with a white card or reflector is not enough. This is when you need the second light for fill. When you use a bounce card, you typically place it across from the main light source.
For example, when I shoot flatlays, my light is usually behind my set-up and the light is sweeping in from the top of the frame. This can lead to the image looking blown out in the back of the set and not enough light in the front, depending on how large the scene is. To remedy this, I use a white card to bounce light back into my set.

You can use this same principle when using a second light. A second light will allow you to add extra light where you need it. You can dial the power down on your key light and balance the amount of light from the two sources.
The important thing to note is that your second light cannot be as strong as your key light. This will lead to cross shadows, which will make it obvious that there are two light sources—which is never a look that you want. Your fill light might be just quarter of the power of your key light. Just enough to make those details in your shadows pop.

How to Use Three Lights
Three lights are used when you want to light very specific parts of your scene. Each of your lights has its own specific function. For example, you have your main light, your fill light, and a third light to direct light to a specific area.
In this case, you will need to use different modifiers in order to control your light. You might use a soft box as your key light for a broad light source, but may use a snoot for your third light to focus a beam of light on a specific area.
This is what I did for the shot below. My second light filled in the layers of the burger, while the third directed the light onto the burger bun, which was looking too dark. Neither the key light bro the fill lighter enough to light it adequately, and turning the power up would have blown out other parts of my scene.

When using three lights, you want to work in reverse order. You want to set your key light last, otherwise you won’t know what the other lights are doing if the main light is lighting most of the scene. In the case of the burger, I start light the shoot, found the sweet spot for my fill light, and then added my main light.

Of course, there is a lot more to using multiple lights for food photography, with an endless amount of variations. Using these principles will help you get started so you can experiment with the gear you have and see what it can do.
To read more about using multiple lights in food photography, go to this post.
If you want to learn more about artificial light for food photography, be sure to check out my eBook LightShaping: Getting Started with Artificial Light for Food Photography. You’ll get a bundle of four PDFs: an eBook that is over 100 pages, a gear guide, and exposure guide, a principles of light cheat sheet that you can have handy when you’re shooting to help you understand what you’re light source is going to do as you adjust it.


