HOW TO SHOOT FOR RESTAURANTS: PART I
Whether you are a blogger or Instagrammer, or a photographer starting your own food photography business, you may be approached to shoot for a restaurant. Shooting for restaurants is often how food photographers start their careers. As their budgets tend to be on the lower side, restaurants are willing to hire new and unknown photographers. However, restaurant shoots are not that easy. In fact, I find them one of the more difficult types of food shoots to do, as you will often be asked to shoot staff and patrons, the interior of the restaurant, as well as menu items. This means that you need to be adept at shooting portrait, architectural, and food photography!
In this post, I’ll give you some tips about shooting for restaurants. There is so much to talk about when it comes to photographing in restaurants, I could probably write a whole book about it. For now, this will be the first of two blog posts on the topic. This post will discuss preparing for and executing the shoot; the following post will be more about the business side of things.
So let’s get started with some important points:
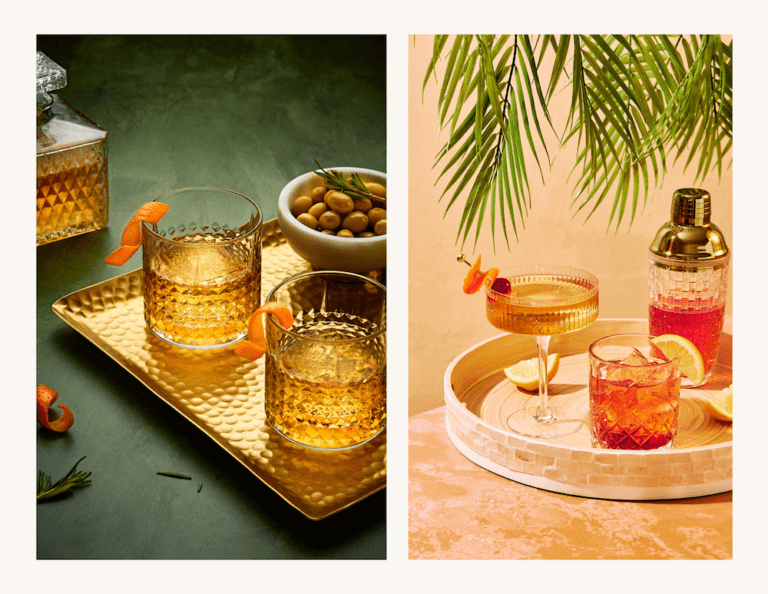
Ask for a shot list – This is something you should ask for when beginning to communicate with the restaurant about the shoot. You need to know exactly what you will be shooting in order estimate how long the shoot will take you. Beverages, for example, can take a lot longer to photograph than a plate of food, as managing reflections in glass can take time and be difficult.
Estimates are based on project scope. If you can’t estimate how long the shoot will take you, you can’t price your services accordingly.
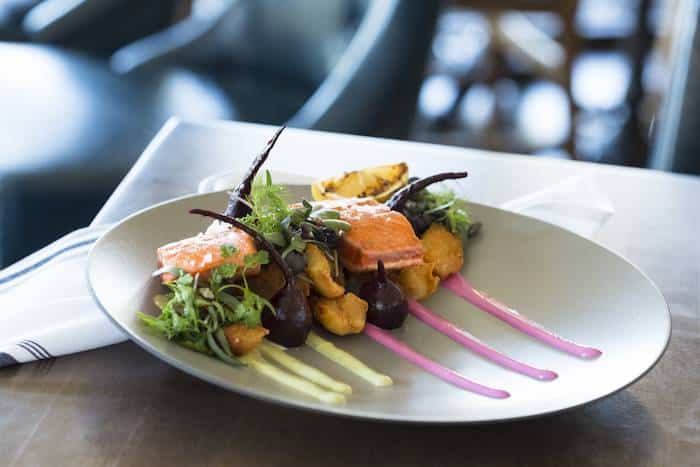
The pitfall is that when a restaurant approaches you, they will likely not have thought this far ahead. They may go on to another photograph who makes things easier on them. At the very least, try to get a breakdown of how many food images, how many drinks etc. For food images, I find it takes an average of twenty minutes per dish if I am propping the scene and taking a few shots from different angles. I submit a gallery of the best images for clients to choose their ultimate shots, based on the number I have agreed to provide them.
Scout for the location and light – I always go check out the location before a shoot. It’s the only way to know what you will be up against in terms of lighting. You will also need to figure out where to set up your equipment and workspace. This should be done with agreement from the manager or proprietor. It is important that if the restaurant is open when you shoot, that you are as unobtrusive to the patrons as possible. Most of the time, the client closes off a part of the restaurant where I can work without bothering anyone and have enough space to capture images that reflect the quality I intend to provide.
Discuss styling the food – One of the things that you should make clear on the outset is that you are not a food stylist and therefore not responsible for the look of the food. Food styling is a different occupation that requires a separate skill set from photography and should be treated as such. I even have a clause in my contract stating this. Many clients need to be educated on this point. Hopefully, the chef is good at plating and the food will look great; however, styling food for a customer is different than styling food for the camera. I find that chefs in higher end restaurants tend to be pretty good at this. I advise clients that they need to make sure their chef is up to the task, otherwise they should be advised to hire a food stylists. A food stylist can be quite a big expense line on an already tight budget. In the case that a client refuses to hire one, they should know that the look of the food on the plate ultimately falls on the photographer.
Bring a food styling kit – Although you will not be plating and styling the food, you still should bring along a basic food styling kit that includes items such as tweezers, q-tips, and small brushes to help you tame errant garnishes or clean unwanted crumbs and drips from the plate. You want to do the best job you can with what you are given.
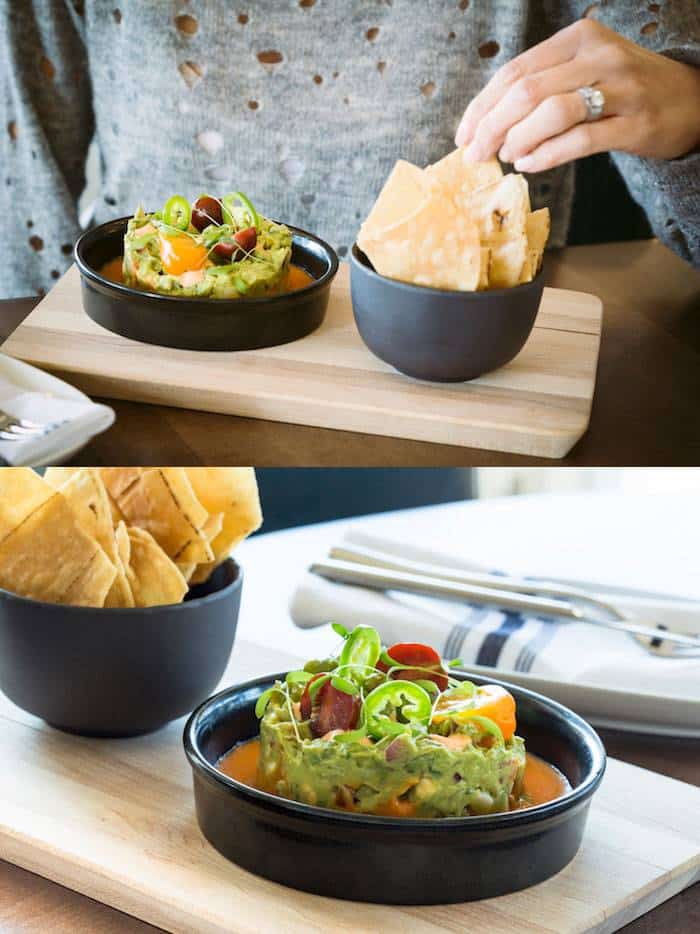
Bring along some props and linens – I always bring a stack of linens in various shapes, sizes, and colours, and some of my own dishes and cutlery. Sometimes clients want their own tables, cutlery, and dishes shot as will experienced by the patrons, but many have a branding direction in mind that requires a specific look or ambience. I have often been hired because of the dark and moody aesthetic of many of my images; clients wanted me to create this for them and I do so with small, dark dishes and vintage cutlery—the opposite of the large, white dishes you see in most restaurants.
Use a tripod – If you shoot only in natural light, be aware that most restaurants are too dark for food photography. You will need to shoot by a window and to use a tripod so you can decrease your shutter speed and make a longer exposure. This will not work for shooting any people however, as they will be blurry with a slower shutter speed. If the images will only appear on the web or in social media, you can crank up the ISO and fix the noise in your images later in post. When I scout the location, I try to take a few test shots and see how they look in Lightroom before making my lighting decisions.
Shoot horizontally – Have a conversation with the client about how the images should be shot. Most restaurants only need images for their website. Interactive web design requires that images be shot horizontally for the best effect. If the client will be printing some of the images on a menu, this may require a vertical format (and a higher resolution). Make sure to discuss the best orientation with the client. Make note that if they want both, it can take you up to twice as long to shoot the images, as you will not only have to adjust your camera but recompose each image.
Shoot tethered – I always hook up my camera to a laptop so the client can view the images captured by my camera in Lightroom. Shooting tethered allows you to see a larger, more accurate rendition of your shot than the screen on the back of your camera. The best software for shooting tethered is Capture One Pro. Lightroom tends to be unstable and can go to sleep when you are not shooting, which is very annoying. Make sure you have a very high quality tethering cord.
Work with the client – whether you are shooting product packaging or menu items at a restaurant, food photography needs to be a collaborative process, sometimes involving a whole team of people. Ultimately, you want to produce good work that makes the client happy. For this, the client needs to be involved in the process. They must be present at the shoot to provide creative direction and approve the images that are captured so they can’t come back and tell you they don’t like the images, or that they do not align with the branding or aesthetic they had in mind. I have a clause in my contract stating that I will not begin a shoot without someone representing the restaurant present and that the client will forfeit the deposit if I need to pack up my things and leave. Believe me, you don’t want to get in this situation. More about this scenario in my next post.
Collaborate with the chef – I always involve the chef in the process as much as I can. When I make an appointment to scout the location, I mention that I would like to meet the chef. Chefs are very busy people. I try not to take too much of their time, but I find it invaluable to make them to feel like an important part of the process. The shoots that end up being the most easy and fun are the ones where the chef is enthusiastic about working with you and making the food look its best for its moment in the spotlight.
There you have it—my main points about shooting in restaurants. Feel free to ask me any questions in the comments.
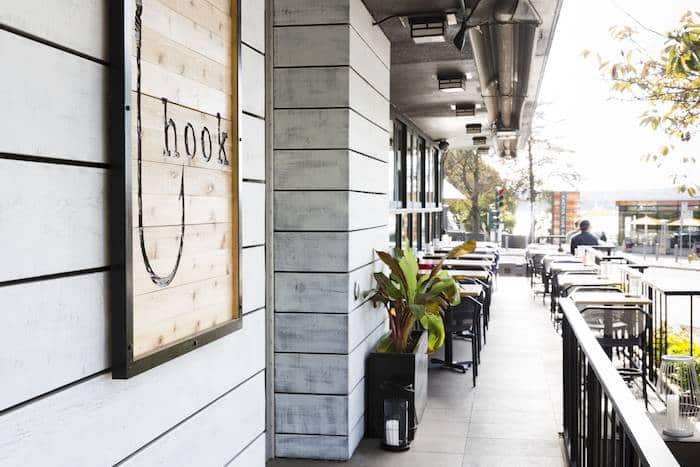
*Images shot at Hook Sear Bar in Vancouver for The Globe and Mail

