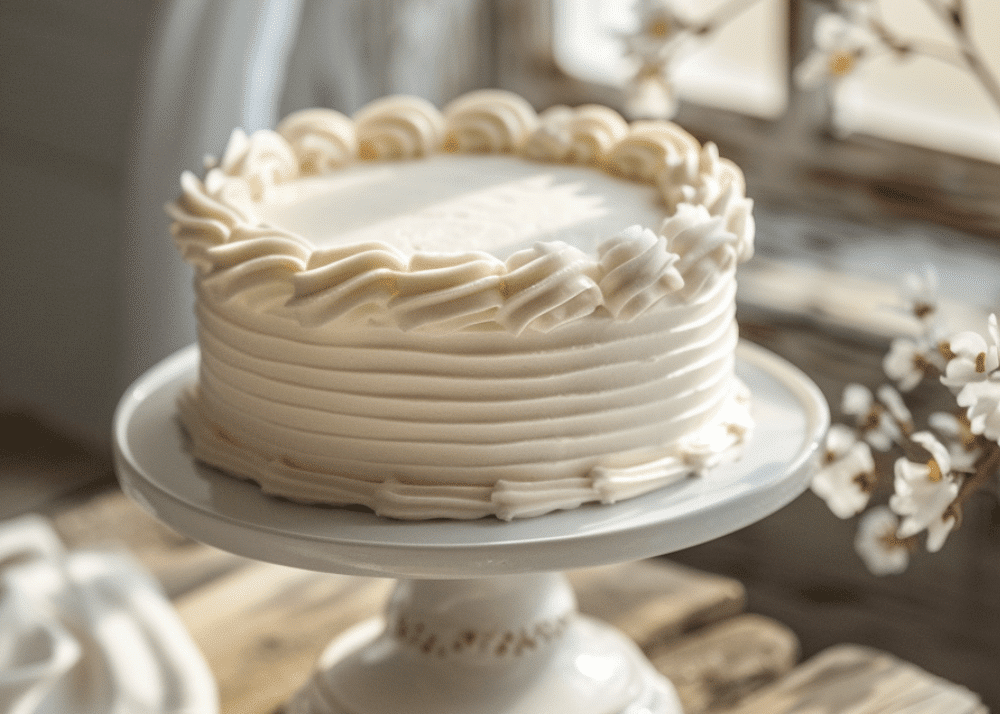
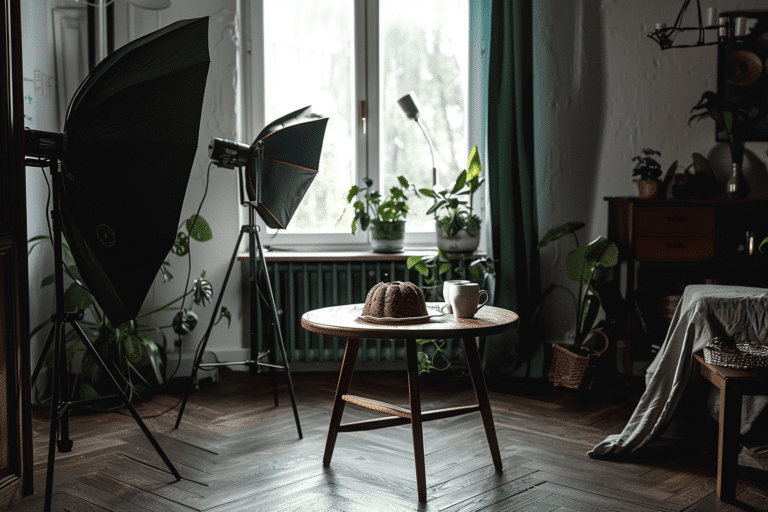
A common challenge in lighting food and beverage photography is dealing with distracting reflections and hot spots. These issues often arise when photographing reflective surfaces or glossy subjects, such as shiny plates, glassware, or glistening sauces–especially when using flash.
Understanding the principles of light placement and diffusion is crucial to minimizing these reflections and achieving a balanced, aesthetically pleasing result.
This post explores some practical tips and techniques to help you minimize these unwanted elements and achieve beautifully lit photos of food and drinks.
Understanding Reflections and Hot Spots
Before we get into the solutions, it’s important to understand what actually causes reflections and hot spots. Reflections occur when light bounces off a shiny surface and directly into the camera lens, creating bright spots or glare. Hot spots are small, overly bright areas caused by concentrated light hitting a reflective surface. Both can distract from the main subject and detract from the overall quality of your image.
Here is what you can do if you’re struggling with managing reflections in your scene, and finding some areas just too bright.
Tip 1: Adjust Your Light Source
One of the simplest ways to reduce reflections and hot spots is by adjusting the position of your light source. Try moving your light source to a different angle. Try positioning it at a higher or lower angle, adjust the tilt of the light, or move it from side to side. Sometimes feathering your light just a few centimetres in one direction or another can make a big difference in how your highlights and shadows fall. Adjusting the light position helps to redirect the light away from the camera lens, minimizing reflections.
Example: Imagine you’re shooting a glass of iced tea. Position your flash at a 45-degree angle from above, rather than directly in front of the glass. This angle helps to avoid direct reflections and highlights the texture of the ice and the beverage.
Tip 2: Extra Diffusion
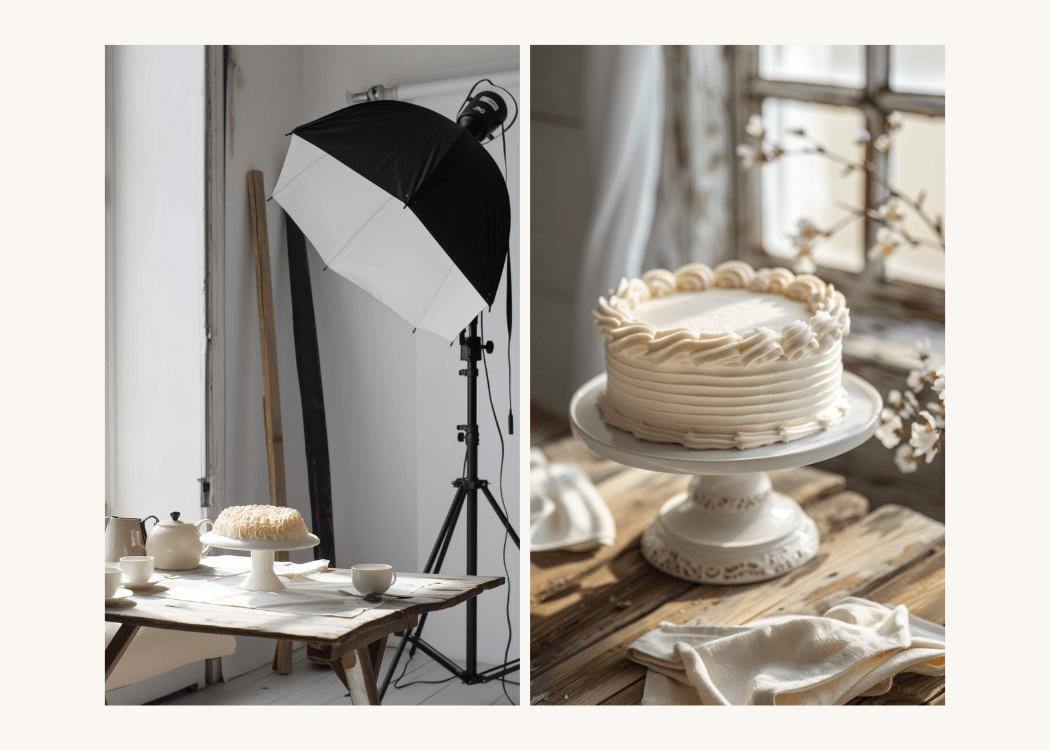
We all know that diffusing your light source can significantly soften the light and reduce harsh reflections. Placing a softbox, white umbrella, or diffusion paper between the light and the subject scatters the light, creating a softer, more even illumination. However, if you’re still getting too much glare, add an extra layer of diffusion.
Example: When photographing a cocktail in shiny glassware, place a scrim in front of your softbox. This will essentially create three layers of diffusion if your softbox has a baffle inside, and reduce the harsh glare on the glass, allowing the natural texture and color of the drink to shine through without distracting hot spots. Note that extra diffusion will cut down your light even more, so you’ll have to compensate with your F-stop.

Tip 3: Use a Polarizing Filter
A polarizing filter can be a powerful tool in reducing reflections and glare. Attach a circular polarizing filter to your camera lens and rotate it until the reflections diminish. This technique works particularly well with glass surfaces and glossy subjects.
Example: If you’re shooting a bowl of soup with a glossy surface, use a polarizing filter to minimize the reflections on the surface of the liquid, enhancing the depth and richness of the soup’s color.

Tip 4: Black Flags and Cards
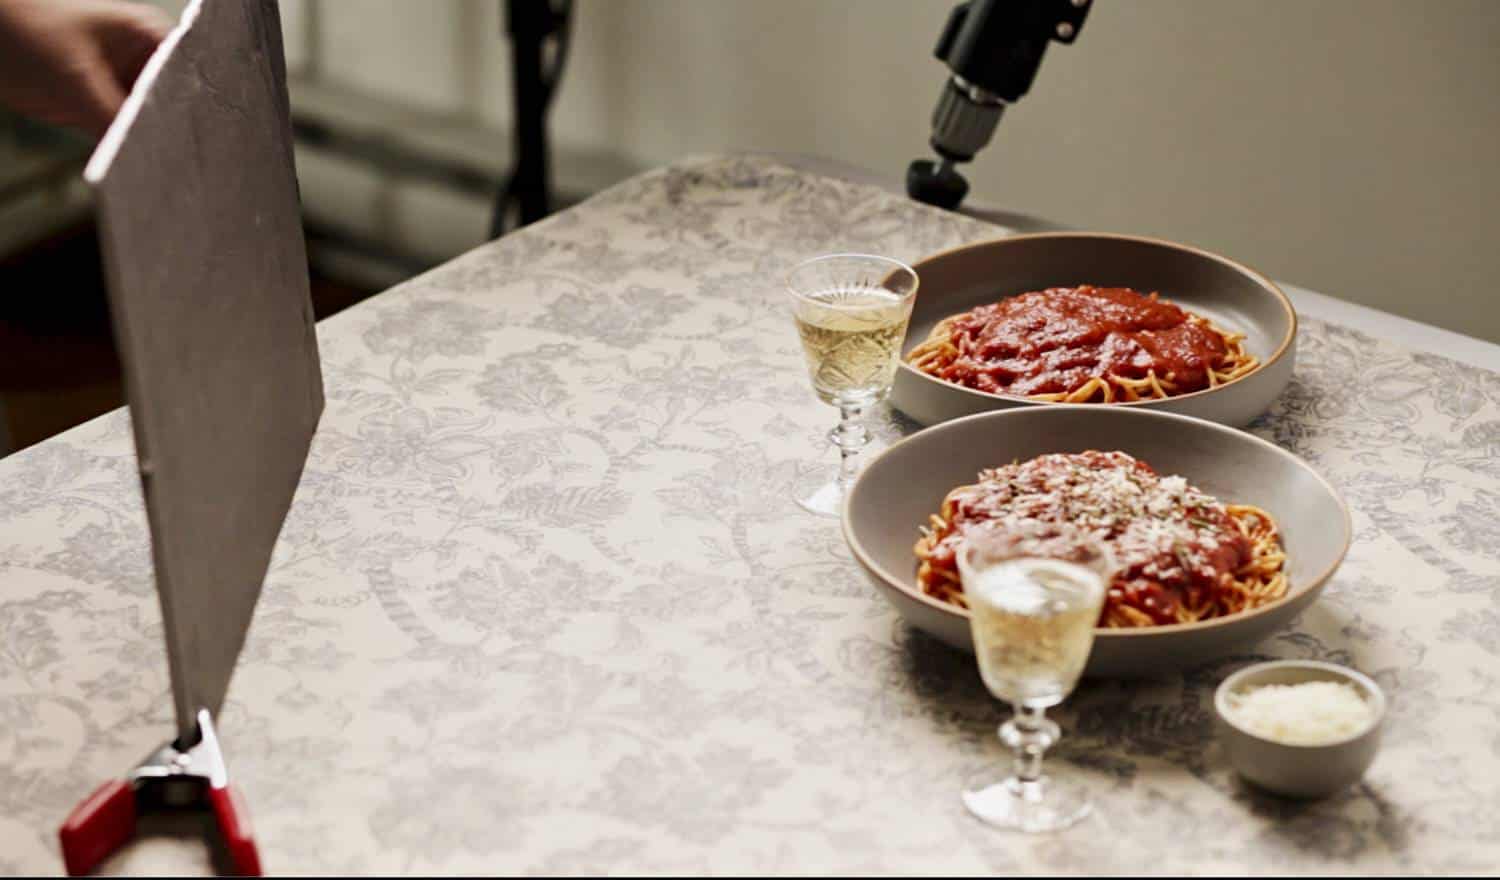
Using black flags or cards is an effective way to absorb unwanted light and control reflections. Position black cards or foam boards around the subject to block and absorb stray light, preventing it from bouncing back into the lens.
Example: When photographing a shiny metal pot, place black foam boards on either side of the pot. These boards will absorb the light and reduce the reflective glare on the metal surface, highlighting the pot’s details without distracting reflections.
Tip 5: Adjust Camera Settings
Sometimes, small adjustments to your camera settings can help mitigate reflections and hot spots. Lowering the flash power, decreasing the aperture (higher f-stop number), or increasing the shutter speed can reduce the intensity of the light hitting the subject, minimizing reflections.
Example: If you’re shooting a glossy chocolate cake, try lowering the flash power and using a smaller aperture (e.g., f/5.6, f/9). This reduces the light intensity and helps manage reflections on the cake’s surface, capturing its rich texture and detail.
Every setup is unique, and sometimes the best way to reduce reflections and hot spots is through trial and error. Take test shots, observe the reflections, and make adjustments accordingly. Experiment with different lighting angles, diffusers, and modifiers until you achieve the desired result.
Homework: Set up a reflective subject, such as a glass of milk or a cocktail, and experiment with different lighting positions and diffusion techniques. Take a series of test shots, making small adjustments each time, until you nd the optimal setup that minimizes reflections and highlights the drink’s features.
By applying these practical tips, you can significantly improve the quality of your food photography. Experimenting with different setups will help you achieve beautifully lit images free of distracting reflections and hot spots.

