For the longest time, shooting drinks was something that I avoided as much as possible.
Managing the reflections in glassware can be one of the biggest challenges that makes photographers shy away from taking beverage photos. It wasn’t until my photo rep told me that I really needed more drink shots in my portfolio that I made the effort to develop my skills in this area.
I found that once you learn a few tips, shooting drinks can in fact be easier and less time consuming than shooting food. In this post I’ll share what I learned from challenging myself to shoot more drinks, which in turn has earned me some fantastic beverage clients.

Do A Composition and Lighting Test
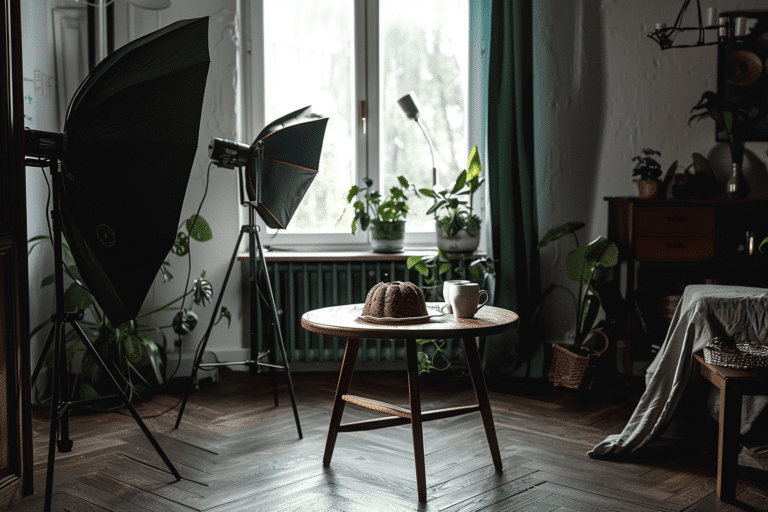
The first step in successful beverage photography is getting your light and composition right before you make your drink. You don’t want to be fiddling with your lights while your ice is melting on set. This necessitates using a stand-in or making the drink twice.
Using an empty glass isn’t all that helpful because this won’t tell you how the drink will ultimately look. Opaque drinks like a frozen margarita will reflect and absorb light differently that a glass of whiskey.
Take several shots, moving your compositional elements around until you like the ways things look and your light is highlighting the best qualities of your subject. Now it’s time to make your “hero” drink—the one that will be in your final shot.
As for the lighting, diffusion is key. A softbox is a great modifier for shooting beverage because the light is so diffused, however, it still may not be enough to avoid harsh reflections on glass. You may need to use a diffuser in addition to the softbox.
Note that we don’t want to obliterate all reflections in glass because we’re used to seeing them—we just want to make sure they are not distracting.

Have a Few Key Tools Ready
You don’t need a huge styling kit for beverage photography, but there are a few important tools that you should have; some of these will are great props, too!
Here is a list of the tools I use most often:
- funnel
- cocktail picks
- tweezers
- deodorant spray (for creating condensation on glass)
- long handled bar spoon
- cocktail shaker
- Hawthorne strainer
- citrus zester
- vegetable peeler
- shot glass
- measuring cup
- sharp knife
Use High Quality and Interesting Glassware
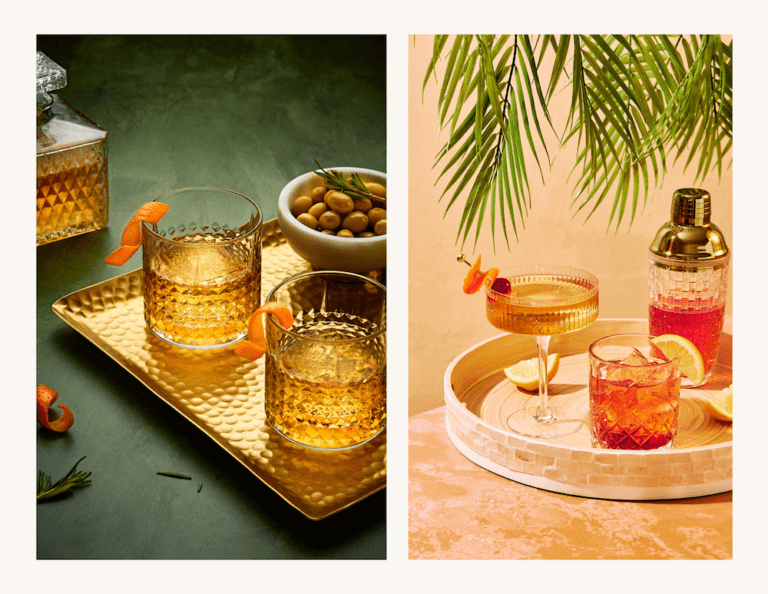
Like props in your food photography, the glassware you choose is very important. Cheap glass tends to not sit straight and can look obviously … well—cheap. Invest in a single good quality glass than a few inexpensive ones. Etched glass can look great in hard light photos and make interesting light patterns, but it isn’t suitable for every shot or drink.
When shopping for glassware, don’t forget to check out second-hand shops, as vintage or older glasses tend to be smaller than their modern counterparts. Smaller is usually better for proportion and scale when it comes to glasses and other props.
 Learn a Few Key Garnishes
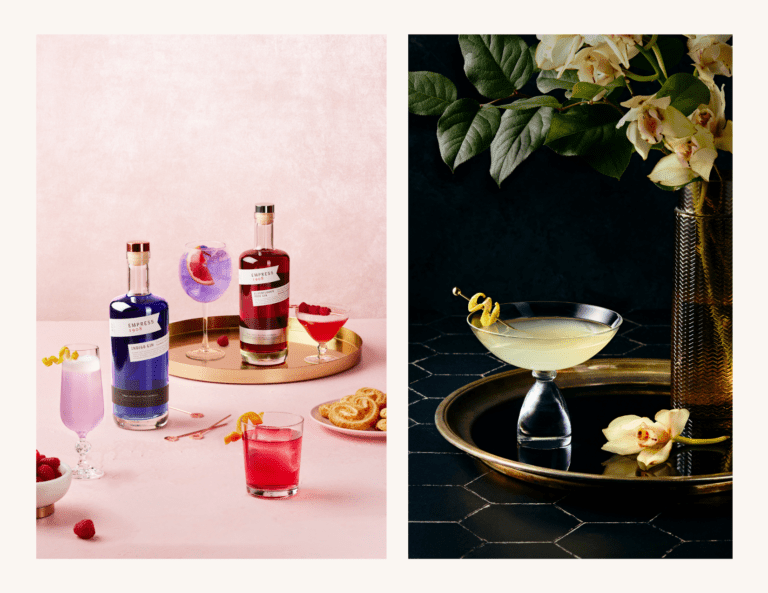
The right garnish has the power to completely elevate your drink photo. A lemon curl, or sprig of mint, or the red pop of a maraschino cherry can take a cocktail from how-hum to huzzah.
If carving leaves out of orange peels seems intimidating, know that there are so many garnishes that are fun and easy to create. Learning them is as easy as clicking onto YouTube, where you can find many instructional videos on the topic. I recommend checking out Steve the Bartender.

Use Substitutes when Appropriate
Food stylists sometimes use colorings when making drinks on set. When you’re shooting for advertising, truth in advertising laws dictate you must shoot the real thing, but in the editorial world, it’s a different story. Editorial photography is more about storytelling and you tend to have more creative license.
For example, cranberry juice is often substituted for red wine not only because it’s cheaper, but because the real thing photographs too dark. A drop or two of soy sauce in a glass of water can make a convincing chardonnay.
Just remember that when you are substituting a beverage with water, colored or not, be sure to use distilled water or you’ll have bubbles—which will be a dead giveaway that that dirty martini is not real.

The Sequence to Building a Stunning Cocktail
When it comes to styling a beverage with garnishes like a cocktail, the main thing you want to watch out for is that your glass is pristine as possible. This means no fingerprints, and no splashes on the glassware.
Therefore, you should build the cocktail by placing the ice and any ingredients that go into the glass first, for example, lemon slices or mint leaves. Pour the liquid in with a funnel and then garnish your drink. You may have to swap out the garnish while you’re shooting if it starts to look a bit lacklustre. If you’re using real ice and it melts before you get your shot, start fresh rather than try to replace it, as you’ll want to keep that glass looking clean.
 Use the Angle of Incidence to Position Your Light
When shooting translucent liquids like spirits or many mixed cocktails, you’ll likely want to get a nice glow that brings outshine and color. This is where the lighting principle “law of reflection” will come in helpful.
The law of reflection states that “the angle of incidence is equal to the angle of reflection”. In simple terms, this means that when light hits a flat surface it will bounce off at the same angle it hits it.
Therefore, if you want your drink to glow, position your light behind your subject at 45 degrees, and then position your camera in front of your subject (opposite your light source). This will ensure that your light is within the “family of angles” of what your lens can see, and you’ll get that beautiful color and shine that make cocktails and spirits look stunning.

Play with Gobos for Interesting Light Patterns
A gobo is any object that goes between the subject and light source in order to block light or create a pattern. Some companies sell a projector kit that will allow you to project light patterns onto your set, but you can make your own out of foamcore.
You can also use a variety of everyday objects around your home for a low coast. Etched bottles, faux plant leaves and flowers all make great gobos. Try experimenting and see what you can come up with.

Conclusion
Shooting and styling tips is about implementing these important tips and taking some time to practice. Grab a couple of your favourite drink recipe and get started. You’ll be an expert in no time.
Want to learn more about creating stunning beverage photos? My eBook LightShaping: Getting Started with Artificial Light for Food Photography will give you the perfect foundation for using artificial light. You’ll get a bundle of four PDFs: an eBook that is over 100 pages, a gear guide, and exposure guide, and a principles of light cheat sheet that you can have handy when you’re shooting to help you understand what your light source is going to do as you adjust it.


