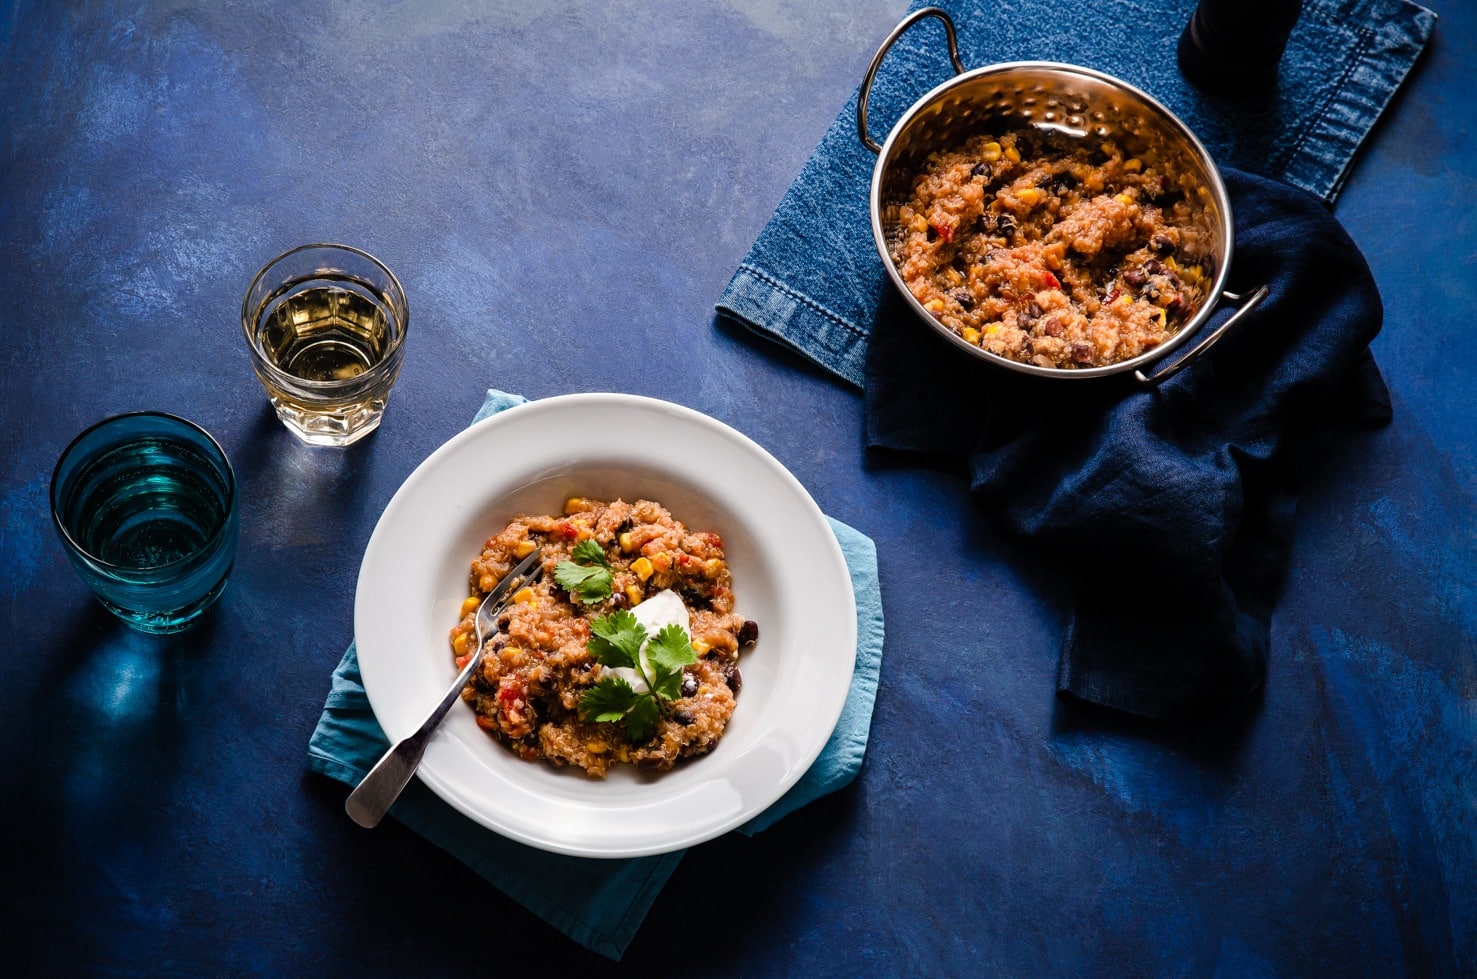
We all know that your choice of food photography backgrounds can have a BIG impact on your photos.
Maybe you’ve purchased expensive professional backgrounds online for this very reason.
Whether hobbyist or pro, most of us don’t have endless amounts of money to spend on our food photography, so today I’m going to share with you my favourite DIY backgrounds for shooting food.
Painted Canvas Backdrop

One of my top picks for photography backgrounds for a magazine quality look is painted canvas.
However, buying professional canvas drops ain’t cheap.
You can make your own for a fraction of the price.
Go to your local hardware store and buy a canvas painter’s drop cloth. These are large pieces of canvas you use to protect your floor while painting your walls at home.
Canvas drop cloths are usually large, so you can cut them into four pieces to get four backgrounds out of one stretch of fabric. Or eight–if you paint the other side, too!
Purchase two to three colours of paint samples in a similar tone for each background. You can buy the paint samples at the hardware store as well. They usually have a large selection.
Note that you may also want to purchase primer. The canvas soaks up a lot of the paint and you may need to purchase more than you anticipated.
Layer the paint on with a small, good quality roller, moving the roller in different directions.
To add more texture, scrunch up a rag or large sea sponge and dip it into the paints. Randomly press the rag onto the canvas.
The reason I love these backgrounds so much is that they have a natural texture that enhances, not comptes with food.
They are also easy to roll up and store away.
Ceramic Flooring Tile
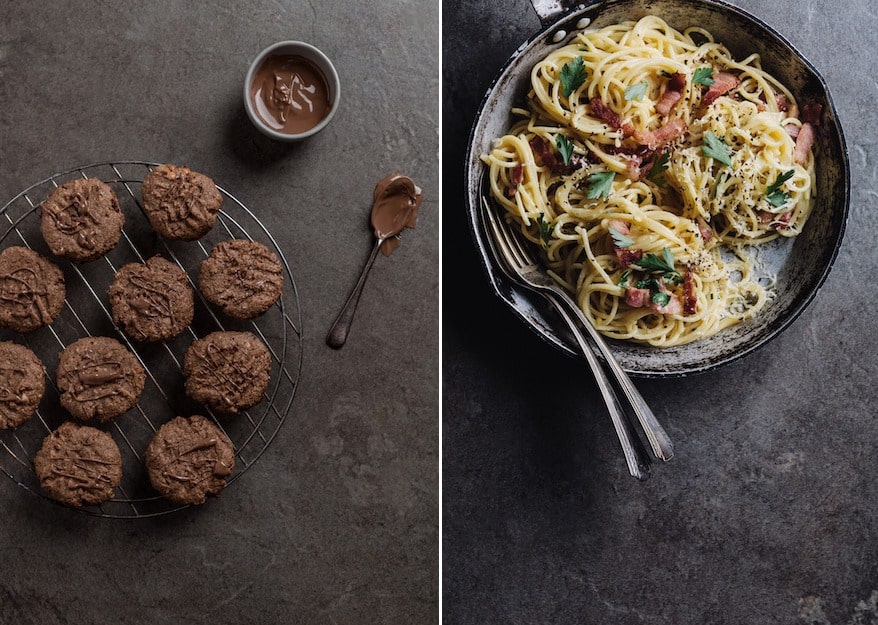
Another beautiful yet simple background is porcelain or ceramic tiles. You can get them from your local home improvement store like Home Depot.
These are inexpensive and look great. They’re easily wipeable, which is a bonus in food photography when you’re dealing with drips and spills.
Make sure that whichever tile you choose that it’s not shiny. The reflections or glare it will cast can be difficult to manage when doing food photography or fix in post-processing.
Also choose a neutral colour and avoid backgrounds that are orange-toned. These can be unflattering to food. Good colours to choose are grey, black, white, or cool brown tones like taupe.
Food is often warm in tone. Shooting on a neutral or more cool-toned backdrop is complementary and enhances the food subject, while warm tones will tend to compete.
Your Own Painted Wooden Backdrops
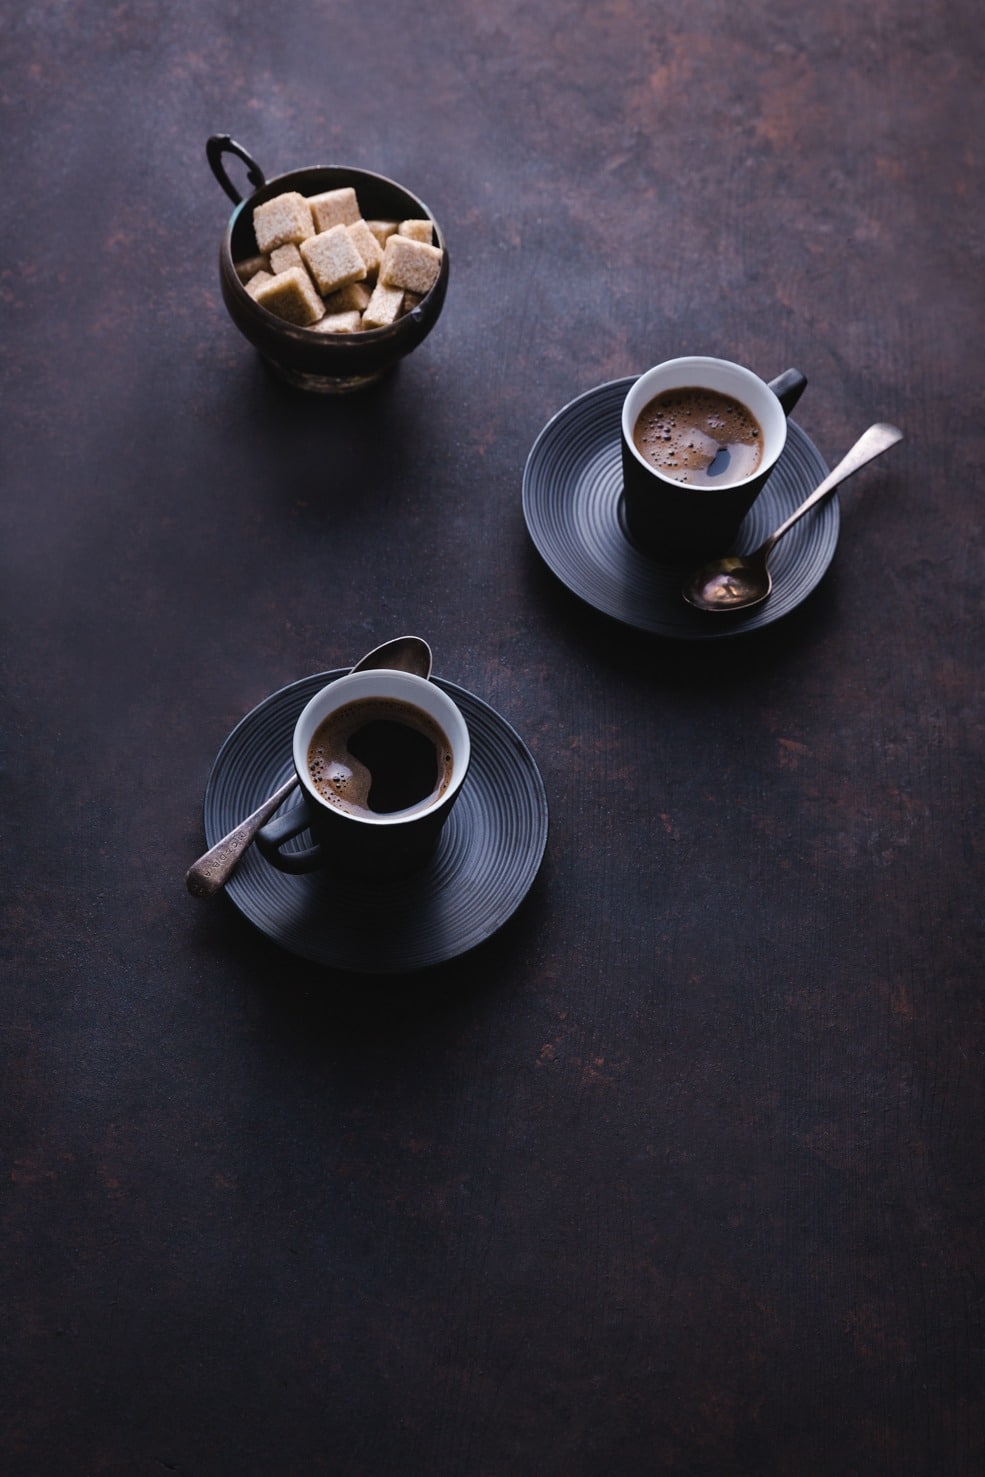
Painting your own wooden food photography backdrops can be lot less costly than purchasing them.
Buy some thin plywood sheets at the home improvement store. The bigger stores can also cut larger pieces into smaller ones, so you can get more mileage out them.
However, ensure that the pieces are at least 2×3 feet to accommodate most of your set-ups.
You can purchase paint samples from the hardware store as well, but craft paint will also do. Make sure to choose water-based paints.
Choose three or four colours in a similar colour family and pour them in the middle of the board. Take a large sea sponge and dab the paint all over the board to create a blended and subtle mottled effect.
Finish with a thin coat of matte, water-resistant sealer. This will prevent wear and tear and food from staining the background.
The nice thing about plywood is that it is lighter and easier to store than some other types of wood used for food photography backgrounds, such as pine or spruce.
Old Cookie Sheet
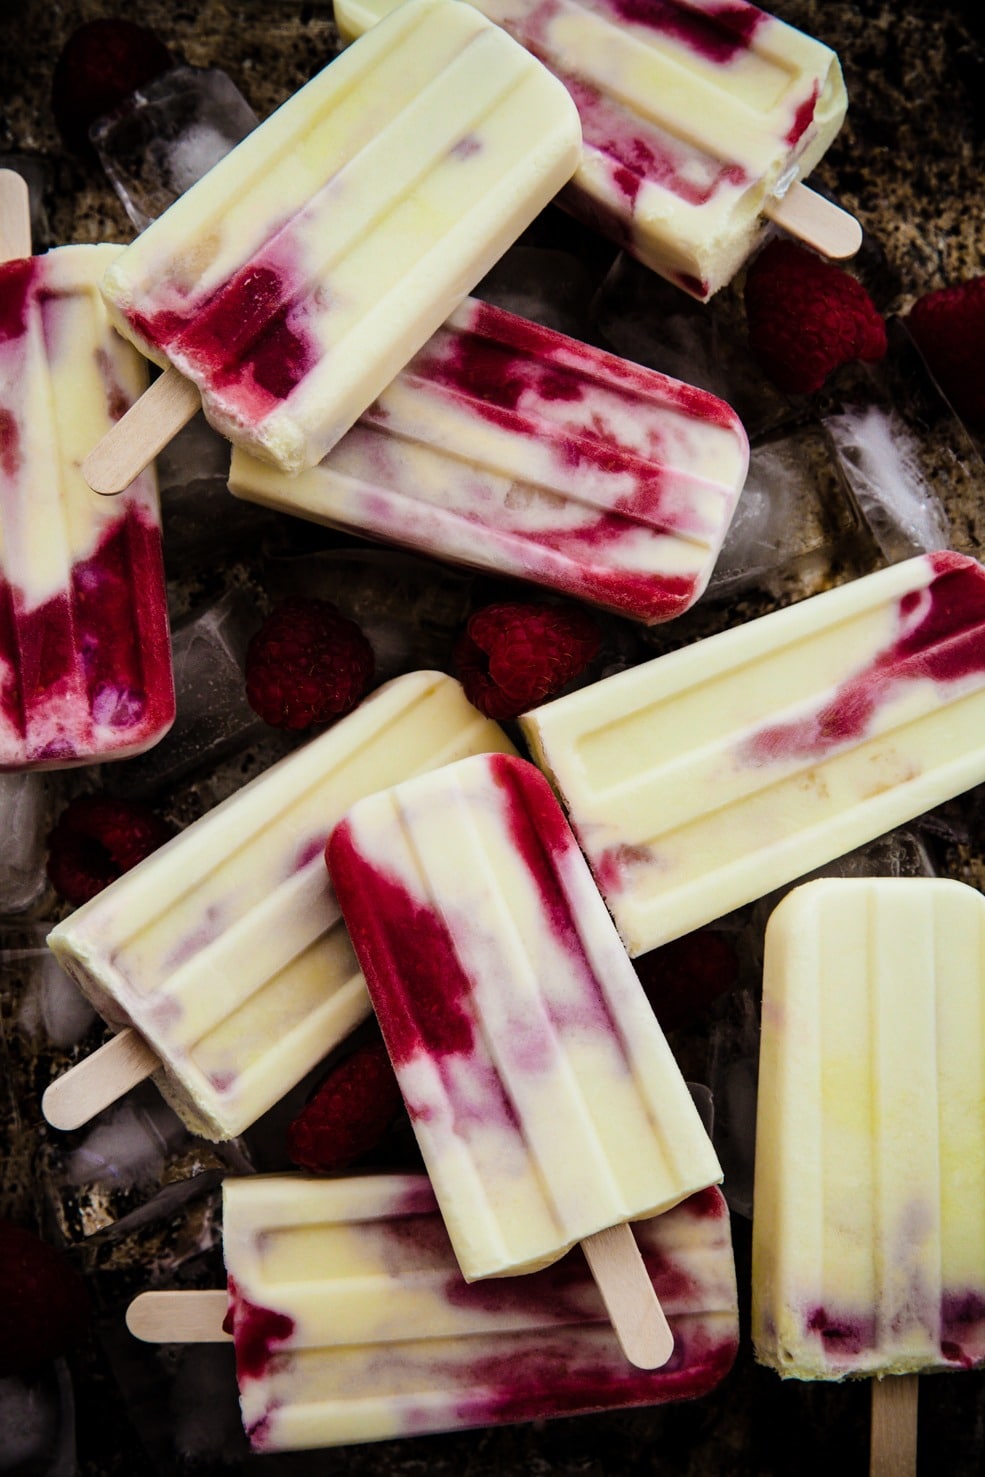
This is another favourite way that food bloggers and photographers add an attractive background and texture to overhead food shots.
It’s such a popular look that all of the big suppliers of wooden backgrounds sell boards that have been painted to mimic the unique and textured look that old cookie sheets bring.
Cookie sheets that are as distressed as possible are ideal.
If your cookie sheets are looking too new or you want to rough them up a bit further, coat them with butter or oil and bake them on high heat until they brown.
Repeat this process until you get the look that you want.
Another nice thing about cookie sheets is that they are wipeable and contain any drippings from foods with liquids properties, or melting ice.
Vintage Tray
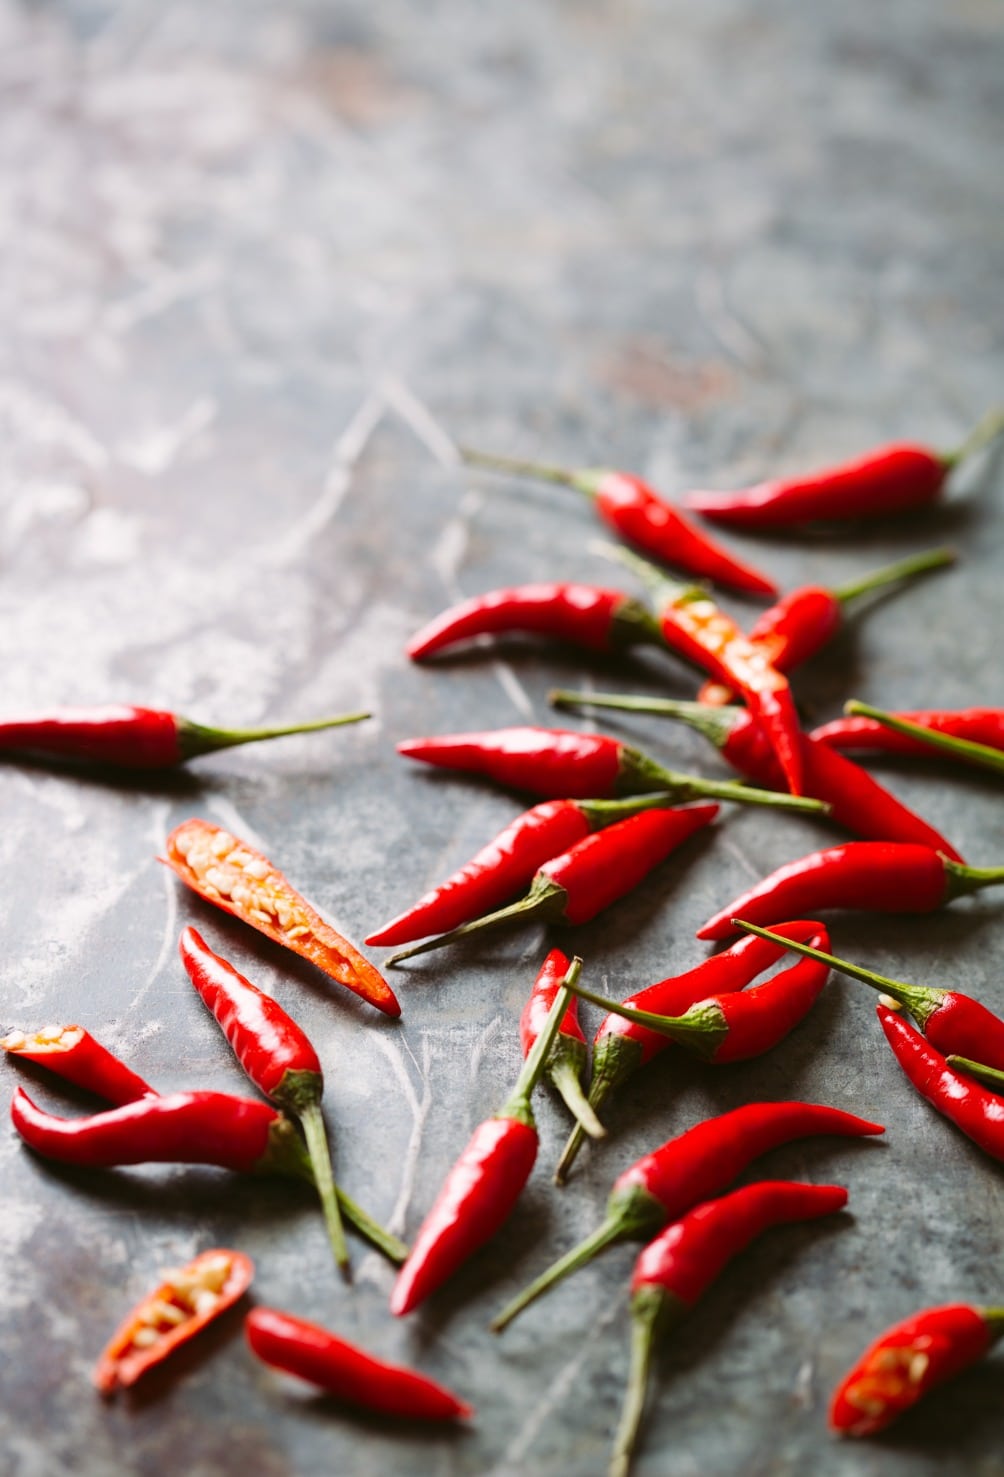
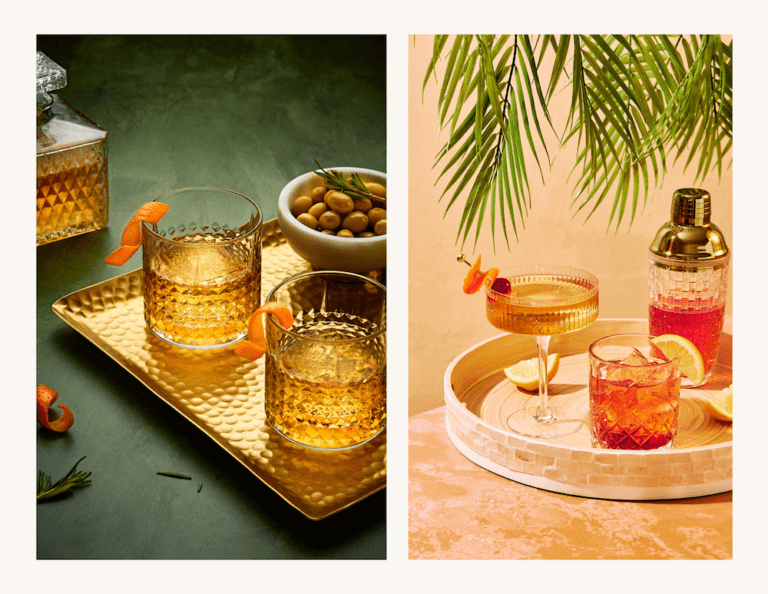
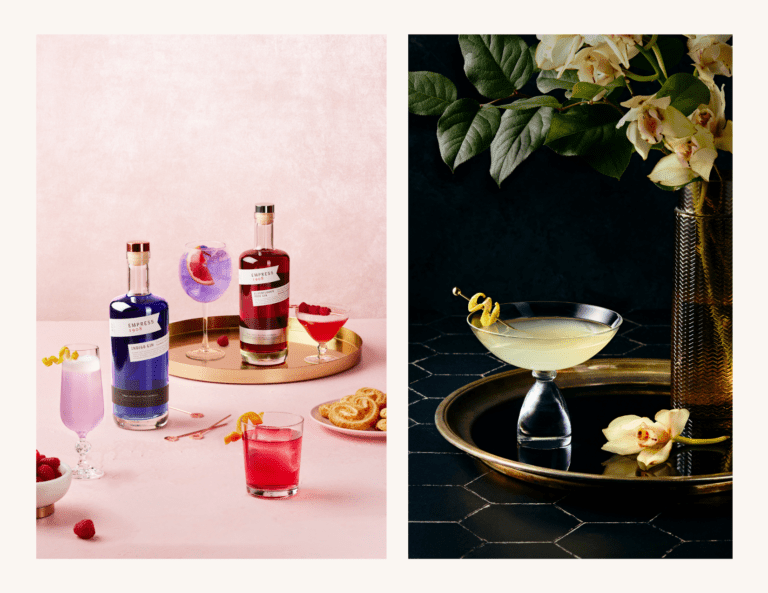
Don’t get rid of any old or vintage trays you may have kicking around. They also make fabulous food photography backgrounds.
Depending on the metal, they will often have a lovely patina that will add something special to your food photography, without a heavy texture that can compete with your subjects.
They look great close up or at a distance, or can be used as an element in telling your food story.
You can often find vintage trays for a good price at secondhand or antique stores.
As with any backdrop, it should not be reflective.
Note, in the images above, the tray doesn’t look overly shiny, even though I have backlit my subject.
Linens
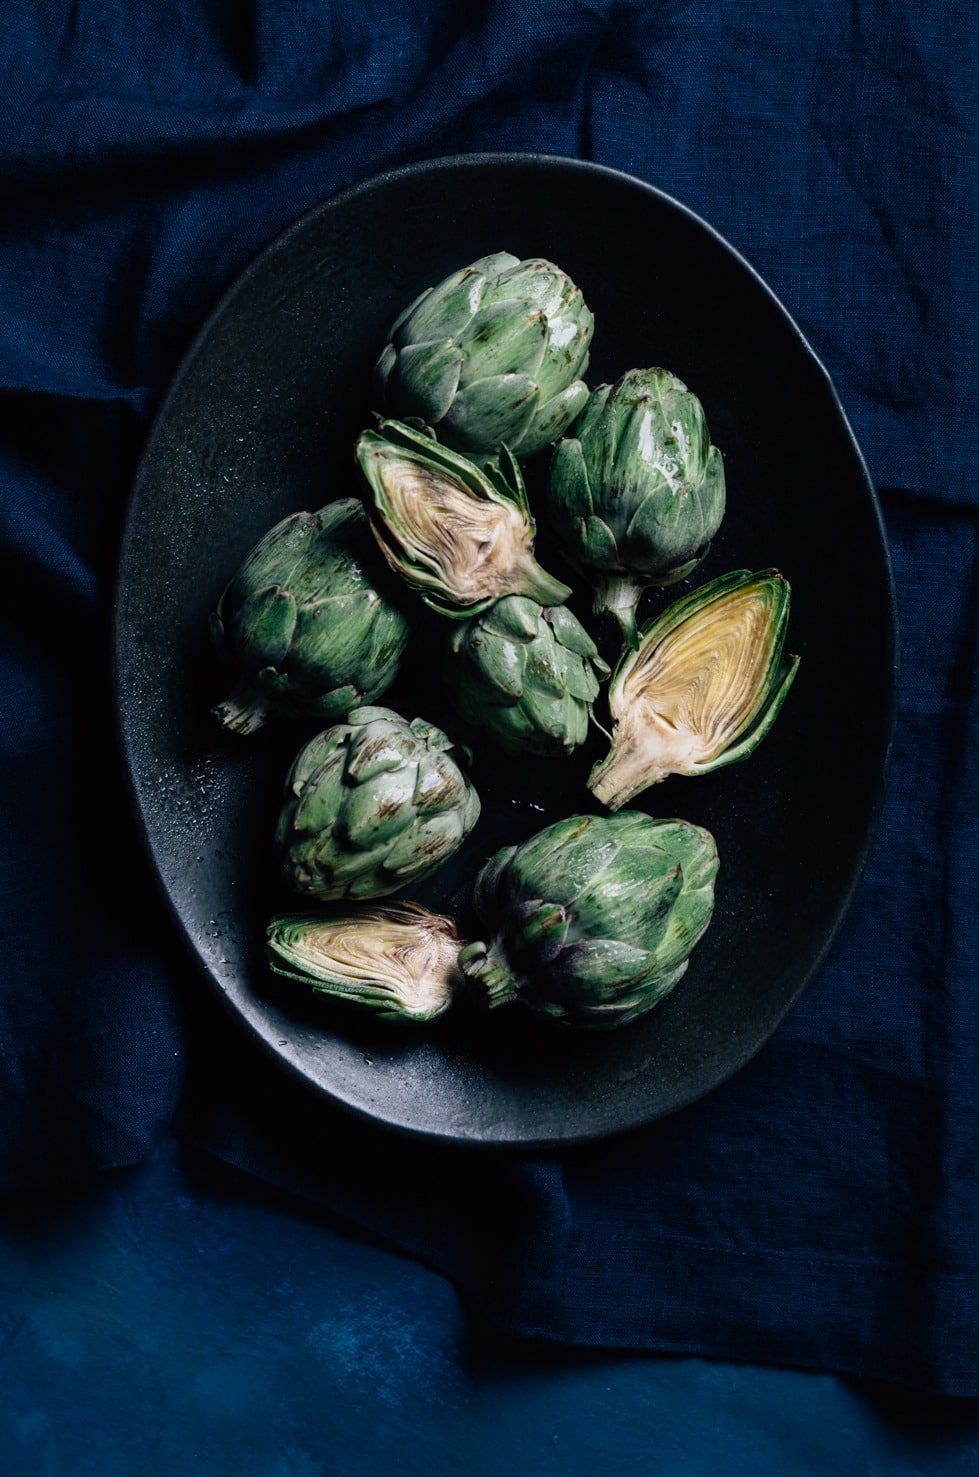
Having a variety of linens on hand is a must for every food photographer and blogger.
These can run the gamut, from natural fabric like linen, to lightly patterned damask tablecloths.
I have a stack of linen napkins purchased from my local home stores and use them often in my food photography. I recommend sticking to neutral colours or shades of blue in general. But you can also choose a brighter colour or something with a pattern, depending on your end goal and desired aesthetic.
They key is that you don’t want your food photography backgrounds competing with and drawing the eye away from your main subjects.
You can use your linen as the entire backdrop or just to cover a portion of another neutral backdrop, as depicted above.
One tip for when you’re covering your entire surface with a piece of linen or a tablecloth is to place another layer of fabric underneath. This will plump it up and make it look more attractive.
Wooden Cutting Boards
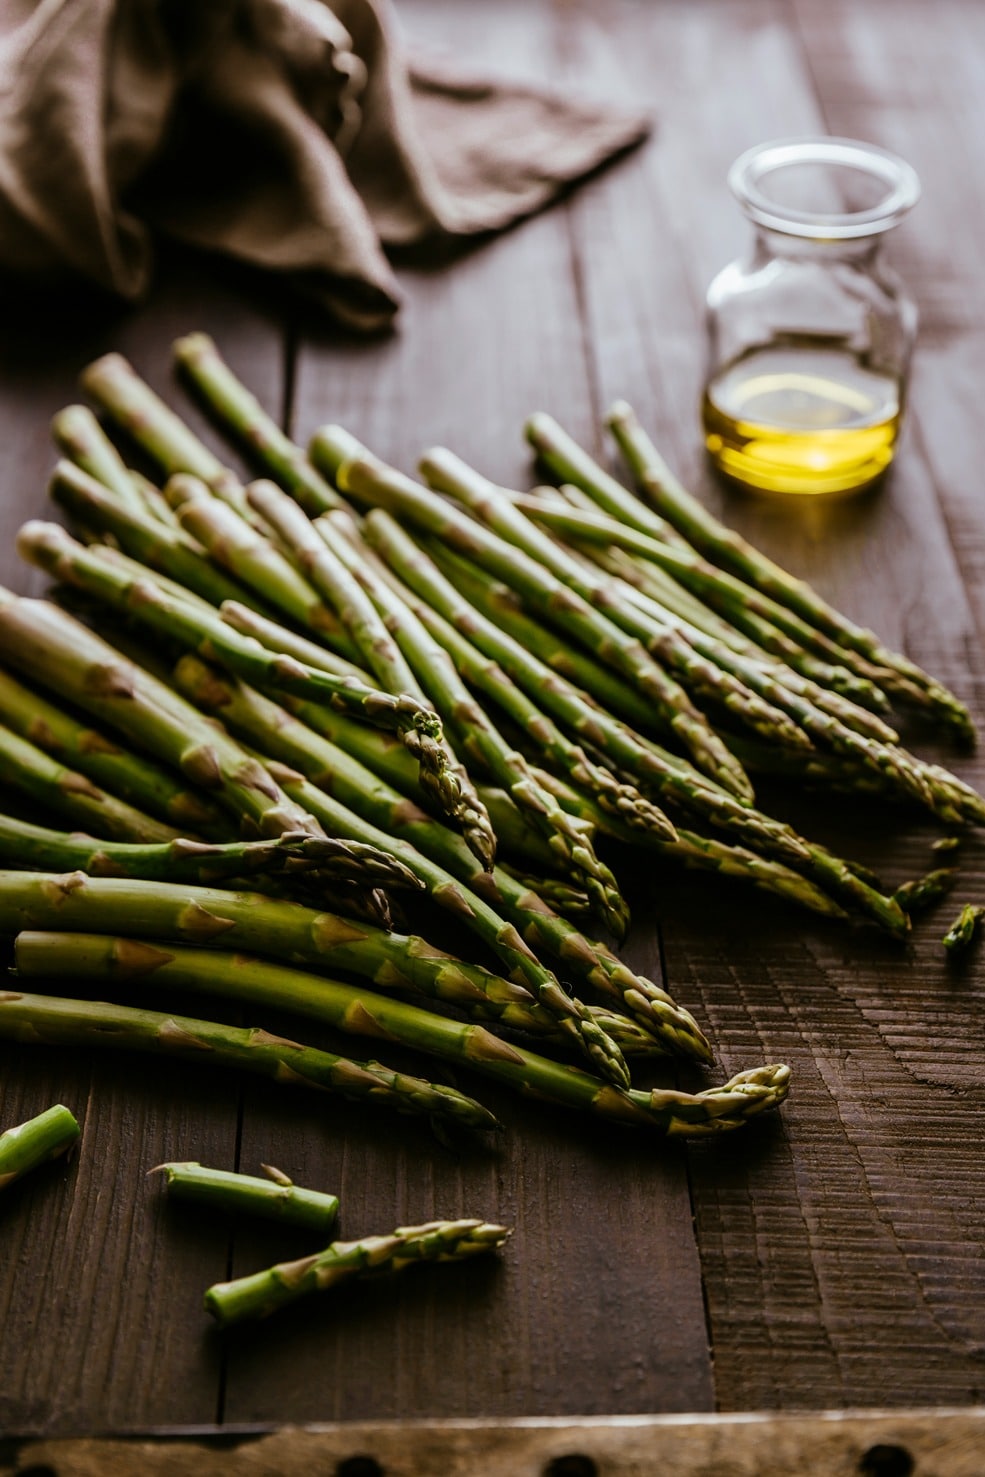
Depending on the size, a wooden cutting board can function as a nice backdrop or be used as a layering piece.
Look for boards with a coarse grain and be careful about purchasing any with a warm, orange or yellowish tinge, as I have mentioned above.
These tone of woods are unflattering to foods and the colour is nearly impossible to fix in post-processing.
What looks a bit warm to the eye may end up looking downright orange to your camera, so avoid this look.
If you can score one, an antique French cutting board is a perfect choice. You can find them on Etsy, but they are not cheap.
Parchment Paper
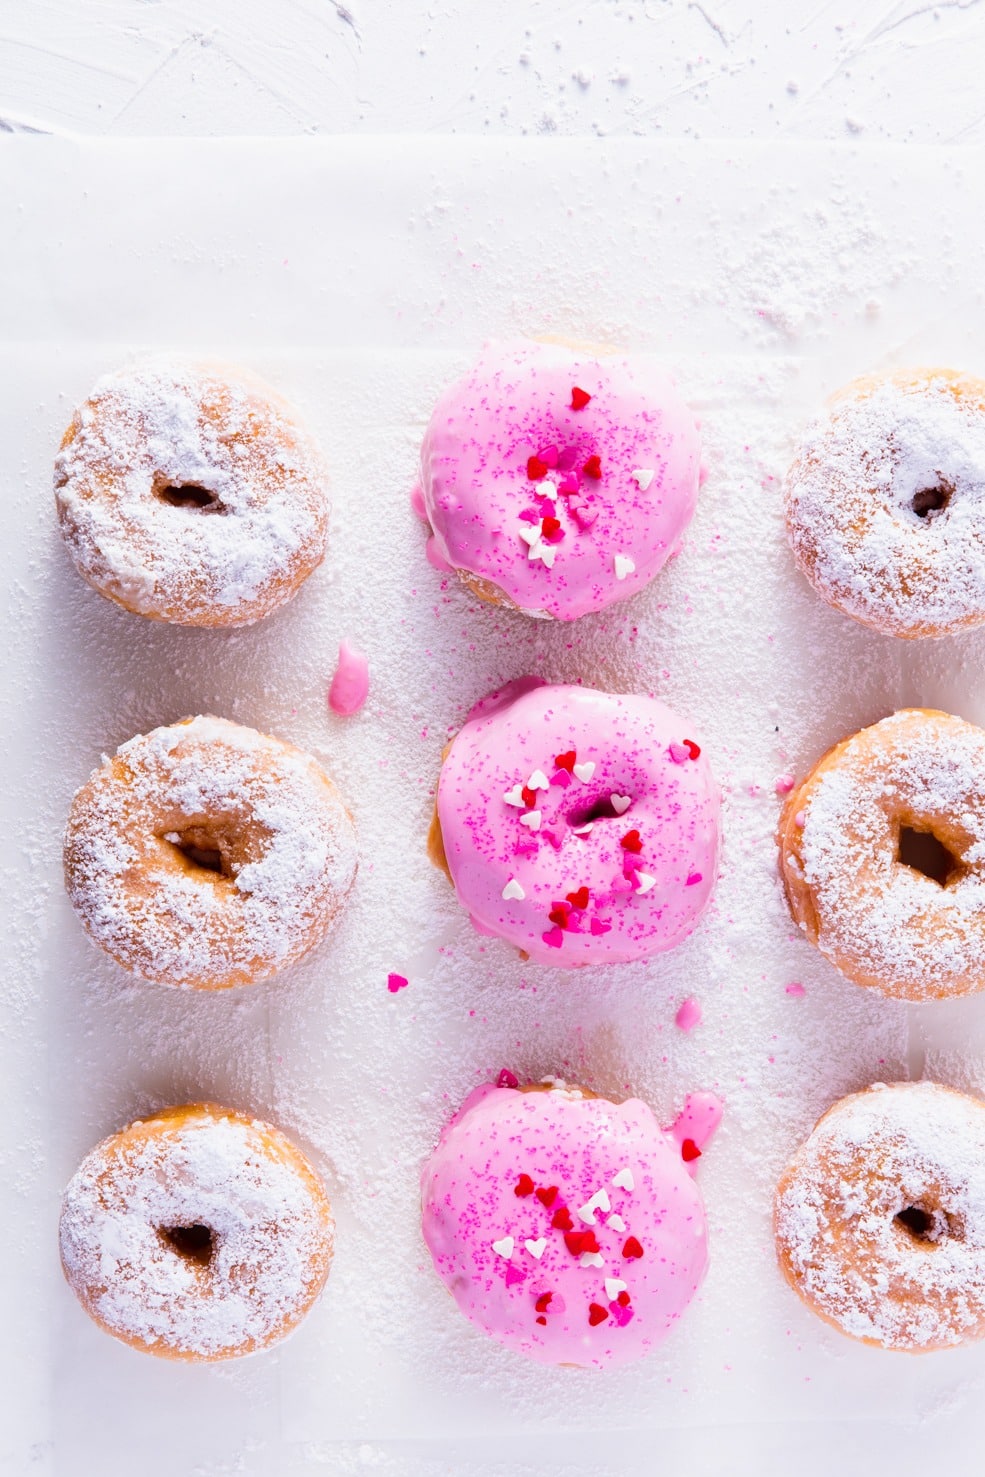
Parchment paper can also be another inexpensive and creative way to add interest to your images.
You can use natural parchment or white parchment, depending on the look you want. White parchment looks great in bright and airy food imagery.
It goes without saying that parchment can be a perfect choice for photographing baked goods, but it also works well with other foods. Natural parchment can look great with meat.
You can choose to crumple it up for added texture, or you can lay it smooth and flat and layer it with other backdrops of your choice, as I have done in the image above.
I sometimes also cut parchment into squares and layer it under foods or in between stacks of cookies or slices.
Parchment paper can also work great when it has been in the oven and is browned or stained. It lends foods a candid, honest feel, and gives the viewer the idea that it has just been in the oven.
To Sum Up
There are so many different ways to create stunning food photography backgrounds without the expense of buying and shipping wooden backdrops from special suppliers.
These are just some ideas and the ones I used most often, but also look at craft papers, contact paper, burlap, and old pieces of wood.
Take the time to experiment with the items you already have around at home before spending big money on costly food photography backgrounds.



4 Responses
Great post!! I love the painted canvas idea and the parchment especially! Always looking for different backgrounds and your post has given me some inspiration! Thanks!
Thank you, Erin. Let me know how you do with them!
I am definitely an extreme beginner in both the food blogging/food photography world and this helped a TON. I always have a hard time trying to figure out what to use and end up usually with the same cutting board. I am definitely going to be getting some parchment paper, linens, and painted canvas from the grocery store and heading to IKEA to look at the tabletops.
I’m so glad you found it helpful. Let me know how they work out 🙂