Whether you’re a beginner or further along your photography journey, understanding fill light and its application is foundational to your work.
In this post, we bring you five essential tips that will transform the way you use light in your images.
Dive into the nuances of soft fill light, the impact of angles and distance, the harmony of fill and ambient light, and the mood-setting power of color temperature.
Plus, discover how to modify your fill light for creative, mouth-watering effects that will make your viewers feel like they can almost taste your dishes.

Tip 1: Soft Fill Light for Subtle Shadows
To create inviting food photos, it’s crucial to manage shadows gracefully. Fill light, a low-intensity light source, minimizes the harsh shadows produced by your primary light–typically your strobe.
Begin with a softbox or diffuser in front of your artificial light to soften it. This diffused light scatters gently across your subject, reducing shadows without introducing distracting highlights.

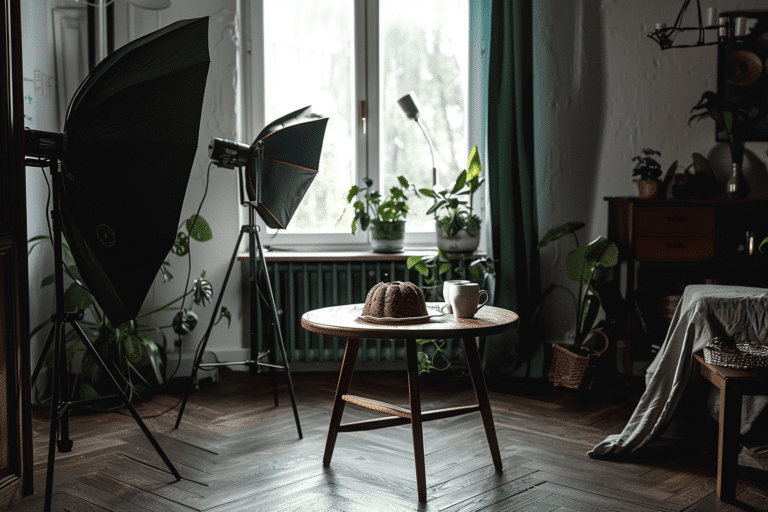
You can see the humungous softbox I was playing with in the studio the other day in the photo above. I often have a softbox at a side-backlighting position set at 1/4 power of the key light for low intensity, to add depth without pulling attention from the foreground.
Picture a decadent chocolate cake. Illuminate it from the side for depth and texture with your primary light. Add a fill light on the opposite side to brighten the shadows, highlighting the cake’s intricate details.

Tip 2: Angle and Distance Matter
Proper placement of your fill light greatly influences the final look of your photo. Finding the balance between shadow reduction and a natural appearance is key.
Experiment with angles and distances. Start with a 45-degree angle from your subject. This angle softens shadows without overpowering your primary light.
Varying the angle alters the shadow intensity. A steeper angle enhances drama, while a shallower angle yields a softer, evenly lit result.
Adjust the fill light’s distance for more or less intensity. Closer provides stronger fill, while farther offers a subtler effect. Fine-tune these variables to suit your desired style.
Tip 3: Balance Your Fill Light with Ambient Light
Your fill light doesn’t always need to be an additional artificial source. Often, you can use available ambient light effectively.
Blend ambient light with your primary source to achieve balance. This might involve positioning your setup near a window or using a bounce card to redirect natural light.
For example, if you’re photographing a breakfast scene with a beautifully lit plate of pancakes and coffee, you can strategically position your setup near a window. The window’s soft daylight will act as a natural fill, softly illuminating the shadows on the opposite side of your primary light source.
By seamlessly blending artificial and ambient light, you can achieve harmonious balance in your food photography, enhancing your subjects beautifully.

Tip 4: Color Temperature Can Enhance Mood
Understanding color temperature’s role in photography allows you to set the mood of your image. Fill lights with a warmer color temperature can evoke a cozy, appetizing atmosphere—ideal for homestyle dishes or baked goods. Conversely, a cooler fill light might suggest a fresh, clean feeling, perfect for beverages or salads.
Experiment with different bulbs or gels to alter the color temperature of your fill light. For instance, while photographing a steaming bowl of soup, a warmer fill light can enhance the steam’s visual impact, making the dish look piping hot and inviting. Pay attention to how the color of the light complements the food, adjusting to emphasize the meal’s best attributes.
Tip 5: Modify Your Fill Light for Creative Effects
Don’t be afraid to get creative with your fill light to add unique effects to your photographs. Utilize various modifiers like flags, nets, or gobos to create patterns and textures with your fill light. These can add an element of interest or tell a story within your food scene.
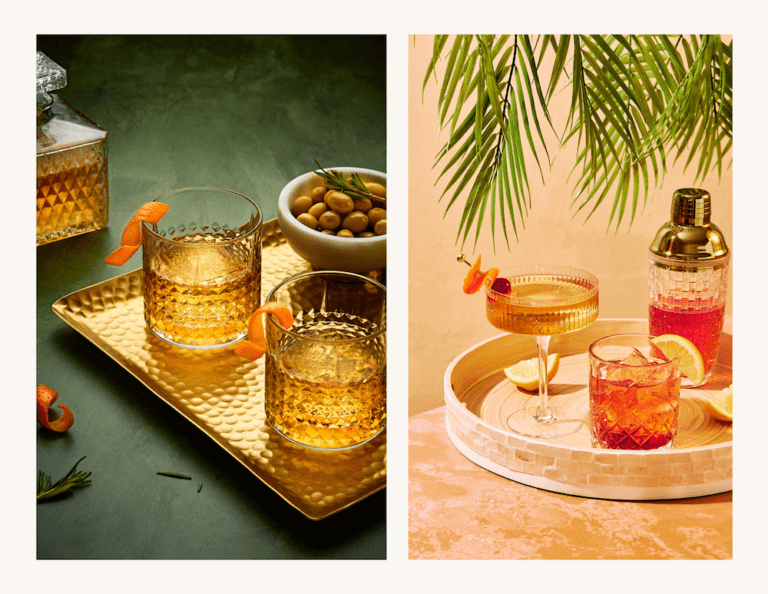
For example, casting a patterned shadow with your fill light can suggest a particular time of day or setting, like the dappled light of a palm tree’s shadow on a tropical cocktail. Using a snoot or grid can focus your fill light on a specific part of the dish, drawing attention to that detail. By modifying the quality and shape of your fill light, you can add layers of depth and narrative to your culinary snapshots.

Incorporate these additional tips to continue enhancing your skills in food photography. As with any creative pursuit, exploring and pushing the boundaries of conventional techniques can lead to exciting discoveries and signature styles. Keep practicing, and watch your photography improve with every shot.

Want to learn more about creating stunning beverage photos? My eBook LightShaping: Getting Started with Artificial Light for Food Photography will give you the perfect foundation for using artificial light. You’ll get a bundle of four PDFs: an eBook that is over 100 pages, a gear guide, and exposure guide, and a principles of light cheat sheet that you can have handy when you’re shooting to help you understand what your light source is doing as you adjust it.


