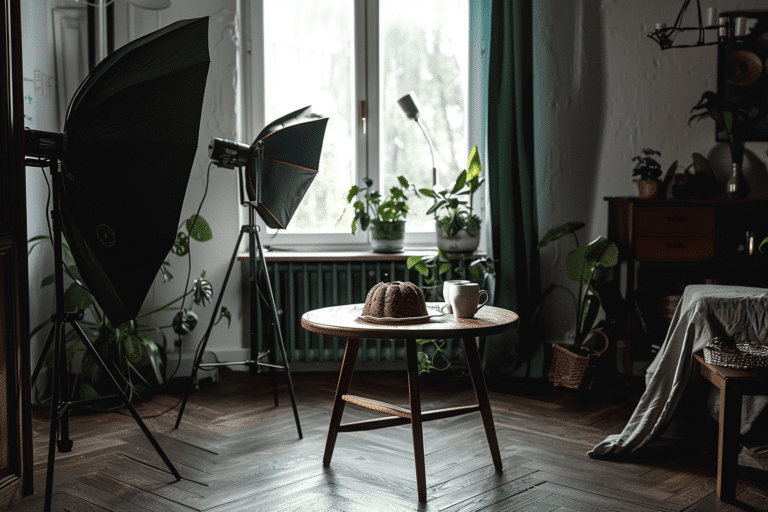
The best thing about working with artificial light—especially with flash—is how much control it gives you.
You can work at any time of day or night and achieve consistent light from frame to frame. You can craft whatever light you want to tell the story of your food.
As food photographers, we tend to get caught up in the details of our composition and other aesthetic considerations, such as props and surfaces, and forget about light.
As long as we are mimicking natural window light with our strobe, we think we’re good. Thus, we can end up stuck in a rut and miss out the vast opportunities artificial light gives us to get creative with lighting.

Lighting is a Compositional Element
Light patterns are important compositional elements. This applies to both simple and more complicated light patterns.
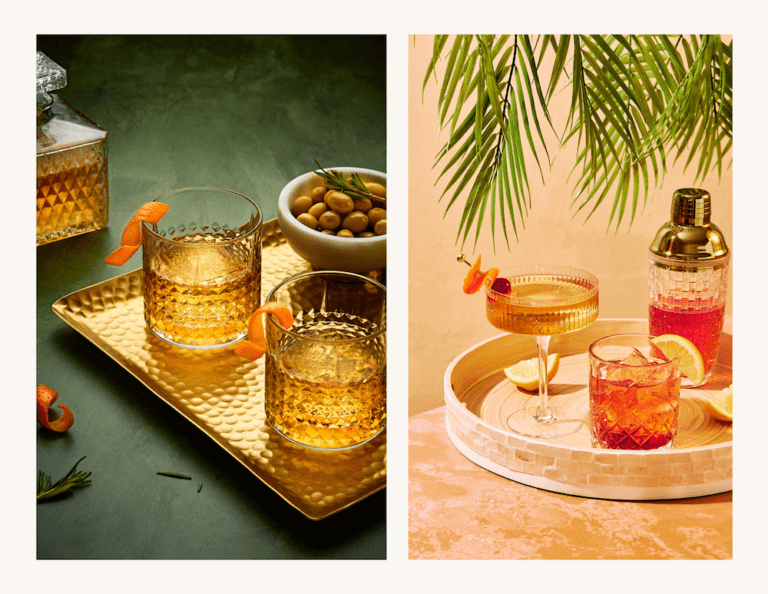
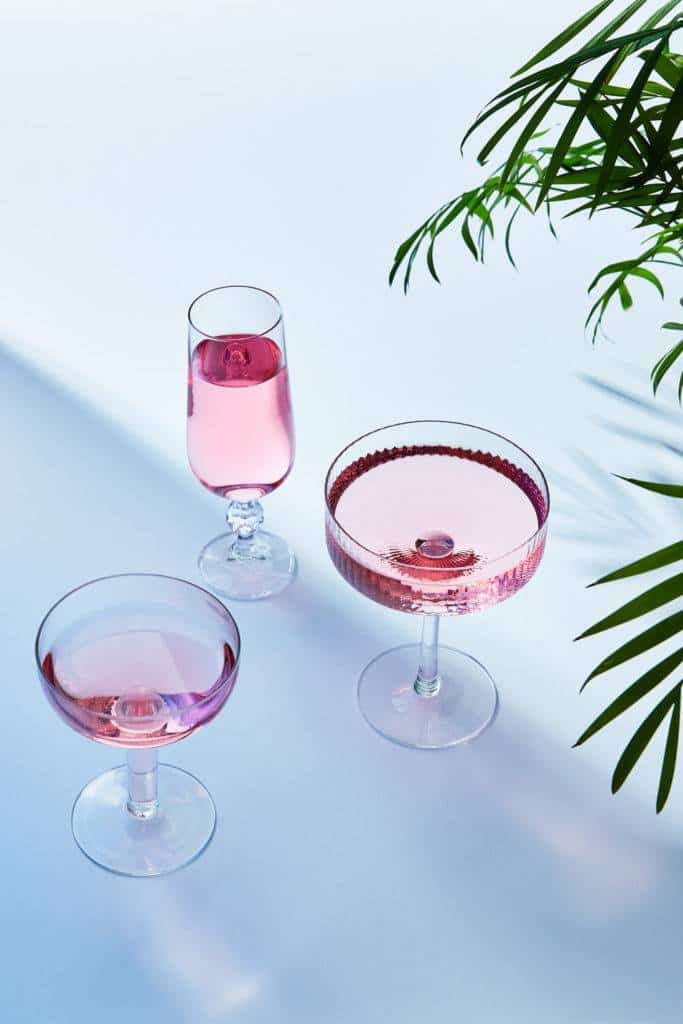
In the image of the cocktails below, the light pattern of the leaf is an important compositional element. Without the pattern, the image would be very plain, with too much negative space, and no storytelling.
The simple addition of the leaf provides positive space, color, and a feeling of summer, and a narrative of drinking cocktails in a tropical location.
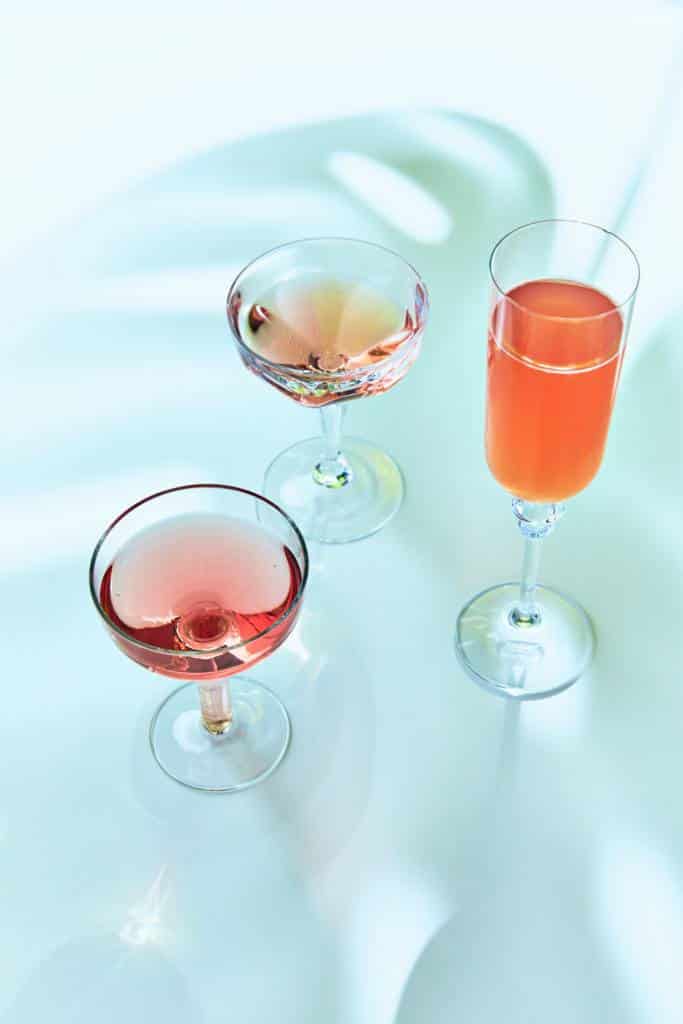
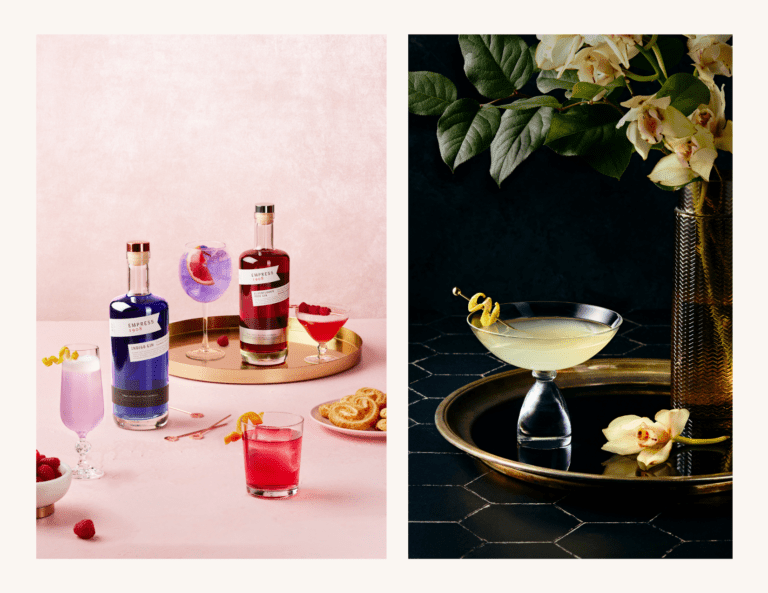
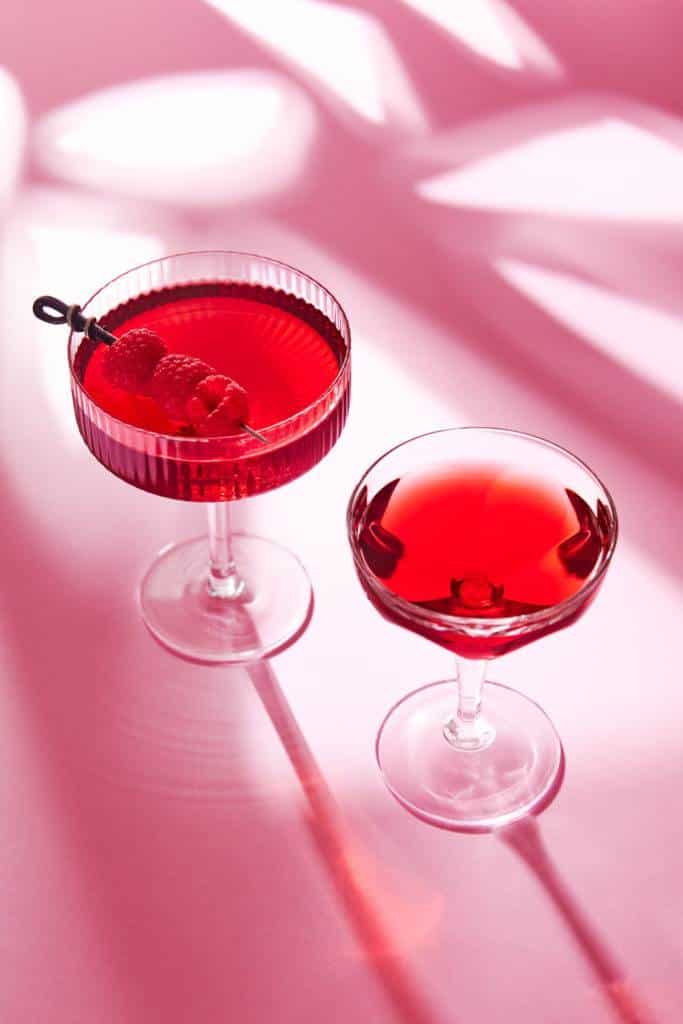
Now consider these images of cocktails below. These photos are plainer, but the hard light has created a light pattern with the etched glass, which elevates the images.
This is why cocktails shot in hard light can be so minimalist yet effective. The light is very obvious and a crucial part of the storytelling.

Using a Gobo
The lighting pattern in the previous images was created with a ten-dollar artificial Monstera leaf from Ikea, held in front of a Godox SL60W continuous light. I have also used it in the shot of matcha below.
In this case, the leaf was used as a gobo. Gobo is short for “go-between optics”.
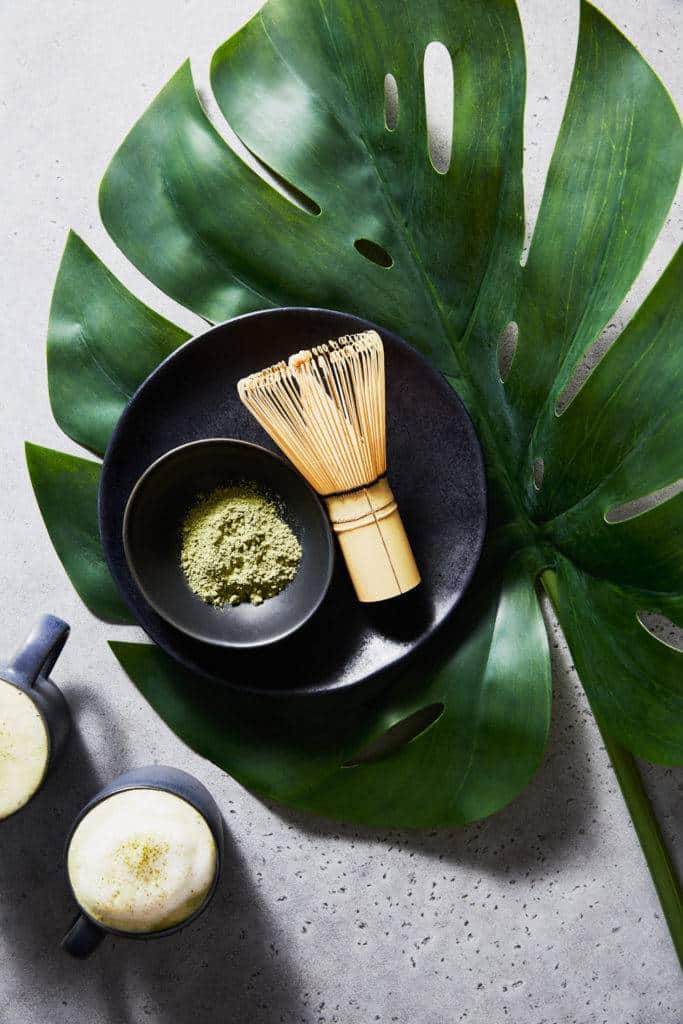
For the purposes of studio photography, a gobo is typically a stencil that casts a pattern of light onto the scene. You can buy professional gobos for photography, but these can be very expensive. It’s more cost effective to make your own, and you can easily do this with a piece of foamcore from the dollar store and a razor or boxcutter.
However, a gobo doesn’t necessarily have to be a stencil. As seen from my leaf photo, almost anything can be used as a gobo if it casts a particular pattern onto the scene. Etched glassware is an example I just mentioned.
You probably have a lot of simple items around your house that can function as a gobo.
Using a Projector Attachment
If you don’t want to DIY it, there are professional options. One of these is a projector attachment, such as this one from Godox.
It’s compatible with any Godox LED light to cast a variety of patterns onto your scene, including star and leaf patterns and Venetian blinds. Other companies make projector attachment and gobo sets as well, like this one from Dedolight.
Aputure also offers a 10-piece kit, which you can get through Amazon or B+H Photo.
A projector attachment is basically a snoot that you attach the gobos to.
Blocking the Light
Blocking the light is a variation on using the gobo.
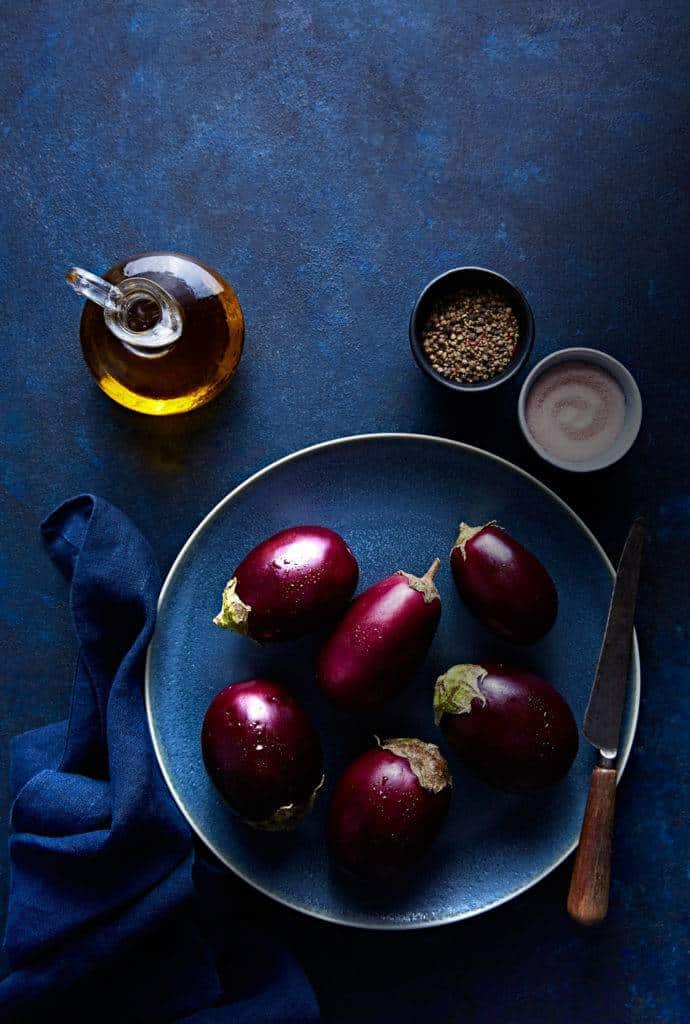
One of my favorite techniques (especially for flatlays), is to block the light on the edge of the frame with a bottle or other opaque object. This creates a shadow that implies a greater story than what is seen in the frame.
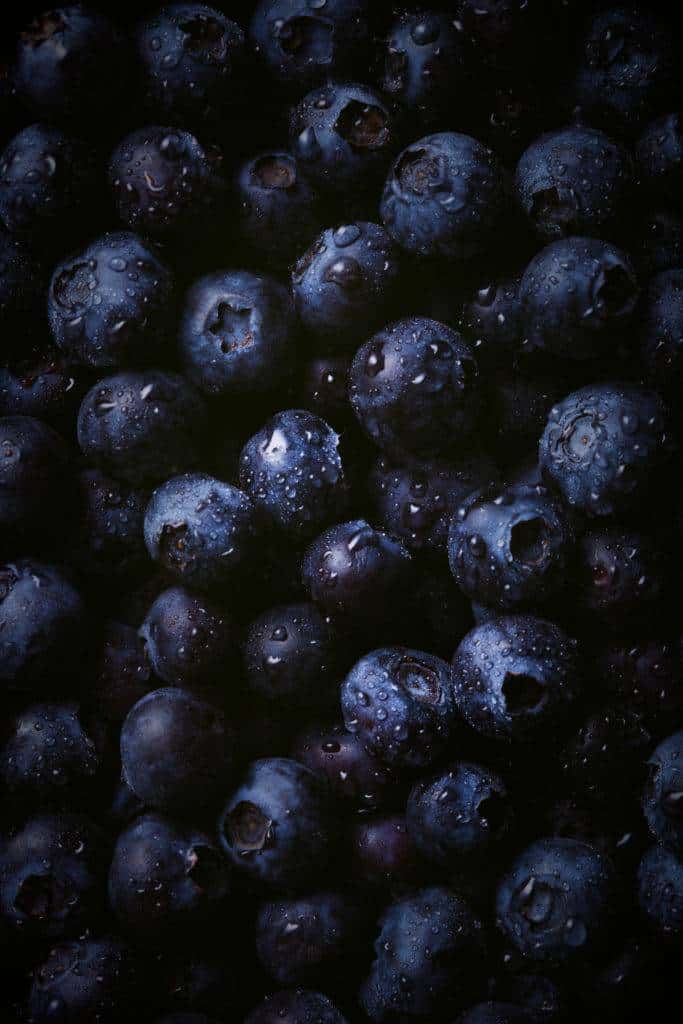
Shadows give depth and mood to your work, so it’s worth taking a moment to think about the story you want your image to tell, and if shadows are an important part of that.
Some images are very light and bright (although they should still have a bit of shadow) while other photos can benefit from the mystery that a few extra shadows bring.
Carving Continuous Hard Light
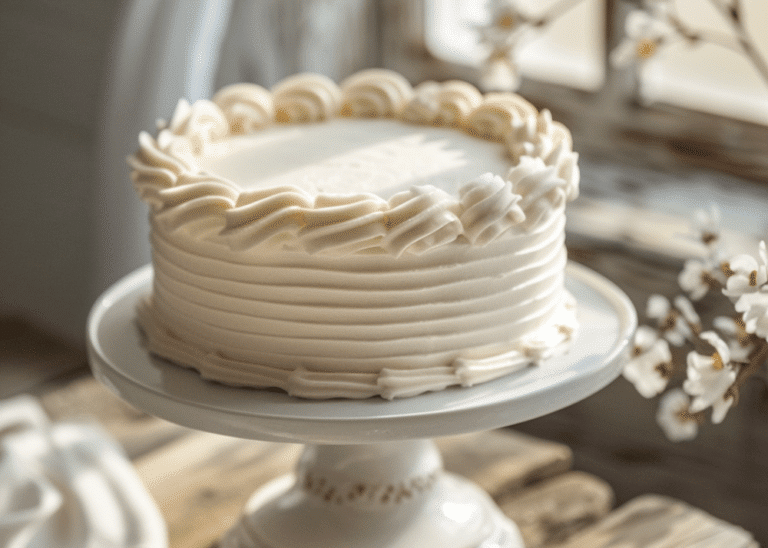
In the image below, a simple light pattern was created by blocking some of the light with a diffuser. This allowed the hard light created with an undiffused light source to hit the scene, while softening some light as well. Mixing the two different light qualities added interest to the image
Think of the various ways you can use diffusers and black or white cards of fomcore to carve or bounce your light. Giving the light shape and depth can be as simple as demonstrated in the light below or can take a more complex form. You can utilize mirrors, for example, to bounce light into a very specific or small area.
One of my favourite tips to is to use a dentist’s mirror—a very small mirror with a handle—to direct light into a very specific part of my frame in macro shots. These are an inexpensive and portable light shaping tool that can be an indispensable part of your food photography kit.
I hope this article has given you some ideas about how you can approach your lighting more creatively.
For more tips, be sure to check out my eBook Lightshaping: Getting Started with Artificial Light for Food Photography. It comes with three bonuses, including a gear guide and a lighting cheat sheet you can have on your phone for tips while you’re shooting.

