When it comes to food photography styles, bright and airy shots are universally popular. They lend a soft and sunny mood to a photo.
However, this style can be difficult to pull off with artificial light, especially with scenes that have a lot of white in terms of props and backgrounds.
It’s easy to make the image look flat or blown out, with none of the shadows and contrast that make food photography interesting. It’s a lovely aesthetic, but one that is easier to achieve with natural light.

If you’re an artificial shooter and have been struggling to replicate natural light and achieve that coveted airy look, there are a couple of approaches you can take.
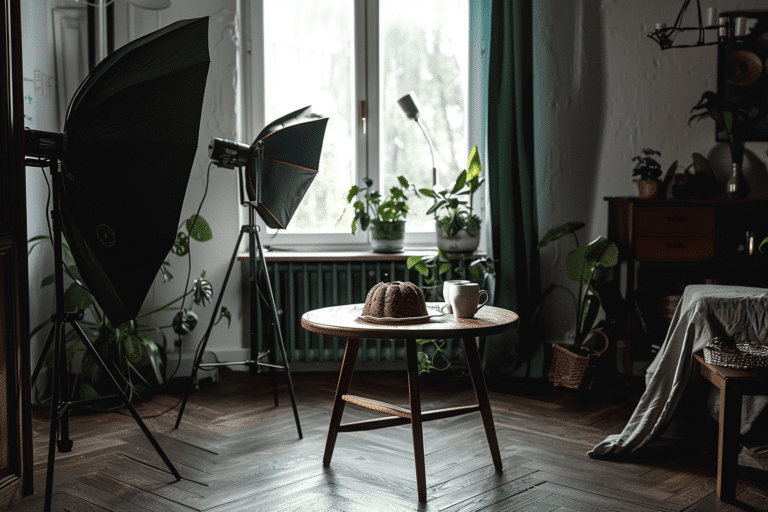
The first way is to use the largest softbox you can and position it close to your subject, at the edge of your table or set-up. A larger soft box will give you a broader, brighter light source, which when positioned close to your subject will wrap around it and provide soft shadows.
With food photography, mimicking natural light is usually the goal, and this method works beautifully.
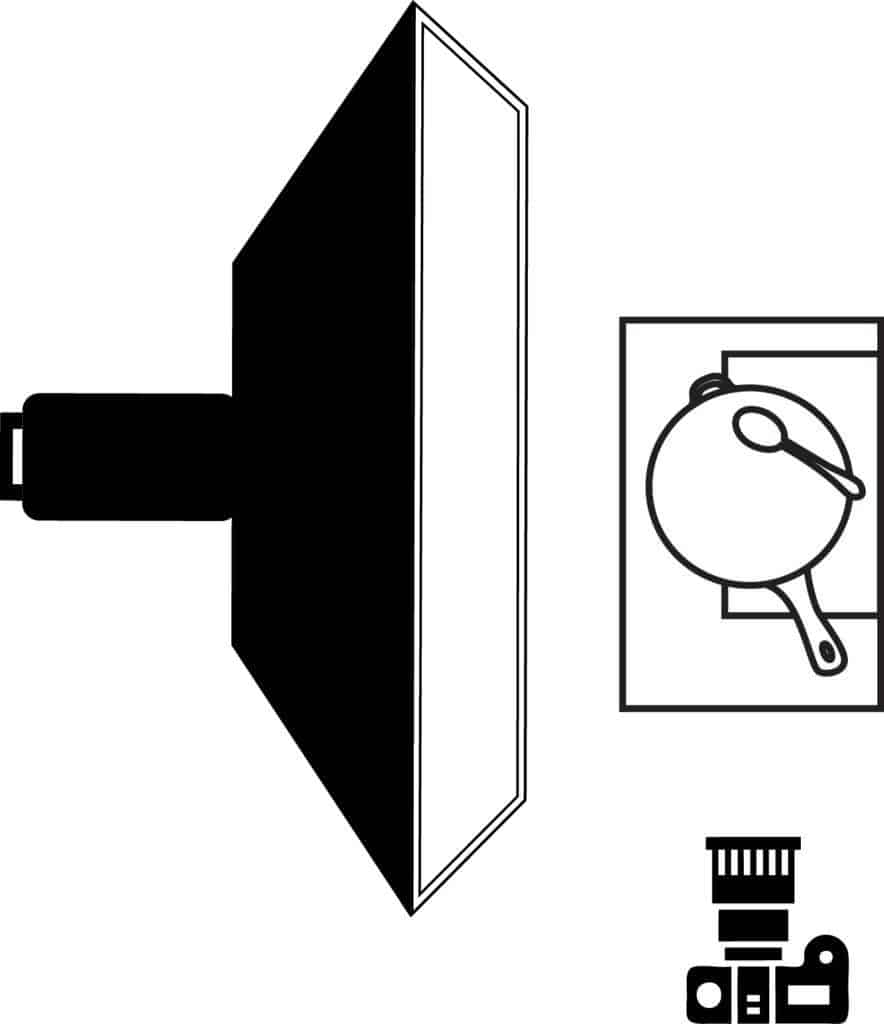
The other way to create a bright and airy look is to use flash and bounce the light that you’re using against a white wall or a large piece of white foamcore.
In this case, you’re creating what is called Reflected Light.
The light will wash across your subject, giving you directional light as opposed to the flat light that seems to be the challenge in shooting high key images.
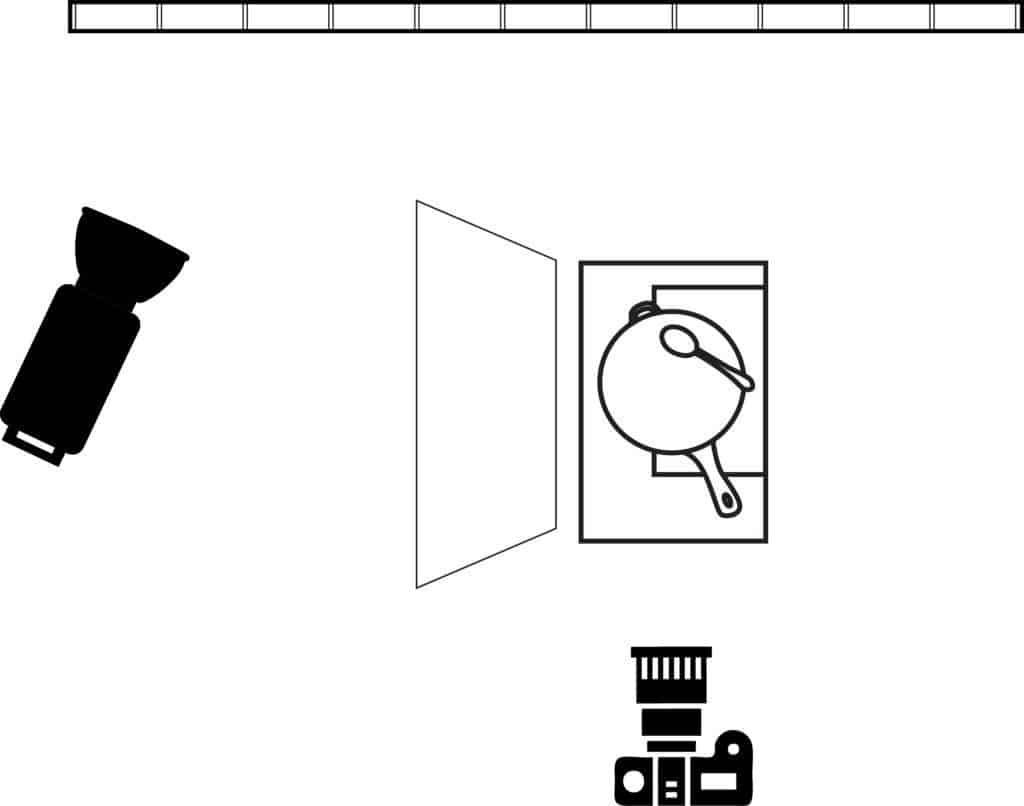
The caveat with this lighting approach, is that you need a higher output of power from your flash than you normally might use because you’re bouncing the light.
If you don’t have a white wall to bounce the light off of, you can use a large piece of foam core. These larger pieces are usually available at art supply stores. You can simply attach the foam core to a c-stand or light stand behind your set.
For this set-up, you’re best to use a modifier that will focus most of the light emitted from the flash onto the wall or foam core, like a standard reflector dish.

However, even with a narrow modifier, you’ll still get light bleeding onto your set. You’ll have to block some of that light from blowing out your subject with a piece of foamcore. This will also give you the desired directional light.
In this set-up, you’re using the lighting principle of angle+incidence. The light will hit the wall at a 45-degree angle and wash across your food subject, creating directional light and that coveted light and airy look that doesn’t fall flat.
But what if you’re challenged for space or only have a small softbox or light source? In these cases, your light ends up being too directional and might look too harsh for the bright and airy feel you want. If so, it can be remedied by adding extra diffusion between your soft box and set-up.

Shooting bright and airy food images can be challenging, but often a few tweaks to your lighting is all you need.
Want to learn more tips on shooting with artificial light? Check out my ebook LightShaping: Getting Started with Artificial Light for Food Photography.
