As a food photographer, I shoot in restaurants from time to time. My work is studio-focused, but I sometimes get hired by chains or high-end restaurants —particularly those found in hotels.
I’ve written a couple of blog posts about shooting in restaurants, which you can find here and here.
This post will focus more on the gear and workflow around shooting for restaurant clients.

The Creative
In my experience, a lot of clients are not totally sure what they’re looking for. They just know they need images. Some of the more organized ones will show you a mood board or even a brief, but these will often be too abstract to give you a clear idea what they want.
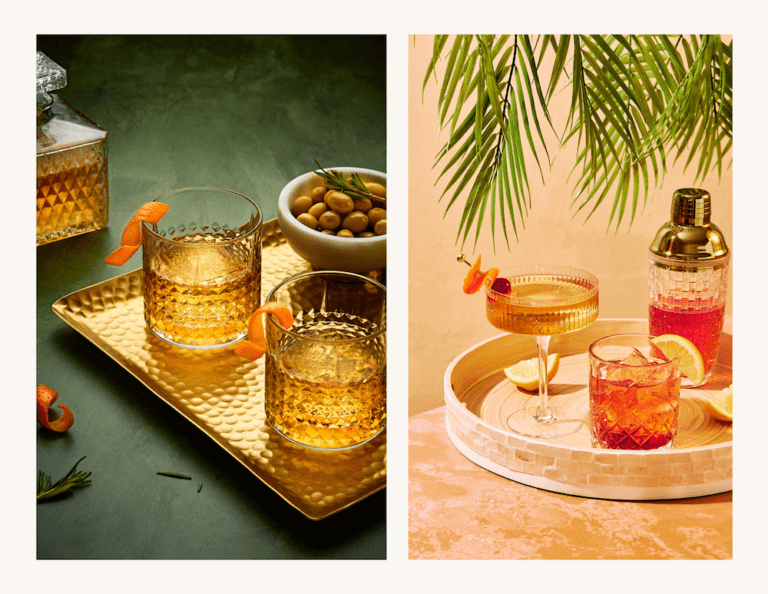
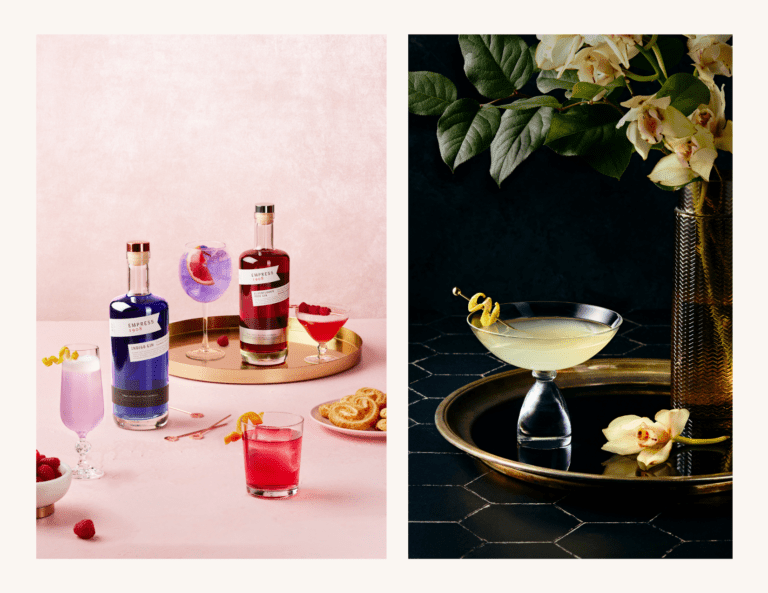
Before you can shoot, you need a shot list and a firm idea of the aesthetic that will best fit their branding. Will it be dark and moody bar shots? Bright and bold shots of their summer menu? Nail this down.

The Test Shots
Next, I take a few test shots at home where I play with the lighting and composition. Not only am I more prepared going into the shoot, but I can show the client my understanding of the look that is sought and we can tweak from there.
This is not necessary to do with all your clients, but it can be a good idea if you have the time and you’re getting paid well for the shoot and want to build a long-term relationship with the client.
I do recommend testing your lighting, however. As you’ll likely be shooting with artificial light, you’ll want to make sure that your gear is in working order and you have the right modifiers for the shoot.

The Gear
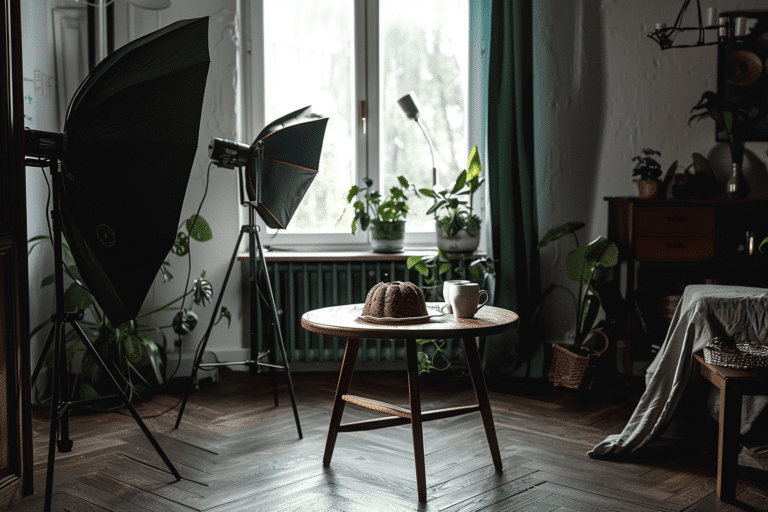
When I shoot in restaurants, I bring a lot of gear. I don’t show up with a tripod and speedlight. I essentially bring a whole studio with me, including a c-stand and two types of monolight—flash and continuos.
Also, many restaurant clients want their photos to look like something out of a foodie magazine. They don’t want to use their tables or capture the ambiance of the room. Some don’t even want their own cutlery and dishes in the shots. I always bring some cutlery, napkins, and several backgrounds that I plan on using.

My gear list for restaurant shots is as follows:
- C-stand
- Laptop with Capture One Pro
- Tethering Cable by Tether Tools
- Elinchrom Pro HD 500 monohead lights (set of 2)
- Godox SL60W continuous light if I’m shooting beverages
- Reflector dishes and grids for my lights
- Large softbox
- Large diffuser
- Light Stands
- Black and white foamcore for bouncing and flagging light
- Orange and blue gels
- A-clamps
The Assistant
You may not think you need an assistant for a restaurant shoot but I promise that if you bring one, you’ll be so glad that you did. An assistant can help you set up and tear down the set, liaise with the kitchen, and overall make the shoot a lot less stressful.
I’ve shot with an assistant from my very first restaurant shoot and continue to do so. If there is no budget for assistant, I explain to the client that it helps me work faster and get more shots, which turns out to be more economical. If there still is not budget, I pay the assistant from my own pocket. It’s that important to me.

The Gallery
If time permits, I usually shoot at least a couple of variations of each item on the shot list, and make sure to include a variety of vertical and horizontal shots overall—unless otherwise requested. I don’t send the client all the shots from the shoot. I give them a choice via a gallery that I submit to them after the shoot. The number of images they get is the number agreed on in the contract.
These images are edited but not retouched. That is the final step once the client has made their selects.

The Final Edits
Once the client chooses the photos they want, I finalize the editing in Capture One Pro, my RAW editor of choice, and retouch them at 100%. I get rid of any dust and use a combination cleaning techniques in Photoshop to make sure they look clean and refined.
Sometimes I straighten props or glassware if they look distorted or use focus stacking on images that I want to look sharp throughout (you need to know this is the plan when you’re shooting so you can take three images with three different focus points and blend them together in Photoshop.

Conclusion
A lot of food photographers start their careers shooting restaurants, but they’re actually fairly challenging to shoot. Restaurants are usually dark and have overhead lighting that can cause weird shadows and colour casts. A lot of clients also want kitchen shots, photos of the dining room, and chef portraits.
Nevertheless, shooting for restaurants can be lucrative and fun. They usually even feed you lunch!
If you want to learn more about artificial light for food photography, be sure to check out my eBook LightShaping: Getting Started with Artificial Light for Food Photography. You’ll get a bundle of four PDFs: an eBook that is over 100 pages, a gear guide, and exposure guide, a principles of light cheat sheet that you can have handy when you’re shooting to help you understand what your light source is going to do as you adjust it.



One Response
Hi Darina,
Great article! Just wondering with the part about sending the client the gallery of edited shots for them to make their selects of the agreed number of shots.
Assuming that you send the client more shots than this agreed number so they can choose (how many extra would this be?), but doesn’t this mean you’re spending time editing more than what’s required? As a lower paid beginner, I wonder if I should/shouldn’t be doing that for the sake of ‘servicing’ the client?
Also I wonder how much these images are edited (basic or completely in Lightroom/Capture One) before the retouching in Photoshop is done on the selects only? I’m hesitant to spend the extra time completely editing the images I’m going to show the client as their options to choose the selects. But at the same time I know I shouldnt show the client the unedited images.
Would love to hear your advice!
Thanks.