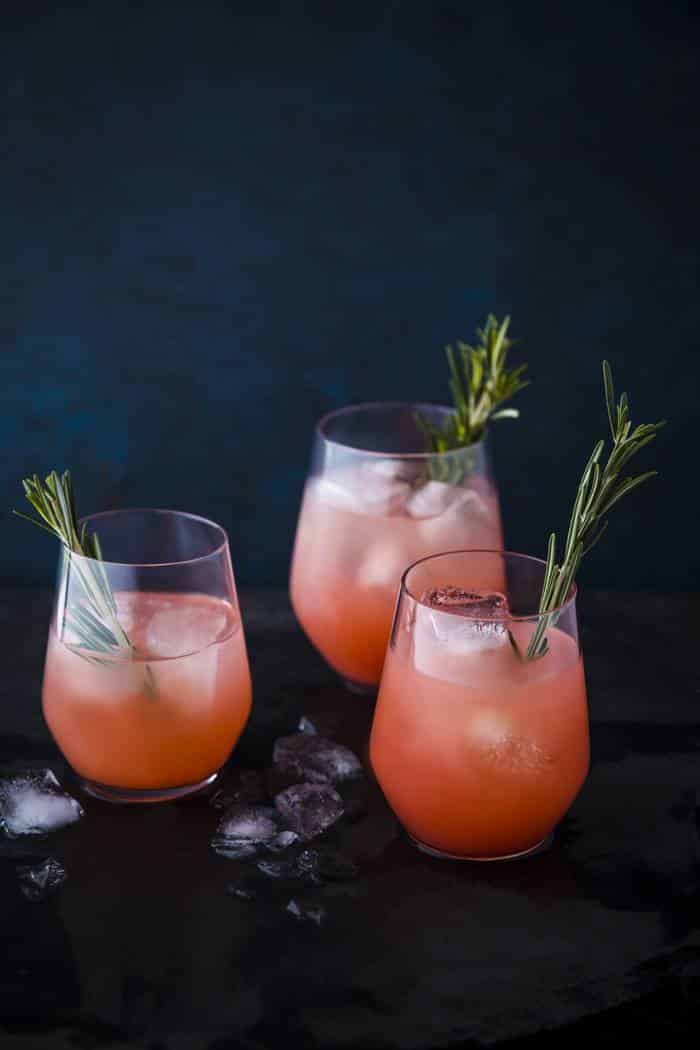
As a food photographer, you will be asked to shoot a fair number of beverages. I avoided drink photography for a long time because it’s one of the toughest types of shoots to pull off, as it usually involves a lot of glass and reflections. Any sort of reflection can be tough to manage. When I’m doing restaurant photography, I always make sure I get a clear idea of whether I’ll be doing any drink or bar shots and how many are expected, so I can plan my time accordingly. I double the time I require to photograph a plate of food.
Food photographers also often shoot bottles of alcohol, though this actually falls in the realm of product photography. Getting that shot can take an entire day. It can also involve creating a lot of time in post-processing, creating a composite in Photoshop of several images taken of different parts of the bottle to create the ideal luminance and reflection in the final image. When you go to photography school, shooting a bottle of alcohol is usually a required exercise somewhere along the way. It is not for the faint of heart.
For this post, I’ll tell you how I shot a couple of drink images and give you some pointers on beverage photography in general.
The image below is of a grapefruit and rosemary gin cocktail. I am also including the “before” picture so you can see how it was edited. Wasn’t it dull? This is how powerful post-processing can be.
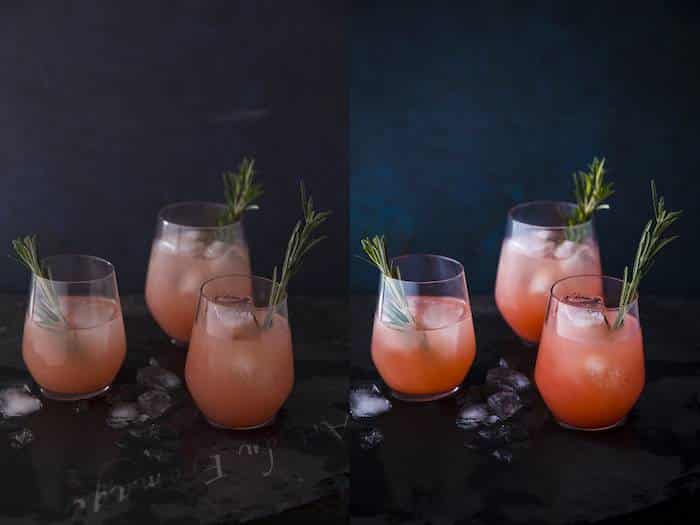
One of the reasons that it looks so flat is that I diffused the heck out of it. You have to with beverage photography. It is also underexposed, which I usually do with my darker, moodier images.
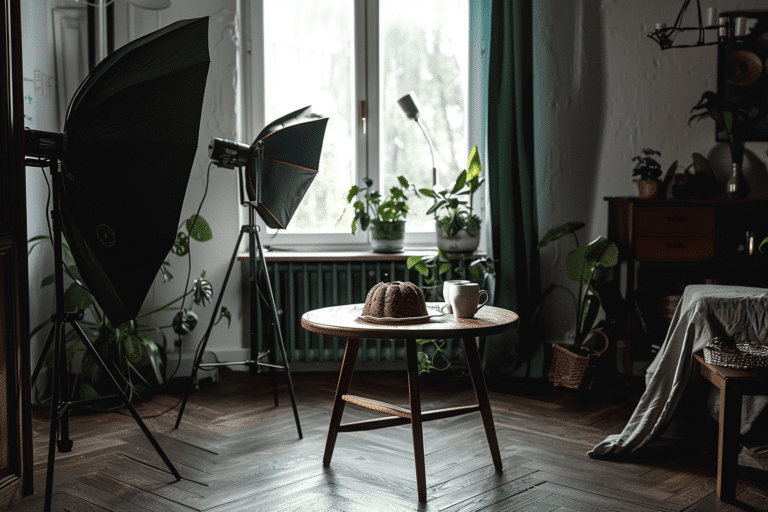
If you read my previous post about my typical lighting set-up, you will know that I usually shoot with one strobe and a honeycomb grid through a huge diffusor, which becomes my actual light source. When shooting drinks, I usually shoot from the left side and add an additional diffusor, which cuts down my exposure by at least one additional F-stop. Using the extra diffusion will help reduce reflections. You can also use a polarizing filter on your lens, which will also cut your F-stop down by one to two stops. I compensate by really playing with my colours and tonal adjustments in Lightroom, which I choose over Photoshop to do my global edits.
However, if you shoot with natural light, you will have an easier time shooting your beverages. A strobe or artificial flash is an explosion of light that does not fall off as fast as natural light, which can be harder to manage–hence the extra diffusion. You will have to play with this a bit, depending on what light source you are using.
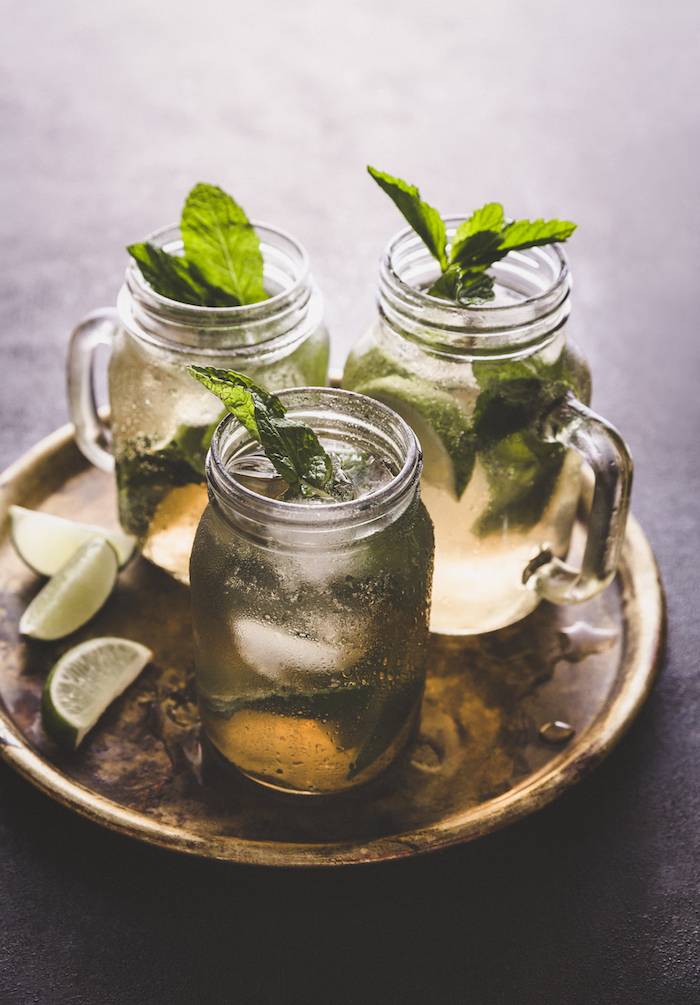
This image of mojitos was shot with backlighting, which I love because it can highlight liquids beautifully, if done right. I blocked some of the light coming in from the right side to sculpt it a bit, so the whole back of my image wouldn’t look blown out. When shooting the grapefruit cocktail, I positioned a piece of black cardboard on my right, to bring in a bit more shadow.
So here are some things to remember when photographing beverages:
- Make sure your shooting surface is level. Images can be straightened in post, but sometimes not easily or well. I’m a big believer in trying to get everything right in camera to save myself time and potential headaches later on. You can get a level from the hardware store. If you have an iPhone, there is a level where you find the compass app.
- One of the biggest issues in shooting glassware is that your surroundings will be reflected in the glass itself. This means the surrounding colour, your light source, and even objects close by. This is why it’s so important to diffuse your light! Your diffusor should come up against your set and block it completely to avoid objects such as your light stand being reflected in your images.
- There should be some reflection in your glass to look natural. When I first started shooting beverages, I would Photoshop them all out because I had trouble managing them and didn’t like the way they looked. Now I finesse them by cloning or masking, but do not obliterate them completely. There is no exact rule as to how reflections should look. Too many can look unattractive, but use your judgment. Clean highlights are the main thing.
- One of the tricks the pros use to add interest to cocktails and beverages is to spritz the glass to achieve a condensed look. This can be done with a mixture of glycerine and water in a 1:1 ratio. You can buy glycerine and empty spray bottles at the drug store. I like to use a fine mist for most beverages except for beer. I also use this trick for creating a water mist or droplets on fruits and vegetables, as it last forever; water evaporates very quickly.
- Another trick is to use fake ice. I have not used it in my images here. I often like the real ice look, though you have to work fast and it can be difficult to place the way you want it before it starts to melt. I like the natural look of it, especially when I have some of it melting on my surface, as in my images here. However, in most commercial beverage photography, fake ice is used. Good fake ice is very expensive, but if you will be shooting beverages commercially, you will need to get some. I recommend Trengrove Studios in New York, who sell ice cubes as well as crystal ice. Note that they also sell foam booster for beer, though you can also do this by dropping an Alka Seltzer tablet into flat beer just before you take the shot.
Beverage photography can be really challenging and takes a lot of time, but it’s also rewarding when you get a shot that looks appealing and enticing. Try it let me know how you do.

