Do you prefer autofocus mode or manual focus? Every food photographer has his or her preference, and some may use a combination of both.
There are pros and cons to each type of focus technique. Nailing your focus is crucial in still life photography. In a portraiture, only the eyes need to really be in focus while the rest of the image can appear a bit soft. In food photography, enough of your subject must be in focus to get a good result.
Let’s take a look at the difference types of focus and when you might want to choose one over the other.
Manual Focus
Manual focus is when you take complete control of where the camera focuses. You simply turn the ring on your lens until the area you want sharp comes into focus.
There are a couple of limitations with manual focus.
The first problem is that in food photography, we often work with macro lenses and a narrow depth-of-field. This means that you need to be very precise with focusing. Being just a touch off can cause you to completely miss focus in your shot. If you have less than perfect vision, achieving sharp focus in manual mode can be too challenging.
Another issue with manual focus is that it can be difficult for the lens to focus in low light conditions. This may not be a problem at home or in the studio, but if you’re shooting in a dimly lit restaurant, you can have problems using your lens in manual focus.
These days, many DSLRs have features to assist you with manual focusing.
For example, on a Canon camera, the focus point lights up when focus is achieved and a focus confirmation light will also come on.
If you have a Nikon camera, rotate the focus ring while looking at the bottom left-hand corner of the viewfinder. A circle will appear when your image is in focus. When it’s not in focus, arrows will show which direction you need to adjust.
Autofocus
Autofocus is when the camera intelligently adjusts the lens to focus on your subject.
However, no matter how sophisticated the automatic features on a digital camera can be, they don’t get everything right 100% of the time.
Autofocus (AF) is no exception. The AF system can miss focus or struggle to lock onto anything, especially in low light. This will result in a blurry image.
Note that your subject also can influence how well your camera autofocuses. Autofocus is most affected by the level of light hitting your lens, by contrast, and any motion caused by the subject or camera.
In food photography, we’re concerned with motion when we take a pour shot, for example. Autofocus may not be the best option in this case.
Your camera can have difficulty focusing when there’s not enough light. It can also be a problem when a scene doesn’t have much contrast, or the colours are very monochromatic. In these cases, the AF system can’t locate an edge to lock onto.
The lens will focus back and forth, without locking onto a point within the frame. We need edge contrast to achieve proper focus.
Today’s cameras and lenses generally have strong focusing abilities, but you still need to take control of your camera to get the best focus. This means making decisions about where exactly to place your focus and ensuring that the area of focus is wide enough.
Auto Focus Modes
Single Servo AF
In this mode, the camera focuses when you half-press the shutter button. This mode is often used by food and still life photographers. It’s for shooting stationary objects.
While in this mode, you can use a technique called “focus and recompose”. This technique can help you focus in challenging situations.
Press the shutter halfway down, and then move to change where your subject sits in the frame. Your camera will lock focus as long as you keep the shutter pressed.
This is an excellent technique to use if your camera doesn’t have a focus point close to where you want it.
Keep in mind that your plane-of-focus will shift using this technique. If you have a very shallow depth-of-field, you can end up with an image that looks unfocused.
Continuous Servo AF
In this mode, the camera will continue to focus as you keep the shutter button pressed halfway.
This mode is used to capture movements, such as pour or action shots taken in a restaurant or kitchen.
It’s challenging to use the focus and recompose method with Continuous Servo. Because the camera keeps focusing, it might focus on the wrong part of the scene or subject.
If you want to take action shots, it’s a good idea to use back button focus.
Back Button Focus
Back button focus is when you assign the focus function to a button on the back of your camera. This technique separates the action of focusing and taking a picture.
It’s a great technique, and some photographers keep their cameras permanently set to back button focus. This technique allows you to focus the shot and then recompose while keeping your subject in focus.
With back button focus, you focus once, recompose, and continue to shoot. Don’t press the focus button again unless you move your subject.
Food photography requires making constant adjustments. With back button focus, you can shoot and make adjustments to your composition without having to worry about focusing each time. This can result in a much more efficient workflow.
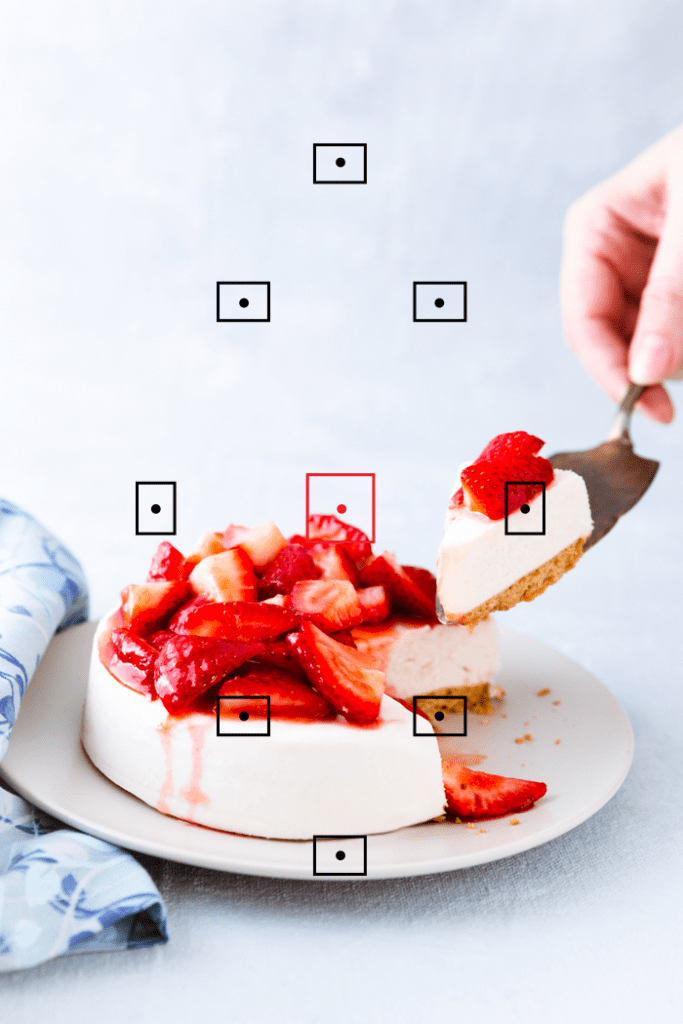
How to Use Focus Points
Different cameras have different ways of choosing focus points.
For example, on both my Canon cameras, there is a button on the back with a cross within a rectangle. This signifies the focus points.
You can hold this button down and find your desired focus point or focus area by turning the dial on the top of the camera.
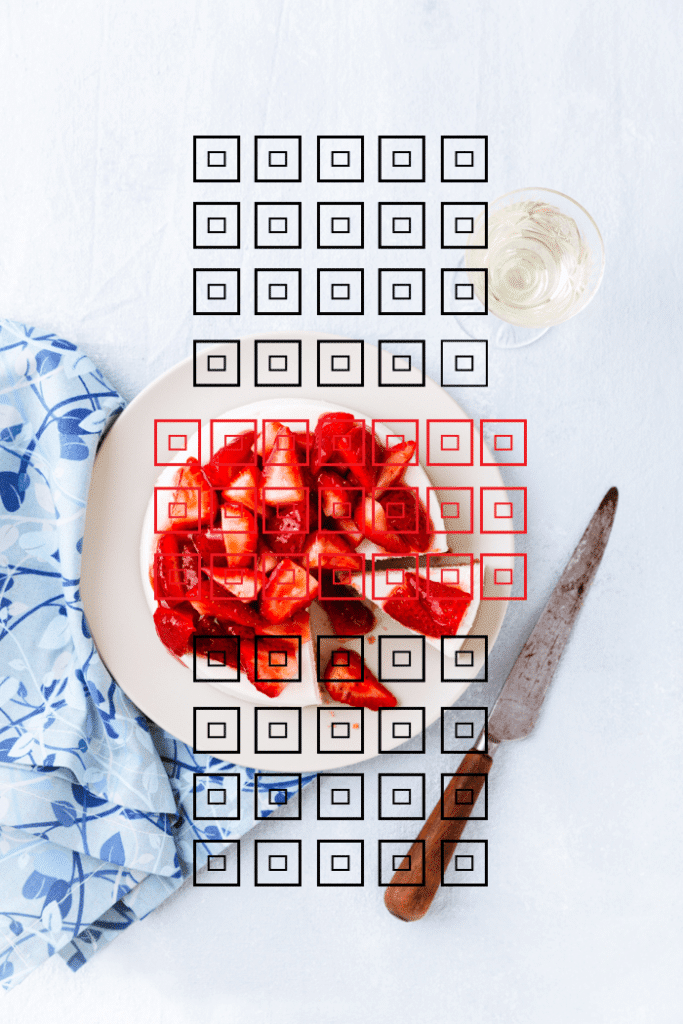
As you shuffle through the focus points, it/they will light up to show which one/which area is being used.
If your camera set to automatic focus point mode, however, all of them will light up at the same time. Be advised that it’s not a good idea to allow the camera to pick the focus point for you.
With food photography, you want to take control of where you put the focus.
Focus guides your viewer’s eye to what is essential in the shot. Before you pick up your camera, think about what is it that you want to emphasize.
When you’re shooting food, it’s generally a good idea to focus on the front of the dish, or the foreground. This will capture the viewer’s attention and give the image a pleasant blurry background. This effect is attractive in food photography.
Garnishes are also a good place to put the focus. If you’re doing a pour shot, then the pouring action is an excellent spot to place focus. In this case, you may get the best result with manual focus.
Conclusion
A couple of final tips: if you’re shooting overhead, everything in the frame should be in focus. Be sure to shoot at an aperture of at least F5.6, or else there will be elements that look blurry or out of focus.
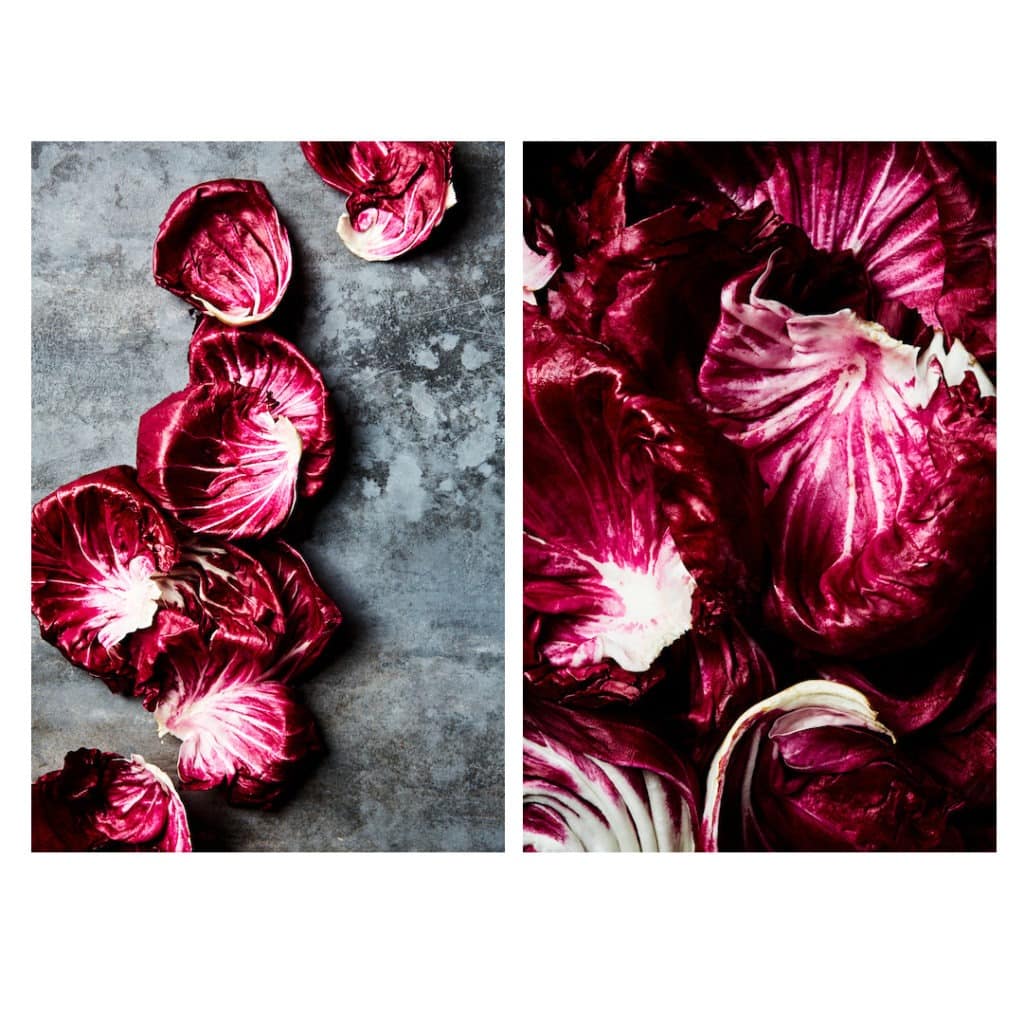
Also, if you’re shooting with autofocus and find that the focus point doesn’t fall on your subject, then you can try manual focus.
Shooting tethered in Lightroom will allow you to see the fine details in your shots that you may otherwise miss. Whether you’re tethering or referring to the LCD screen on the back of your camera, be sure to zoom in to the area that should be in focus to ensure it’s sharp enough. If not. take another shot.

