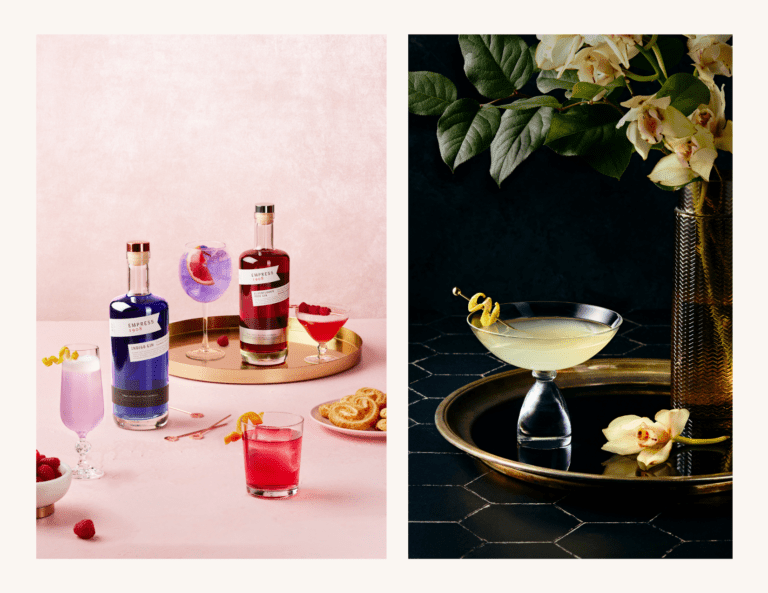
One of the biggest challenges in learning artificial light for food photography is using multiple lights in a scene.
You can get away with shooting editorial style food photos with one light— or even natural light—but a lot of commercial work necessitates the use of two or more lights.
Shooting food with multiple lights is kind of the last frontier of learning flash.
Here are the basics you need to know to get started.
When to use More Than One Light
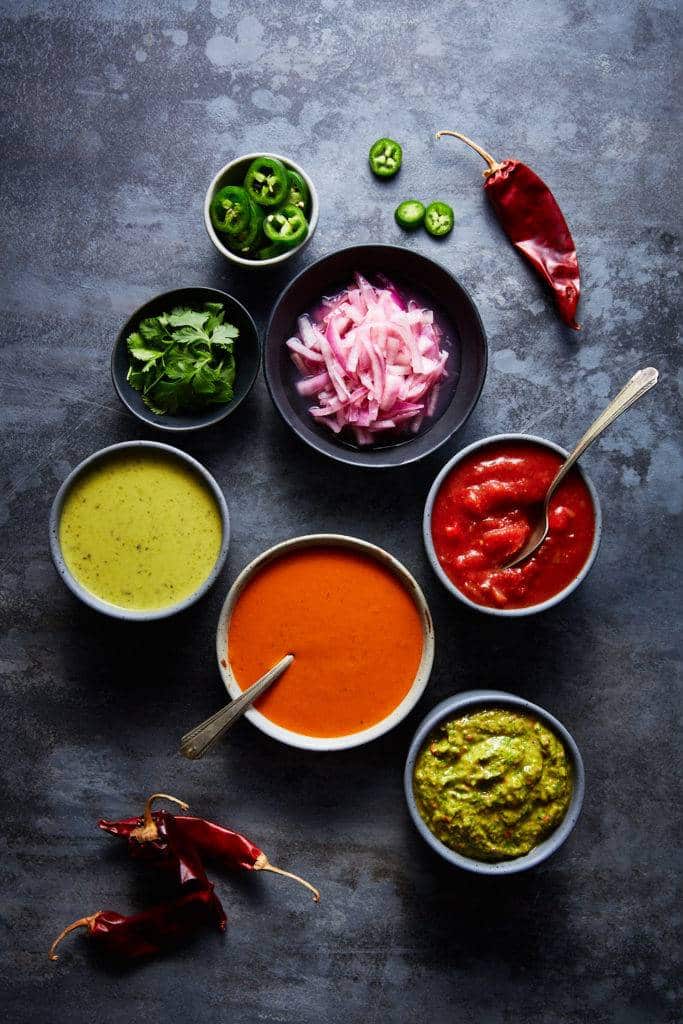
The reason you often use one light in food photography is that it’s easy to add fill light to a scene with a piece of white foamcore or a reflector. Light bounces off white to fill in the shadows, and this may be all you need. A reflector can add gold or white highlights, depending on the color you choose.
In the case of dark and moody food photography, you want your light coming in from one direction, and should block off all other light from hitting your scene. You may want a lot of your image cloaked in shadow, as in the Chiaroscuro style, and will block the light with black foamcore or cards.
A second light can add some fill if you find your results from these methods are not strong enough.
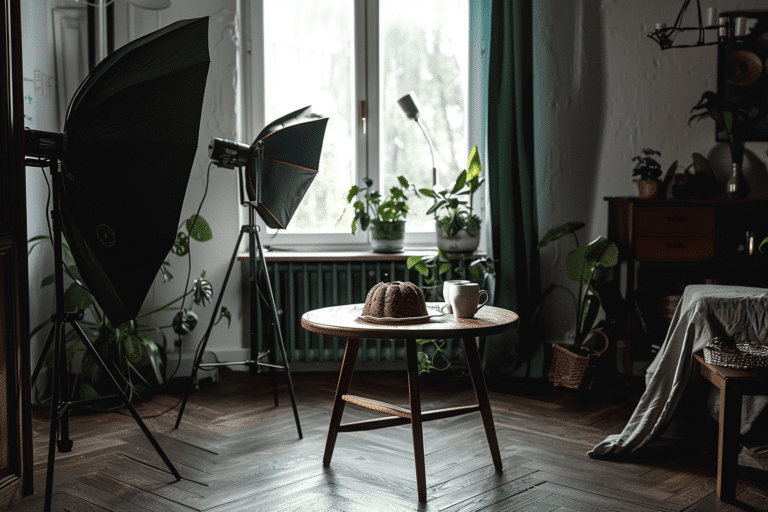
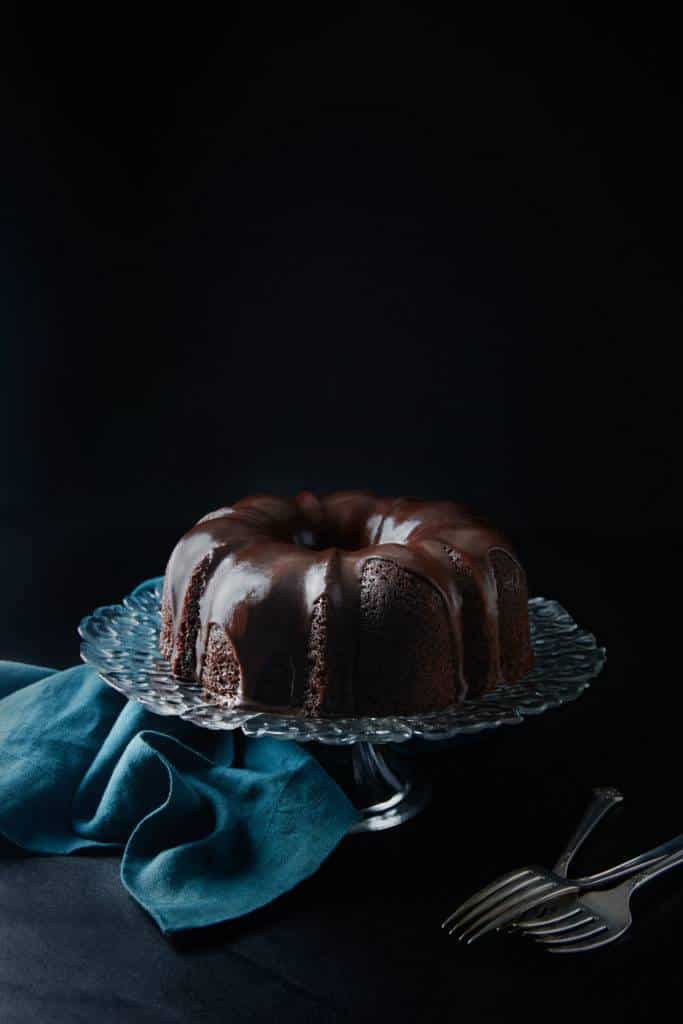
For example, in the case of side lighting, as used in the photo below of a chocolate bundt cake, the light falloff is too short to adequately reach the other side of the frame, which can end up underexposed. In this case, a touch of fill light can brighten up that area so you’re not losing crucial information in the right side of your histogram.
They key here is that this second light—your fill light—is dialled down in power compared to your key light (main light).
The power should be such that it’s enough to light the area that needs a bit more light, but not so high that you end up getting cross shadows.
If the power is too high, it will be obvious that the light is coming in from two different directions, which doesn’t make any sense. In food photography, we’re often trying to mimic window light, and there is only one sun.
Lighting Large Scenes
Another scenario where you’ll want to use two lights is when you’re lighting large scenes, like a tablescape, or sometimes a flatlay.
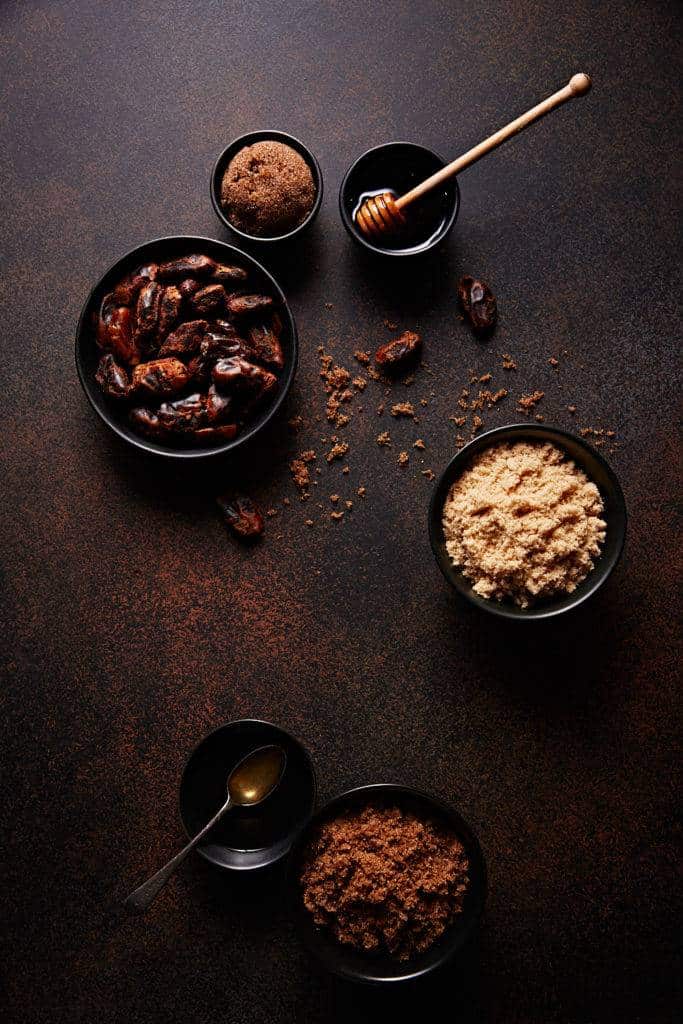
In some cases, when you’re lighting a flatlay, the light doesn’t reach the bottom of the frame. You can light it more evenly by pulling the light back, but this can create flat lighting. Kicking in a bit of light at the bottom of the frame is a good solution, but again, you want the power to be low.
When you’re lighting a large table of food, you’ll probably need two lights. So where do you place these lights?
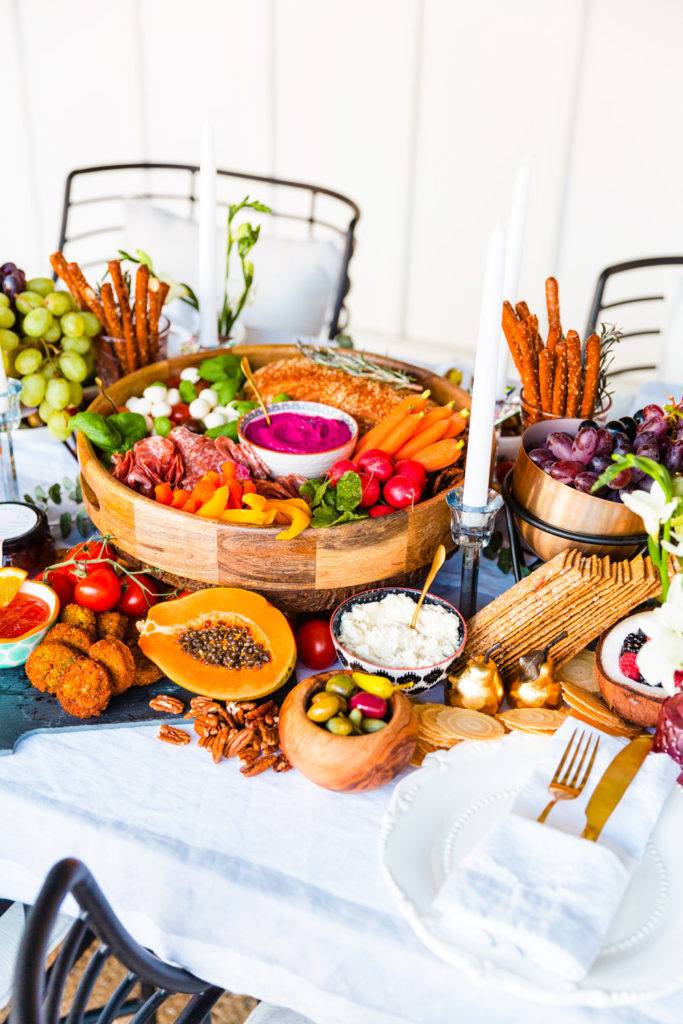
Not on opposite sides of the table, as you might think. You want to place both lights on the same side. This will extend the spread of light to cover the whole table, and you’ll get directional light that looks like it’s coming in from a large window.
When to Use More Than Two Lights
Using three lights or more usually falls in the realm of commercial food photography. This is because the light looks more produced. It doesn’t look natural, like it’s coming in from a window. You’ll see a produced lighting look in a lot of advertising photography.
You’ll add a third light to one of the scenarios above, but that third light will have a certain function. For example, the burger below was shot with three lights.
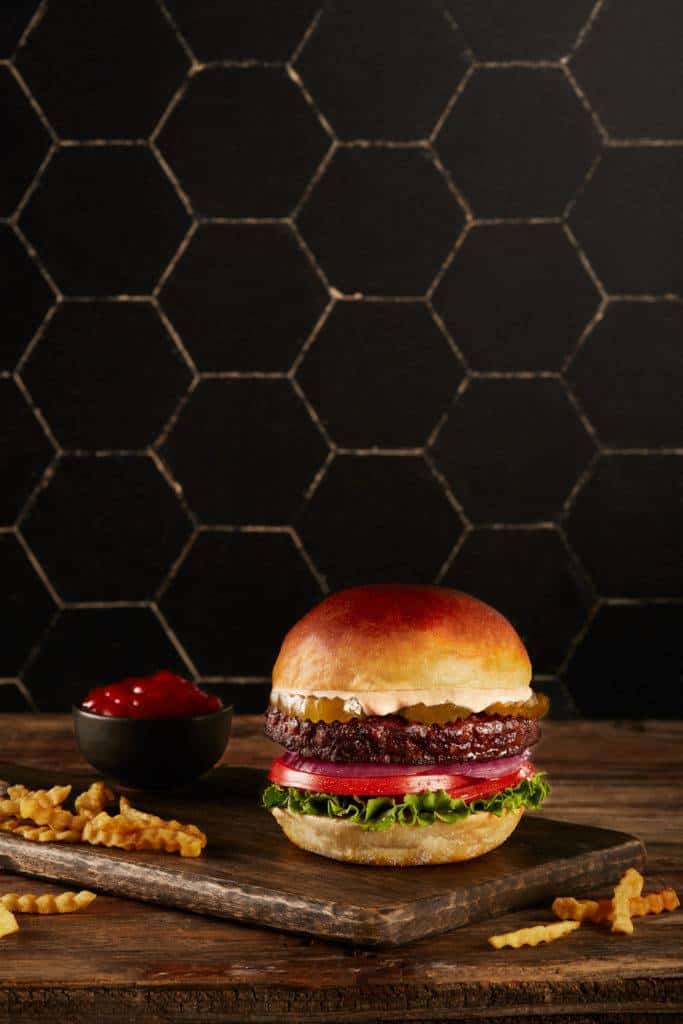
The key light was on camera left. It supplied more of the light on the burger and in the scene overall. However, it was not strong enough to light the burger adequately, so we could see its layers.
To remedy this, I added a fill light on the opposite side, but closer to the front of the burger. This was at about quarter-power to my fill light.
The third light was used to light the top of the burger—the burger bun. When you’re using a third light, it usually has such a specific purpose, and requires a specific modifier, like a snoot. The snoot narrowed the beam of light so it was concentrated on the burger bun only and not spilling into other parts of my scene.
The important thing is that when you work with multiple lights like this is that you work backwards.
In this case, it means starting with the snoot, then getting the fill light right, before moving on to the key light. If you start with the key light, then you won’t see what the other lights are doing.
In Conclusion
Working with several lights can be a challenge applying these tips to a multiple light workflow can help you get great results with a bit of practice. Take your time to work with each light and observe what happens when you move it higher or lower, closer or further. Sometimes even feathering your softbox an inch/a few centimetres can make a big difference.
If you want to learn more about artificial light for food photography, be sure to check out my eBook LightShaping: Getting Started with Artificial Light for Food Photography. You’ll get a bundle of four PDf’s: an eBook that is over 100 pages, a gear guide, and exposure guide, a principles of light cheat sheet that you can have handy when you’re shooting to help you understand what you’re light source is going to do as you adjust it.
