My guess is that as a food photographer, you’re using Lightroom to edit your images. Or maybe Photoshop is your image processor of choice.
When I recently polled participants in my Facebook group, the greater majority of them were using Lightroom.
Lightroom is a great program. As a still-life shooter, having the option to tether your camera to your computer via a USB cable is a major advantage.
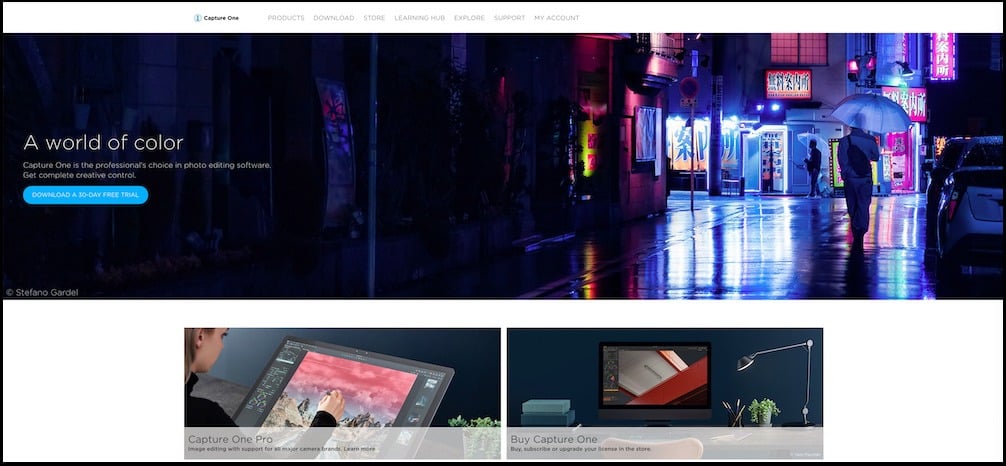
Capture One Pro is a RAW file editor and management system that has been around for about 20 years. It’s made by Phase One, a Danish manufacturer of open platform-based medium format cameras.
The software supports Phase One’s own camaras of course, as well as over 400 DSLR’s, such as those made by Canon, Nikon, and Sony.
This post is meant to be an introduction to Capture One Pro, not a tutorial. I have noticed that every pro food photographer I know works with Capture One on set. Some frustrations I was experiencing with Lightroom–mainly the stability of the tethering–prompted me to look into COP and subsequently make the switch. This is what I found.
What You Should Know About Capture One Pro
The very first thing you need to know about COP is that it is nothing like Lightroom.
If you try to approach the interface and tools in the way you have accustomed to in Lightroom, it won’t work and you’ll be very confused. This can kill your desire to learn the program before you get started.
COP has a learning curve. It’s not as user-friendly as Lightroom, which might dissuade you from using it if you’re a food blogger. However, if you’re a pro or semi-pro photographer, you’ll be thrilled to find that COP has the library features of Lightroom with the advantages to Photoshop to work in layers. This makes it an all-in-one solution for many photographers.

Advantages to Using Capture One
Superior Tethering
Tethered shooting is incredibly stable in COP, whereas Lightroom is known to be super glitchy. That being said, tethering in Lightroom has been improved in 2019, so at least Adobe has been working on this.
COP also has the advantage of a built-in Live View function. If you’ve used the Live View function on your camera, you may have noticed that you can only use it in natural light, or when you’re using a constant light source like an LED or the modelling lamp on a monohead.
However, Capture One offers a Live View function within the program itself.
This will really increase your productivity as a food photographer, as you and any stylists you work with will be able to make tweaks to your set in real time instead of having to make an adjustment, take a shot, and then adjust again.
In addition, there is an Overlay feature that allows you to upload cover art, such as a product packaging layout or a magazine cover, so you can make sure that your subject will fit into the layout that will be used in the final product.
Sessions Vs. Catalogs
Both Lightroom and Capture One Pro double as RAW photo editors and organization software for your image files, but their organization structure is not the same. Lightroom can open one Catalog at a time. These Catalogs can be divided into multiple Collections and Collection Sets.
In COP, photos are organized into Sessions, which are ideal for separating single client sessions, and various collections, for example, stock photography or personal photos. This is a better approach to large sets of images.
Similarly to Lightroom’s Collections, you can create Session Albums and move your images from several folders on your hard drive to a Favorite Session folder without physically moving them.
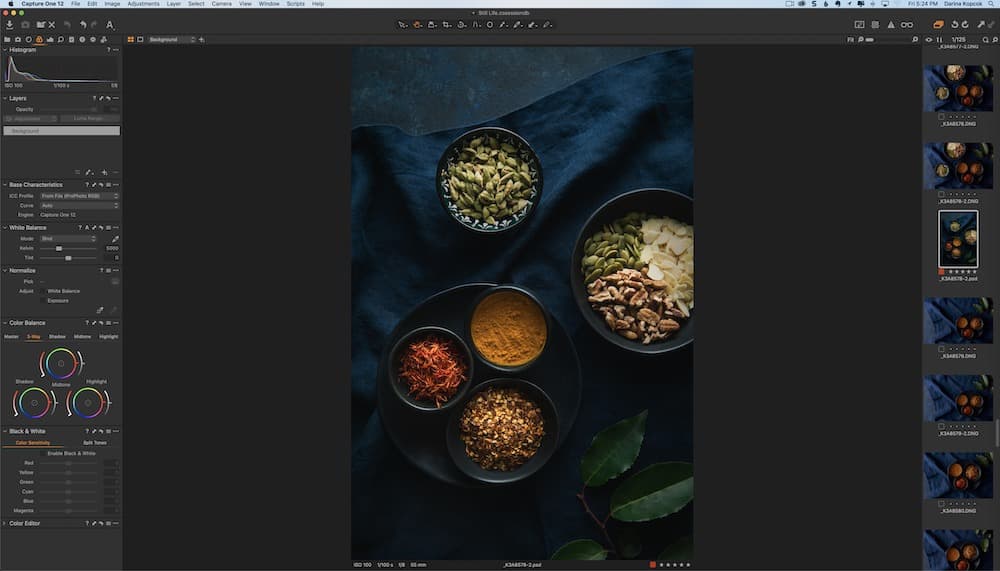
COP creates an automatic folder structure within the Session. It creates four default folders every time you start a new session: Capture, Selects, Output, Trash.
The Capture Folder contains all the images that were shot tethered or imported from your SD card. Once you make a selection of your favorite images, they will automatically be moved to the Selects Folder. If you want to delete specific images, they will be moved to the Trash folder by default. However, they are not permanently erased–you can move them back.
The Output Folder is the folder where your exported images will be sent unless you choose a different folder.
The Use of Layers
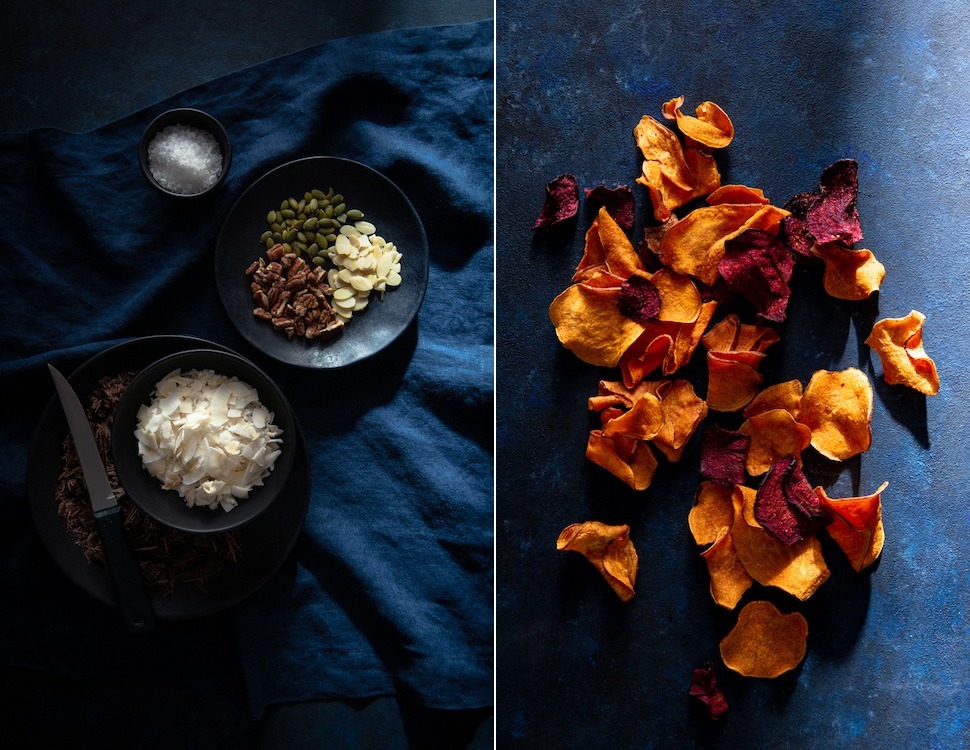
Capture One Pro offers the functionality of the Lightroom Library interface, with the power of Photoshop Layers. Both Lightroom and COP provide global adjustments that alter the entire image, as well as a set of tools for local adjustments that can be applied to smaller portions of the image.
However, COP includes the option to create local adjustments on multiple layers. Lightroom users have to switch from Lightroom to Photoshop to access multiple layer adjustments. COP’s layers options are less powerful than those in Photoshop, but more powerful than Lightroom’s single layer tools.
You can do some masking type of adjustments with Lightroom with the adjustment brush and other tool, but if you’ve made several adjustments and need to go back a few steps, remembering which adjustment was made can be confusing. With COP, you have a clear overview over of all the adjustments that have been applied to the image.
With COP, you can create radial masks and linear masks. You can fill masks over the whole layer and erase parts of the mask. You can create masks by luminosity, applying adjustments to only the highlights or shadows in your photo.
Last but not least, you can change the opacity of these masks. For example, if you’ve created a colour treatment you had in mind but the colours are too saturated and bold, you can simply turn down the opacity to reduces the strength of those colors while keeping your color treatment intact.
Color Management
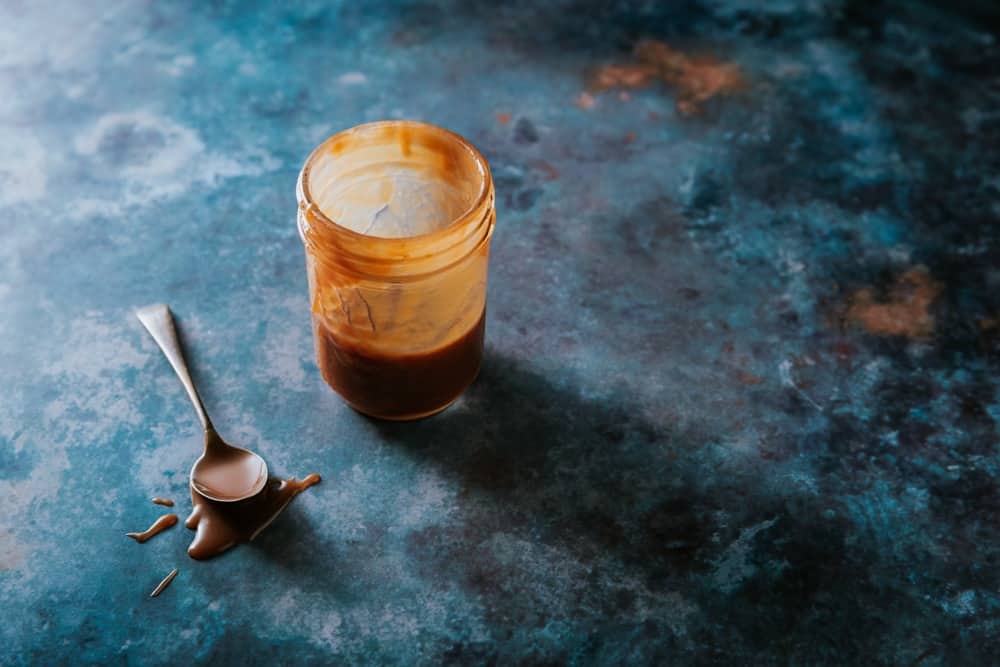
There is so much flexibility when it comes to color management and color grading in COP.
First of all, Capture One has individual color profiles for every camera, so that when image files are imported, you get something similar to the preview on the back of your LCD screen.
Lightroom files, however, have a more neutral starting point. On the other hand, the colors look brighter and more vibrant in COP before any adjustments are made at all. The adjustment options in both programs will give you similar results but the starting point will be slightly different.
The color tools in COP are incredibly powerful and versatile.
While Lightroom has the HSL (Hue-Saturation-Luminance) panel with sliders and RGB curves adjustments, COP offers a few more ways to work with color. You can use the Levels Tool or the Tone Curve, the Color Editor, or the the Advanced Color Editor. The color options include shadow, mid-tone and highlight adjustments for Color Balance and a channel dedicated just to adjusting skin tones. COP also has a luminance curves adjustment option.
Some Disadvantages to Using Capture One
One caveat to using Capture One is that as a lesser popular image processor, there are far fewer options when it comes to supporting third-party products like presets and plug-ins. However, COP has a feature called Recipes, which are similar to presets.
If you’re a tethered shooter, the program will not allow you to save images to your SD card. This is what makes tethering lightening fast in COP but is a downer if you’re like me and extra paranoid about everything being backed up in several places.
The other major disadvantage is cost. For $10 USD a month, you can have both Lightroom and Photoshop.
COP is $20 USD a month if you choose the subscription option. It’s $180 USD if you pay for an entire year at once. Unlike Adobe, however, COP also offers the option to buy the latest version of the software outright for $299.
In Conclusion
The best way to get started with Capture One Pro is to download the 30-day free trial. Import some of your images from your hard drive and start playing around to see how you like the various features. Set aside some time to go through the tutorials and get familiar with the interface.
Like with any program, there are advantages and disadvantages and there is no perfect program out there. Hopefully this introduction to Capture one Pro has helped you understand some of its benefits and make an informed choice.


