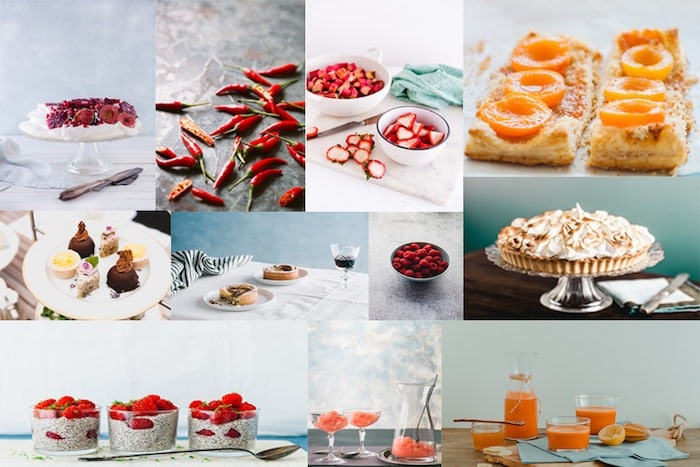
If you want to shoot on a professional level, you need to learn artificial lighting.
Even if you’re a food blogger, learning artificial light will open up a new world to you.
Artificial lighting is intimidating, but if you already understand how to use natural light, then you’re already ahead of the game. For me, the hardest part was figuring out where to put my light in relation to my set, in order to get the look I wanted. Once I figured that out, I was able to get repeatable results.
You don’t necessarily need a ton of equipment to use artificial light. You can get great results with a speedlite, mounted on a stand and triggered off camera.
If you’re thinking of getting those EGO lights that some of the bloggers use, I wouldn’t recommend them. They are only good for close up food shots. It’s nice that they are daylight balanced, but they are too bright, yet at the same time, they don’t have enough spread. If you shoot food portrait or scenes with more than one element or two, like a bowl with a single prop, these are not going to work for you, so save your money.
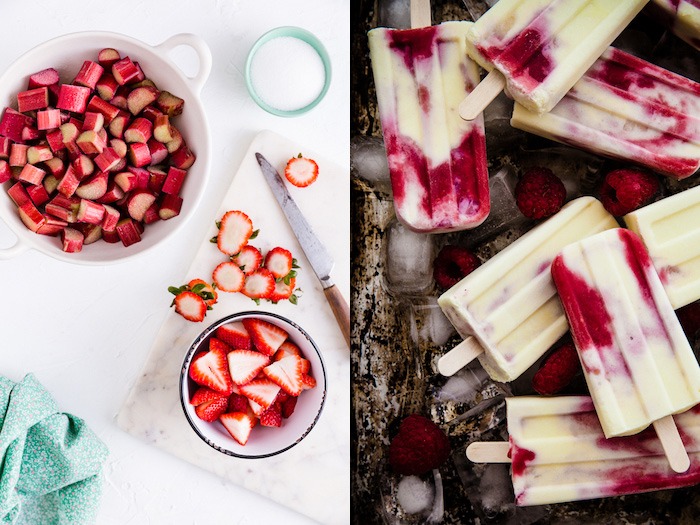
The Problem With Natural Light
Unless you live in the Southern Hemisphere, abundant light can be a challenging at certain times of the year. Natural light is also not consistent, which also creates a problem if you’re shooting commercially.
There are others. For example, this common scenario, which I encountered in shooting for a new restaurant last week:
I went to scout the location before the shoot, so I could plan my lighting. I suggest you always do this, so you are prepared for any issues that might arise.
It was a small storefront with abundant light coming through a large window. That was great. I was hoping to use natural light, as I prefer to not to lug a ton of stuff to shoots if I don’t have to. Plus, working with lights can take up a lot of space, which is sometimes at a premium while shooting at restaurants.
However, I noticed that there were multiple recessed lights in the ceiling throughout the restaurant. These could not be turned off without casting much of the restaurant in darkness, including the kitchen.
The cardinal rule of shooting indoors with natural light is to turn off all lights. Otherwise you get colour contamination issues that are nearly impossible to fix in post. Your lighting can also look flat and ugly. It will look like you shot with artificial lighting and didn’t know what you were doing.
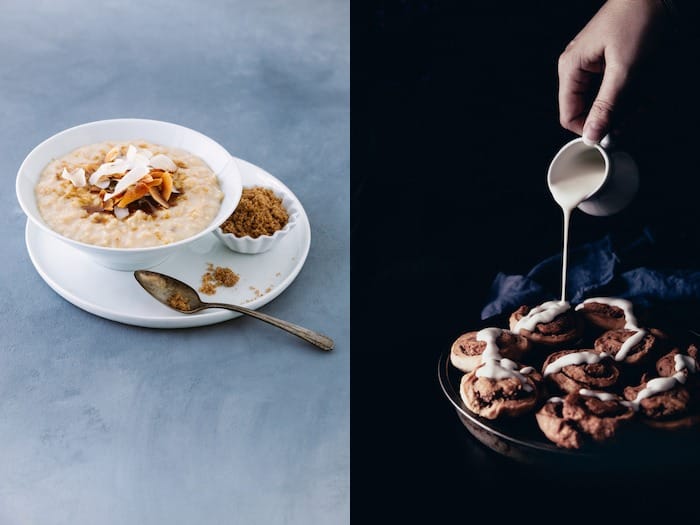
In an upcoming post on white balance and colour contamination, I will share some images from this shoot to show you what I mean. I can’t do that right now as I don’t share images that I have shot for clients until the client has released them.
I ended up using one strobe light, and the images look beautiful, as if they were actually shot in natural light.
When you use a flash system, the flash fires fast enough that it will overpower the other lighting in the room. Using my strobe solved the problem of colour contamination.
So What Was My Set-Up?
My set-up was one I typically use for most of my shoots, except for certain types of advertising photography.
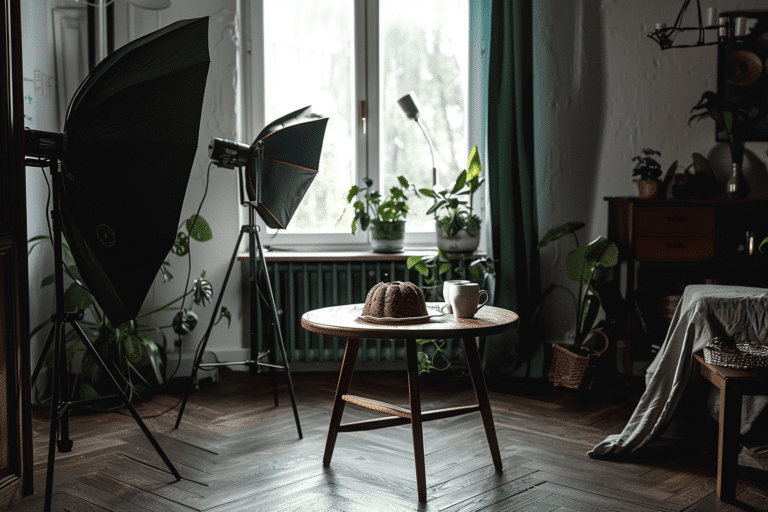
I used one strobe with a dish reflector fitted with a 20-degree honeycomb grid. I placed a large, rectangular diffuser at the edge of my set and positioned the strobe about a meter away. This is 3 feet and 3.37 inches, if you’re not familiar with meters. Of course, you don’t have to be that precise. Anywhere from one to two meters will work, depending how much light you need on your set.
I learned this set up from Skyler Burt of We Eat Together and it has completely changed my food photography. When you use a strobe this way, the diffuser becomes your light source. It mimics window light beautifully.
Here is an example of my lighting set-up.
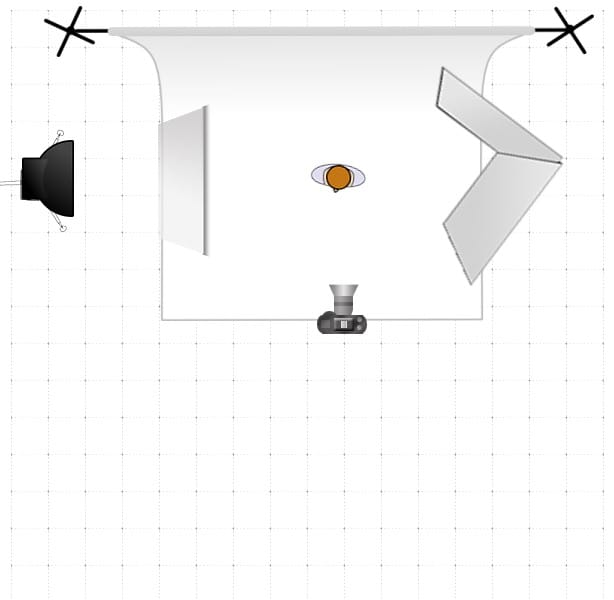
Most food photographers prefer to use a softbox, but I find this set-up gives your images beautiful contrast with long shadows and highlights. If you’re using a speedlite, you can position it in the same place for very similar results.
Your light will look different depending on how close you are to your subject and how you angle the light, so play around with that and make notes about your results. You’ll find what works for your style of photography. Once you have it down, you’ll be able to produce consistent, repeatable results.
Natural light is not better than artificial light and vice versa. They are just different. If you want to be a professional photographer, you will need to learn artificial lighting–preferably a strobe. This is the only way you will be able to create whatever lighting scenario the client wants, in whatever conditions you’re shooting in.

