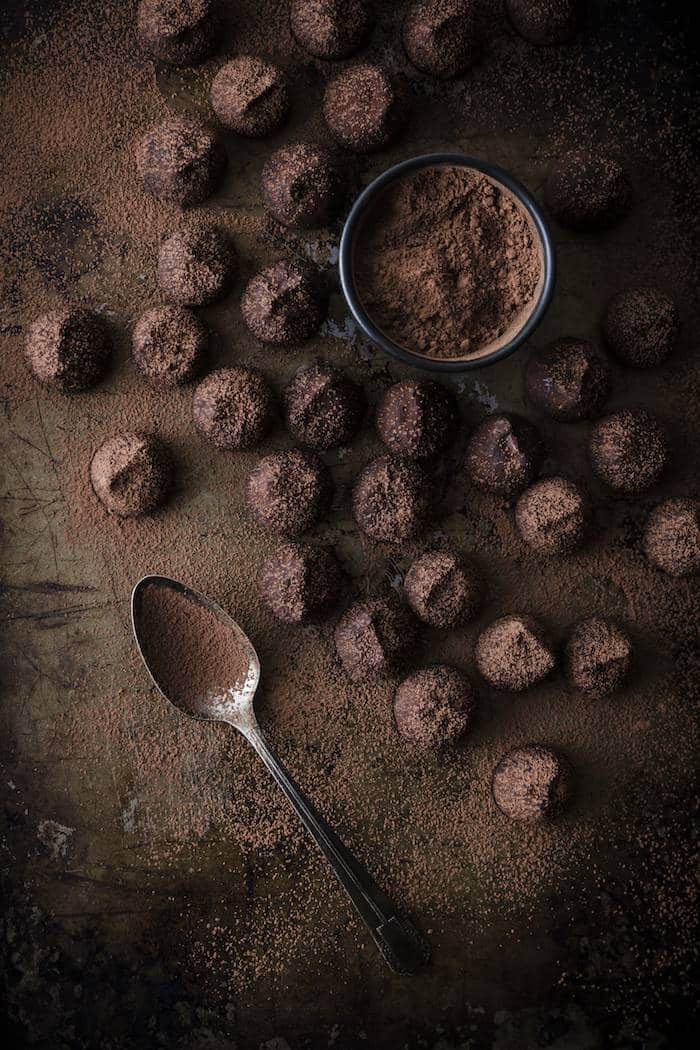
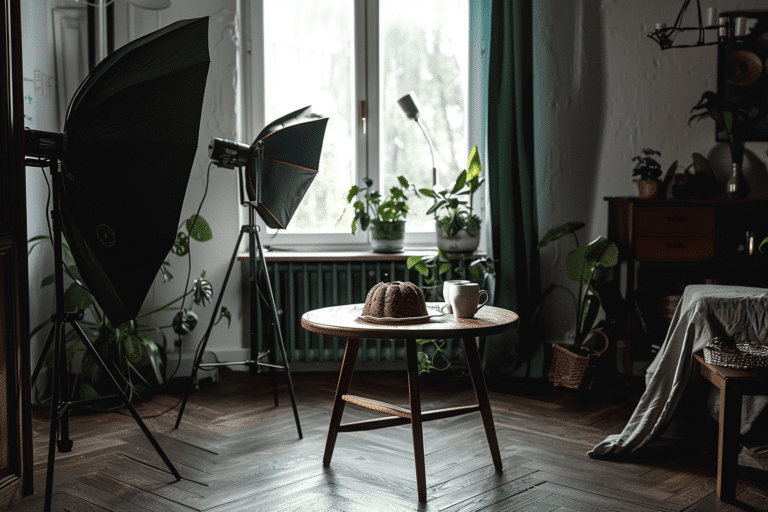
I never shoot with a softbox. Okay, sometimes I shoot with a softbox. That headline was meant to catch your attention. But honestly, I shoot with a softbox so seldom, that I can say that I almost never shoot with a softbox—at least, when I’m photographing food.
I think a lot of photographers have their go-to lighting set-up, one that works for them. When I was in photography school, my portfolio class instructor commented that I seemed to have the same light in all of my images. I always shot with side lighting, using a large softbox or natural light. I was a one-trick pony when it came to my lighting.
The light you use can be an important part of your style, but at that time it was all about staying in my comfort zone. I really didn’t know how to create great light using backlighting or other techniques, so I stuck to what I knew and learned to do it well.
Eventually, I realized it was limiting me and I started to experiment with other ways of lighting my set.
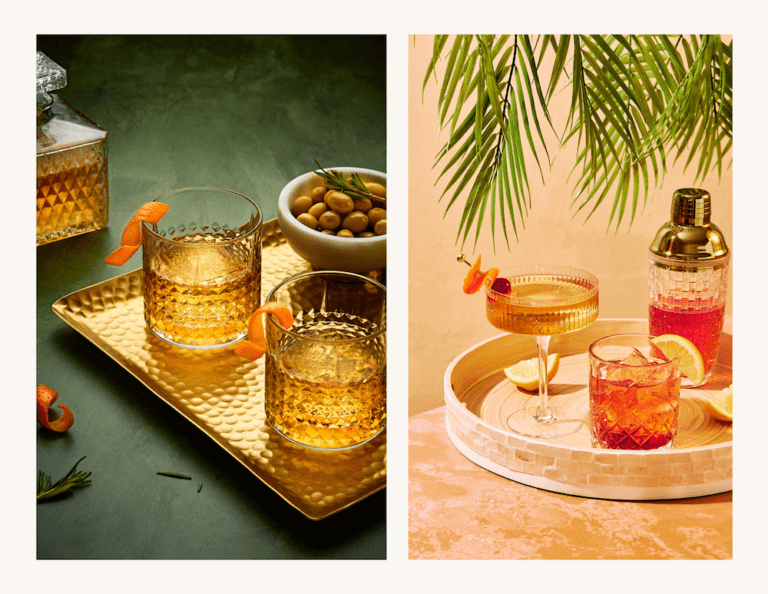
Even today, I feel more comfortable with mid-toned to darker images and this has become my style and what I shoot most often, as opposed to light and airy, or bright and bold.
However, if you want to work as a pro shooter, you need to be able to create light to your client’s specifications. Your results must be repeatable and consistent.
f your client wants you to make the light look like it’s coming in from a window on an early summer morning for their breakfast cereal product, you need to know how to create that no matter the time of day or weather. You’ll choose your lighting set-up and your modifiers based on the results you are seeking.
For me, the artificial lighting set-up I use for most of my editorial and restaurant work is one that I learned from food photographer Skyler Burt of the site We Eat Together. Skyler is a professional photographer and instructor with years of experience, and he has put together some great courses that take you through everything you need to know about food photography. The videos are professionally done and the value he provides is fantastic–way beyond the actual cost.
Basically, the set-up he teaches involves using a dish reflector with a twenty or thirty degree honeycomb grid instead of a softbox, and a huge diffuser. The strobe is placed one to two metres away from the set, and the diffuser is placed right against the set. Thus, the diffuser actually becomes the light source. The set-up beautifully mimics natural light. The key is playing around a bit with the distance of your strobe.
It’s about physics and inverse square law, which I will discuss in further detail in an upcoming post. Head over to his site for his gear guide and super useful tips on food photography.
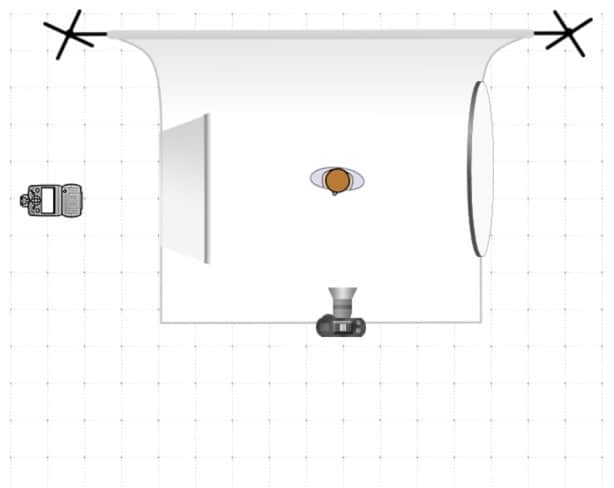
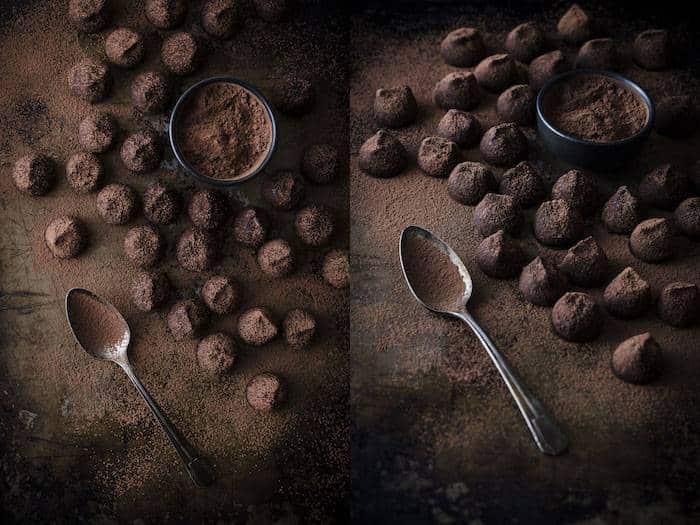
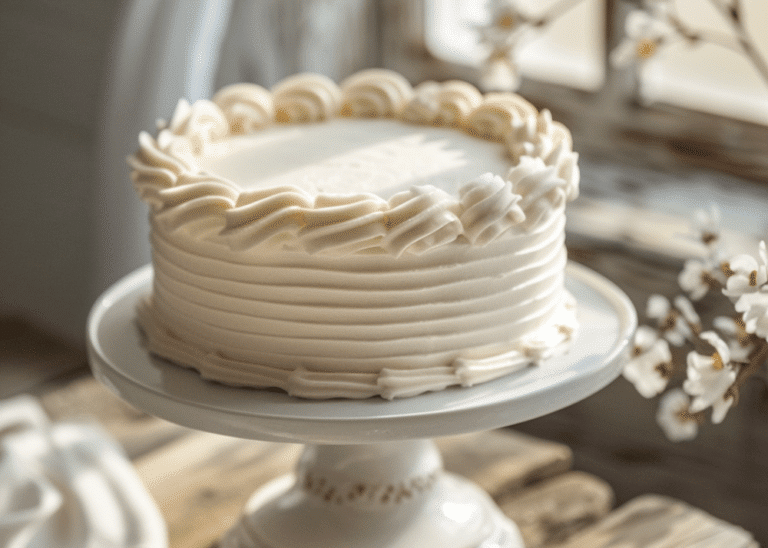
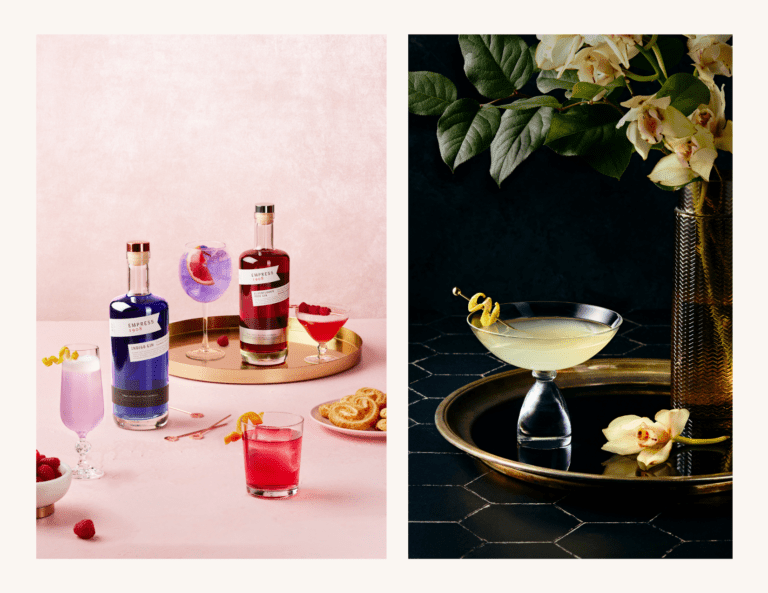
Discovering this technique really helped me up my photography game and gave my images with the look that I was seeking in terms of contrast; it fit well with my photography style, but I have seen other photographers work and use light in such different and creative ways.
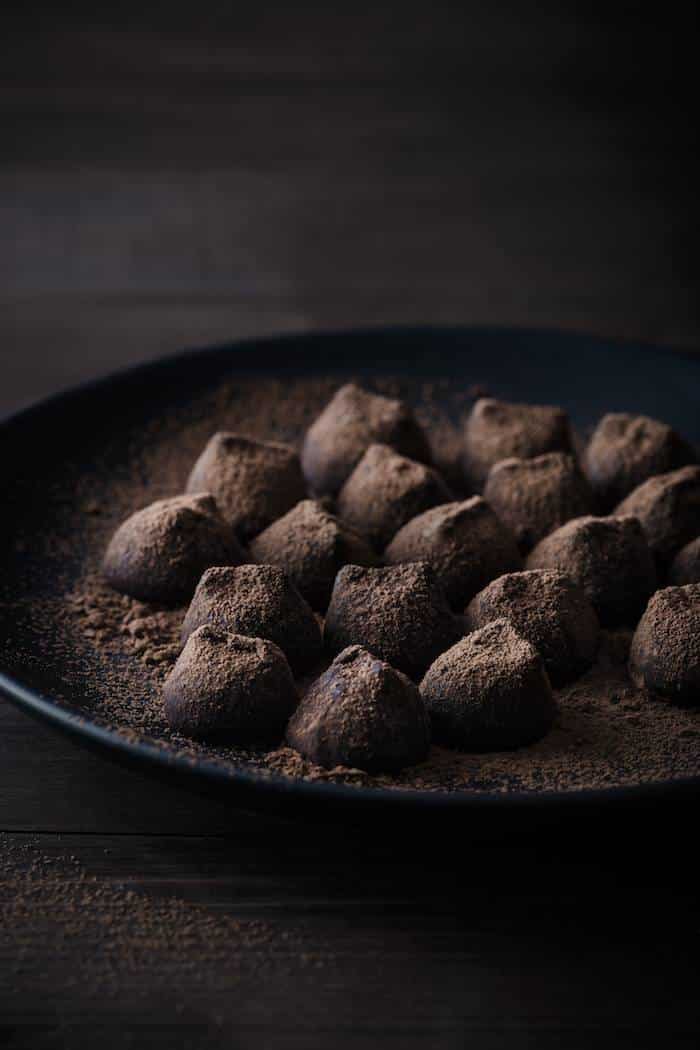
Whether you are a natural or artificial light shooter, these are the resources that have helped me most and and can help you:
Andrew Scrivani’s courses on Creative Live. Andrew has a great business class, and an editorial photography class where he demos the lighting set-up he learned while working at the New York Times. I have found value in his other classes as well.
Rachel Korinek’s blog Two Loves Studio. Rachel provides a lot of value through her site and has a great Lightroom class and an eBook about harnessing natural light. She will also be launching a Composition Essentials Masterclass in February. Rachel has a bold and clean style and is a master at composition, so I’m really looking forward to this launch.
Christina Peters, a long-time professional food photography veteran based in Los Angeles, created The Food Photography Club, a comprehensive online learning program based on a subscription model. She offers courses suitable for beginners and natural light photographers and bloggers, as well as pro shooters. There is a forum and she often hosts webinars on a variety of food photography topics, as well as image feedback sessions. I have been a member from day one and have found her incredibly responsive to questions and comments. I can honestly say that there were times when I was stumped on how to approach a professional shoot and Christina literally saved my ass. She also has a great blog and Facebook group where she provides a lot of value for free.
Learn Food Photography is dedicated to helping bloggers and photographers improve their food photography. They regularly offer a 30-Day Challenge to help you improve your skills. As it is a long-running site, there are tons of articles and tips in the archives. I haven’t spent much time on there lately, but it was a boon when I started out, as there were so few resources to turn to at the time.
Let’s face it, food photography can be a really tough gig sometimes and there is a bigger learning curve to it than most people realize. In a world that feels increasingly competitive, I for one am thankful that there are people out there that are so willing to share their knowledge and the things they’ve learned in their own journey.



6 Responses
Your work is gorgeous. I am a novice food photography and appreciate the information you’re sharing. I also love Rachel Korinek and Christina Peters.
Thank you, Julie. I took a look at your blog and love the colour in your photography. And your recipes are scrumptious!You are right on track with your styling, too
Thanks for such kind words and your lighting looks amazing!
Thanks, Skyler! I learned from the best. 🙂
thankyou! the referenceto skylers work and lighting tips was most helpful.
You’re welcome!